Main Page pm Lab Stuff: Ray, Autumn, and I prepared more LB broth. We prepared ml batches. Here are the amounts for the whole 1 L.
|
|
|
- Agnes Sharp
- 5 years ago
- Views:
Transcription
1 Transforming Cells with GFP BioBrick Tuesday, July 24, :37 PM 7/25/ pm Ray and I investigated information about GFP Biobrick (whether or not it contained a promoter). We found that they have multiple versions with and without promoters. We also looked at Professor Howard's concerns about having low melting temperatures for the primers (57-60 degrees C). He thought degrees C melting temperatures would be best for the primers. However, the program we used could not find any viable primers in this melting temperature range. 3-7pm Lab Stuff: Ray, Autumn, and I prepared more LB broth. We prepared ml batches. Here are the amounts for the whole 1 L. 10g NaCl 5g Yeast 10g Tryptone 15g Agar We then autoclaved these solutions for one hour, and then let them cool down. Ray and I then prepared some plates. We prepared 16 Kanamycin and 12 Ampicillin plates. We prepared these plates by placing 30 ml of the broth on top of 30 microgram of the designated antibiotic (Kan or Amp). We figured out the amount of antibiotic to add as follows: We also streaked 3 DH5 alpha e. coli plates. We then stuck these into the incubator shaker at 37 degrees C. 7/27/07 2:10 pm Ray and I autoclaved many different beakers and flasks. 3:40 pm Ray and I took the glassware out of the autoclave. We then used some of it to transfer e. coli from plates into ml solutions of LB media. These solutions were then placed into the incubator shaker (130 rpm 37 degrees C). 7/28/07 Ray moved bacteria from incubator shaker into fridge. 7/30/07 1-about 2 pm Ray and I met with Professor Pedersen. We talked about making our cells competent so that we could transform them with the GFP Biobrick plasmid. 2-3 pm Ray and I prepared TSS media, which is used in part of the procedure of making cells competent. We prepared the TSS media as follows: 42.5 ml LB medium (prepared earlier) 5 g PEG 2.5 ml DMSO g MgCl2 Hexahydrate Ray and I were unclear about what to do for the PEG part of the preparation. The instructions say that 10% of the solution should be PEG. Then in parenthesis it has (wt/vol; mw 8000, Sigma). We asked Professor Pedersen about the quantity of PEG we should add, and she recommended adding 5 g. The LB medium was actually added last at a later time (right before autoclaving). Main Page 1
2 Main Page pm Autumn and I prepared SOC media. We prepared 200 ml of this media as follows: 4 g Bacto Tryptone 1 g Bacto Yeast Extract g NaCl g KCl g MgCl2 Hexahydrate g MgSO4 Heptahydrate Glucose must be added to this solution as well. However, we planned on adding this after autoclaving (autoclaving will destroy the glucose). We added distilled water to dilute the solution to 200 ml. 4-4:45 pm Greg and I finished preparing the TSS solution by adding the 42.5 ml of LB medium to the rest of the contents in a sterile hood. We then autoclaved the SOC solution, the TSS solution, and several different types of pipette tips. We also autoclaved the incubated bacteria solutions that Ray and I had prepared earlier. This was done because we discovered that these bacteria were not fresh enough to make competent any more. We plan on preparing a solution with bacteria in it again tomorrow so that they will be ready to make competent on Wednesday. Note: We could not find a filter. A filter is necessary in order to add the glucose to our SOC media. We were able to find some frozen glucose in the freezer. I believe that this glucose was prepared several semesters ago by Clayton and I, and may be of questionable quality. If we do need to use this glucose though, we should probably use about 20 ml of it just like the directions say. Because it is already about a 1 M solution. It was prepared by taking 8g of glucose and diluting to 40 ml. 7/31/07 3-4pm Autumn and I prepared ml flasks of LB media. 10g NaCl 5g Yeast 10g Tryptone 15g Agar We didn't add any agar though. Also before preparing this media, we turned on the UV light and the blower in the hood. We also took the 3 DH5 alpha e. coli plates that Ray and I prepared out of the fridge to come to room temperature. After we were done preparing the LB, we turned off the UV light and turned on the bunsen burner. We then transferred a colony of e. coli from the hood into a 500 ml flask filled with 200 ml of LB solution. This flask was placed in the incubator shaker (130 rpm with 37 degrees C). Before leaving the lab, I took some frozen filter sterilized glucose solution out of the freezer to thaw. We need 20 ml of 1 M glucose for the SOC solution. However, we don't have any filters left needed to sterilize the glucose. Therefore, we are just going to use the glucose solution that was in the fridge. This solution contains 8g/40mL which is fairly close to a 1 M solution.
3 Main Page 3 Procedures Prep 1. Add 20 ml of glucose to the SOC solution. I didn't do this the previous day. 2. Transfer 1 ml of the saturated overnight culture into a steril 500 ml flask containing 100 ml of LB medium. Incubate the cells at 37 degrees C at 220 rpm until OD reaches 0.5 (takes about hours). Observations 8/1/07 Prep 1. 1:30-1:45pm We didn't have 20 ml of the glucose solution. So I just added as much as I could. I added about 12 ml (not exact). This was done in a sterilized hood :20-12:30 pm 1mL of the saturated culture was placed into a sterile 500 ml beaker containing 100 ml LB. I also grabbed the LB that was in the autoclave from the previous day. The solutions containing bacteria were placed in the incubator shaker at 37 degrees C and 130 rpm (220 rpm seemed way too extreme). Flasks were placed in incubator at 12:30pm. At 3:00pm we took out the bacteria in the shaker. We then realized that we had used up all of the LB media that we used to prepare this solution. Since we needed some more of this for the blank, we decided that we should start over. Therefore, we repeated the process that we did at 12:20. This new solution was placed in the incubator at 3:15pm. Competent Cell Prep 1. Check OD of the cells in the broth frequently when it gets beyond 0.2. Keep doing this until OD reaches When the culture reaches an OD of 0.5, chill the flask on ice for 20 min, and then collect the cells by centrifugation at 1,200 x g for 5 min at 4 degrees C. Competent Cell Prep 5:30-8:50pm 1. Ray, Greg, and I warmed up the spectrophotomoter in the waterlab. We also took out some flasks that we put in the autoclave earlier. We checked the absorbance and it was about This was above the that we were aiming for. We then decided to dilute our solution with more LB (we had to use about 200 ml). After doing this, the absorbance was We then checked the absorbance frequently from this point on. This data is saved on a spreadsheet. 2. Once the absorbance reached 0.497, we placed the solution of bacteria into a bucket of ice. We left this in the ice for 20 minutes. We then poured 45 ml of solution into 50 ml centrifuge tubes; we prepared three of these so that we could balance the centrifuge. We set the rpm of the centrifuge to 4230 which corresponded to 1,200 g. The temperatrue of the centrifuge was set to 4 degrees C. We then centrifuged for 5 minutes. The supernatent solution was then pipetted out of the tubes, leaving the concentrated bacteria at the bottom. This process was repeated in the same three tubes so that we could centrifuge all of the solution that we had.
4 Main Page 4 was then pipetted out of the tubes, leaving the concentrated bacteria at the bottom. This process was repeated in the same three tubes so that we could centrifuge all of the solution that we had. First cubet was read around 6pm. Absorbance vs. Time for E. coli DH5 alpha Time Absorbance Absorbance vs. Time for E. coli DH5 alpha Absorbance (OD at 600 nm) Time (min) 3. Resuspend the cells in 10 ml of ice-cold TSS Solution. The cells are now ready for transformation. 3. After the centrifuge, we were supposed to add 10 ml of TSS solution. However, we realized that we had more bacteria than normal. This is because we diluted our 100 ml LB solution with bacteria to 300 ml, and then waited until this 300 ml solution had an OD of 0.5. We thought that the amount of TSS solution added, might be dependent on the amount of bacteria. Therefore, we tried adding several different amounts. We added 30 ml of TSS to one tube, 10 ml to another, and the rest of the solution (about 7.5 ml) to the last test tube. 8/2/07 2-3pm I worked on project description for website. 3-4pm Ray, Autumn, and I looked over project description, added the description to the web, and cleaned up the lab. Transformation Control: Competent cells alone, competent cells with uncut plasmid 1. Take an ice bucket full of ice and go collect two tubes of competent cells. 2. You will need 100 micro L fresh cells per sample/control. Thaw cells from freezer slowly on ice and use immediately. 3. When thawed very gently pipette 100 micro L into 3 pre-cooled Falcon tubes each. 4-6:50pm Transformation 1,2, and 3. We put some ice in a container along with 6 falcon tubes to cool them down. Once they were cool, we took our bacteria solutions from the previous day and pipetted 100 ml into each falcon tube. The tubes were labeled as follows: 30 ml TSS with DNA 30 ml TSS without DNA 10 ml TSS with DNA 10 ml TSS without DNA 7.5 ml TSS with DNA 7.5 ml TSS without DNA Note that the volume amounts here do not mean that we added 30 or 10 ml to the falcon tube. We added 100 micro L to all of the tubes. The volume just indicates the amount of TSS liquid used to make the solutions. DNA Preparation i. Puncture a hole through the foil with a pipette tip into the well that corresponds to the Biobrick -standard part that you want. We want the biobrick with the ID of BBa_E0840. This part is found in Parts Kit Plate 1 in Well 16E. Note that if the two notches of the plate are at the bottom, then Well 1A is in the upper left hand corner. DNA Preparation 4. We punctured a hole into well E We then added 15 micro L of distilled water. The solution was mixed with the pipet. For the other steps of the DNA preparation we used the protocalls we had instead of the igem website's instructions.
5 Main Page 5 ii. Add 15 ul of dih2o (deionized water) iii. Take 1uL DNA and transform into your desired competent cells, plate out on a plate with the correct antibiotic* and grow overnight. Your goal here is to obtain single colonies. The plasmid we are using contains the Ampicillin selection marker. We know this because it comes from the plasmid with the following name: psb1a2. The A in this name indicates an Ampicillin marker. Part nomenclature information can be found here: asmids/nomenclature. iv. Pick a single colony and inoculate broth (again, with the correct antibiotic) and grow ~ 18 hours. v. Use the resulting culture to miniprep the DNA AND make your own glycerol stock (for further instruction on making a glycerol see this page). Pasted from < GEM_07_Parts_Kit> Glycerol Instructions: Add 1 ml of 40% glycerol in H 2O to a cryogenic vial. Add 1 ml sample from the culture of bacteria to be stored. Gently vortex the cryogenic vial to ensure the culture and glycerol is well-mixed. Alternatively, pipet to mix. Use a tough spot to put the name of the strain or some useful identifier on the top of the vial. On the side of the vial list all relevant information - part, vector, strain, date, researcher, etc. Store in a freezer box in a -80C freezer. Remember to record where the vial is stored for fast retrieval later. Pasted from < _long_term_stock_of_bacteria> Transformation 4. Add 1 micro L DNA to each tube with competent cells 5. Swirl tube gently and leave on ice for 30 min 6. Transfer tubes to 42 C water bath for 60 sec do not shake tubes. 7. Rapidly transfer tubes to ice again 8. Add 800 micro L SOC to tubes. Warm culture at 37 C for mm 9. If your plates are in the refrigerator bring them out. They need to warm up so the bacteria do not get shocked when plated. 10. Spread 20 micro L (each plate)on appropriate plates - incubate at 37 C overnight Transformation 4. We then added 1 micro L of this DNA to the falcon tubes. We only added this DNA to the tubes labeled "with DNA." After using the DNA from well E16, the rest of the DNA solution was placed into a mini centrifuge tube labeled "E16." 5. We then swirled the tubes gently, and left them in the ice for 30 minutes (timed with a stopwatch). 6. The tubes were then transferred to a 42 degree C water bath for exactly 60 seconds. 7. The tubes were then transferred back to ice. 8. We added 800 micro L of SOC solution to each tube. The tubes were then placed into the incubator at 37 degrees C for 45 minutes (timed with a stopwatch). 9. The plates were warming up to room temperature as we were waiting for the tubes to incubate. 10. We pipetted 20 micro L of sample into plates. We then spread the sample out with a "hockey stick." The stick was sterilized with alcohol and a flame before using it. We prepared the following plates: 3 plates with 30 ml solution with DNA 3 plates with 10 ml solution with DNA 3 plates with 7.5 ml solution with DNA 1 plate with 30 ml solution without DNA 1 plates with 10 ml solution without DNA 1 plates with 7.5 ml solution without DNA These plates were then placed in the incubator at 37 degrees C. If everything goes well, the solutions with DNA should grow, and the solutions without DNA should not grow. This is because the bacteria in
6 Main Page 6 name indicates an Ampicillin marker. Part nomenclature information can be found here: asmids/nomenclature. iv. Pick a single colony and inoculate broth (again, with the correct antibiotic) and grow ~ 18 hours. v. Use the resulting culture to miniprep the DNA AND make your own glycerol stock (for further instruction on making a glycerol see this page). Pasted from < GEM_07_Parts_Kit> Glycerol Instructions: Add 1 ml of 40% glycerol in H 2O to a cryogenic vial. Add 1 ml sample from the culture of bacteria to be stored. Gently vortex the cryogenic vial to ensure the culture and glycerol is well-mixed. Alternatively, pipet to mix. Use a tough spot to put the name of the strain or some useful identifier on the top of the vial. On the side of the vial list all relevant information - part, vector, strain, date, researcher, etc. Store in a freezer box in a -80C freezer. Remember to record where the vial is stored for fast retrieval later. Pasted from < _long_term_stock_of_bacteria> Transformation 4. Add 1 micro L DNA to each tube with competent cells 5. Swirl tube gently and leave on ice for 30 min 6. Transfer tubes to 42 C water bath for 60 sec do not shake tubes. 7. Rapidly transfer tubes to ice again 8. Add 800 micro L SOC to tubes. Warm culture at 37 C for mm 9. If your plates are in the refrigerator bring them out. They need to warm up so the bacteria do not get shocked when plated. 10. Spread 20 micro L (each plate)on appropriate plates - incubate at 37 C overnight Transformation 4. We then added 1 micro L of this DNA to the falcon tubes. We only added this DNA to the tubes labeled "with DNA." After using the DNA from well E16, the rest of the DNA solution was placed into a mini centrifuge tube labeled "E16." 5. We then swirled the tubes gently, and left them in the ice for 30 minutes (timed with a stopwatch). 6. The tubes were then transferred to a 42 degree C water bath for exactly 60 seconds. 7. The tubes were then transferred back to ice. 8. We added 800 micro L of SOC solution to each tube. The tubes were then placed into the incubator at 37 degrees C for 45 minutes (timed with a stopwatch). 9. The plates were warming up to room temperature as we were waiting for the tubes to incubate. 10. We pipetted 20 micro L of sample into plates. We then spread the sample out with a "hockey stick." The stick was sterilized with alcohol and a flame before using it. We prepared the following plates: 3 plates with 30 ml solution with DNA 3 plates with 10 ml solution with DNA 3 plates with 7.5 ml solution with DNA 1 plate with 30 ml solution without DNA 1 plates with 10 ml solution without DNA 1 plates with 7.5 ml solution without DNA These plates were then placed in the incubator at 37 degrees C. If everything goes well, the solutions with DNA should grow, and the solutions without DNA should not grow. This is because the bacteria in the solution with the DNA should have the ampicillin antibiotic resistance strain and should be able to survive on our ampicillin plates. We also wanted to prepare some glycerol stock solution. However, we only had one filter left. Therefore, we spread some glycerol onto a plate to see if any bacteria would grow. If no bacterial growth occurs, we plan on using the glycerol without the filter.


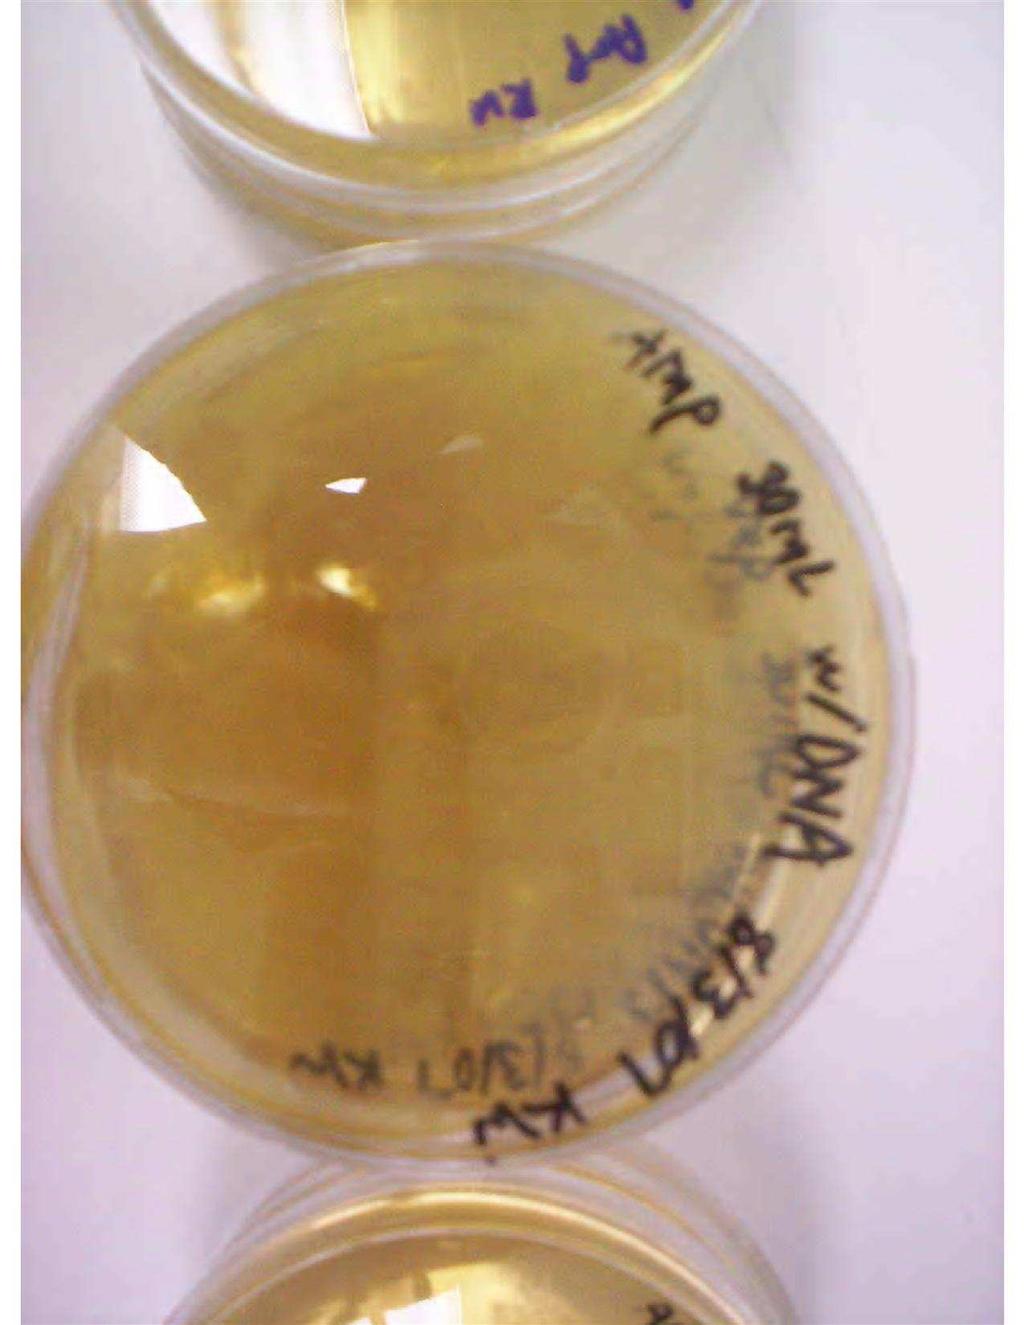
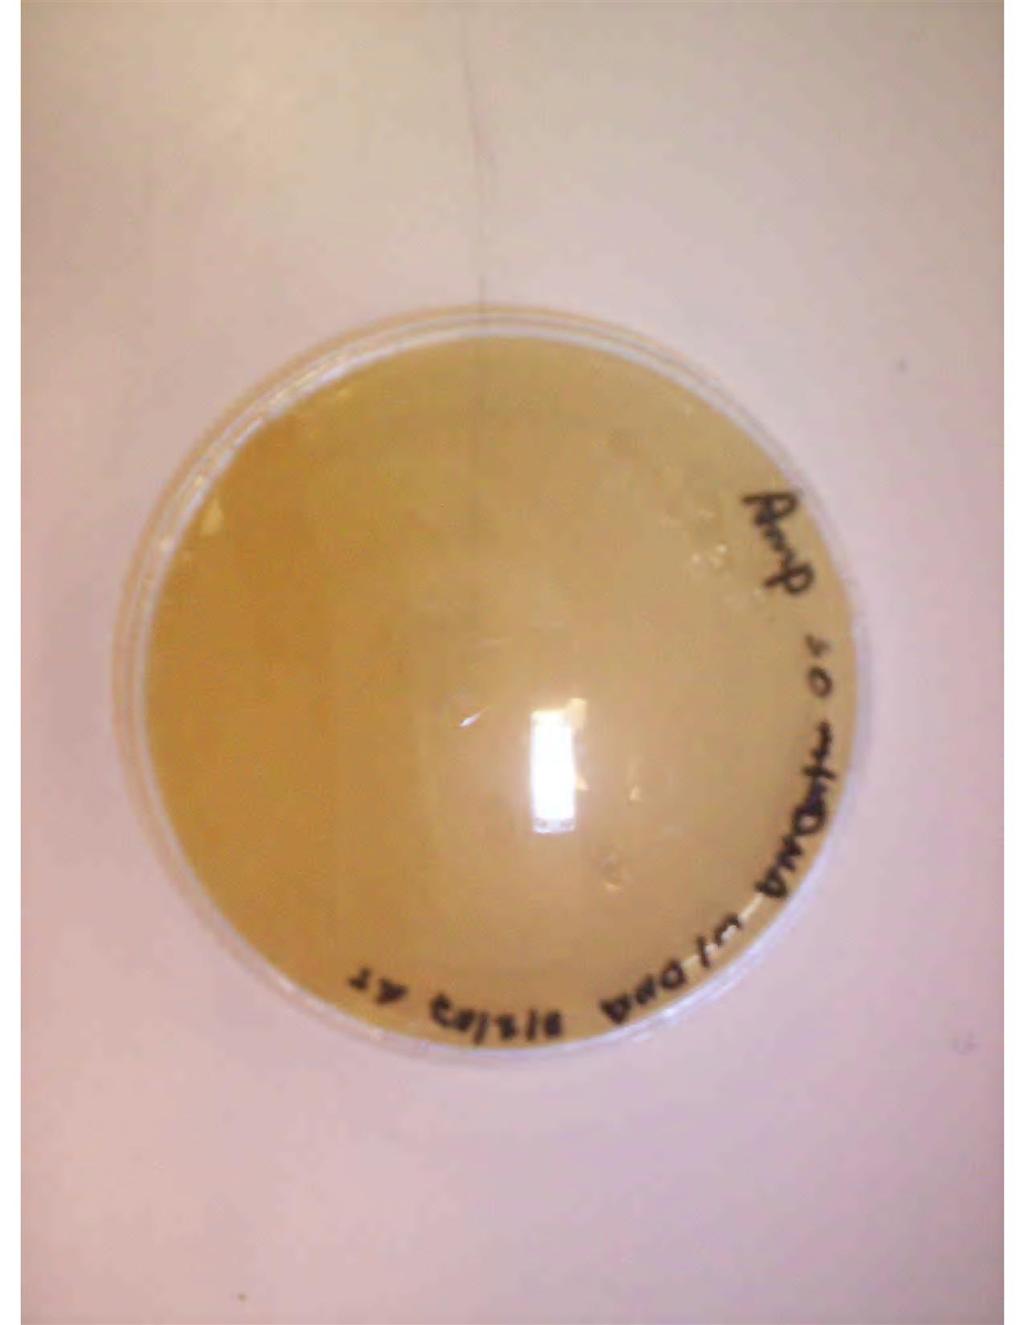
7 8/3/07 11:15-12:00pm Ray and I checked the plates. There was growth on all of them including the ones without DNA. We think that we may have had this problem because the ampicillin may not have been well mixed with the LB solution when we prepared the plates. Ray and I prepared some more LB solution, and heated it in the autoclave. Also, there was no growth on the glycerol plate. So we feel that the glycerol is sterile enough to use to prepare the glycerol stock solution. I also took pictures of the plates. These didn't come out very well. I think next time I take a group of pictures like this I will try to use a black background. Main Page 7


8 1:20-2:10pm Ray and I checked the autoclave. The autoclave didn't work properly (or we forgot to set it) so we reautoclaved the same items. While we were waiting we prepared the glycerol stock solution with 40 ml of glycerol and 60 ml of autoclaved distilled water. 3:15-4pm Ray, Autumn, and I took things out of the autoclave. We then measured out 15 micro L of ampicillin into several plates, and poured 30 ml of agar solution. 4-4:50 Ray, Greg, and I streaked the e. coli from the old plates onto the new plates. The plates we made and labeled are as follows: 9 Amp 10 ml with DNA plates 3 Amp 10 ml without DNA plates 3 Amp 7.5 ml with DNA plates 3 Amp 7.5 ml without DNA plates 5 Amp 30 ml with DNA plates 3 Amp 30 ml without DNA plates 8/4/07 3:30-4:40pm Ray, Greg, and I checked the plates. There was very inconsistent growth. Some of the solutions with DNA grew on the plates with ampicillin, but some of them didn't. Likewise, some of the solutions without DNA grew on the plates, and some didn't. It looks like we may need to restart the transformation process. We also wanted to do an experiment to see if the ampicillin is getting to our bacteria. We prepared several solutions by placing 5 micro L of ampicillin into 5 ml of LB solution. We then inoculated our strains straight into these solutions to see if they would grow, and placed them in the incubator at 37 degrees C. We inoculated 2 falcon tubes from each pile of 6 different types of bacteria. We also vortexed these tubes to make sure that they were mixed well. 10 ml with plasmid 10 ml without plasmid 7.5 ml with plasmid 7.5 ml without plasmid 30 ml without plasmid 30 ml with plasmid Main Page 8

9 Main Page 9


10 Main Page 10 8/6/07 1:00-1:40pm I checked the tubes filled with LB and ampicillin containing the bacteria with and without the DNA. It appeared to me that both the bacteria with the ampicillin resistance gene and the bacteria without grew in the solution. Professor Pedersen and I had a meeting. I thought she had a really good plan of action in order to determine what the problem is. Basically, we will try to grow the original DH5 alpha e. coli strain on ampicillin plates. If this strain grows on the plates, then we will have to order a new e. coli strain. If, on the other hand, the original e. coli strain does not grow, then we will try to grow the competent cells on ampicillin plates. If those don't grow (they shouldn't grow because they shouldn't have the gene for ampicillin resistance), then we will have to redo the transformation. Basic Plan of Action to Narrow Down Problem

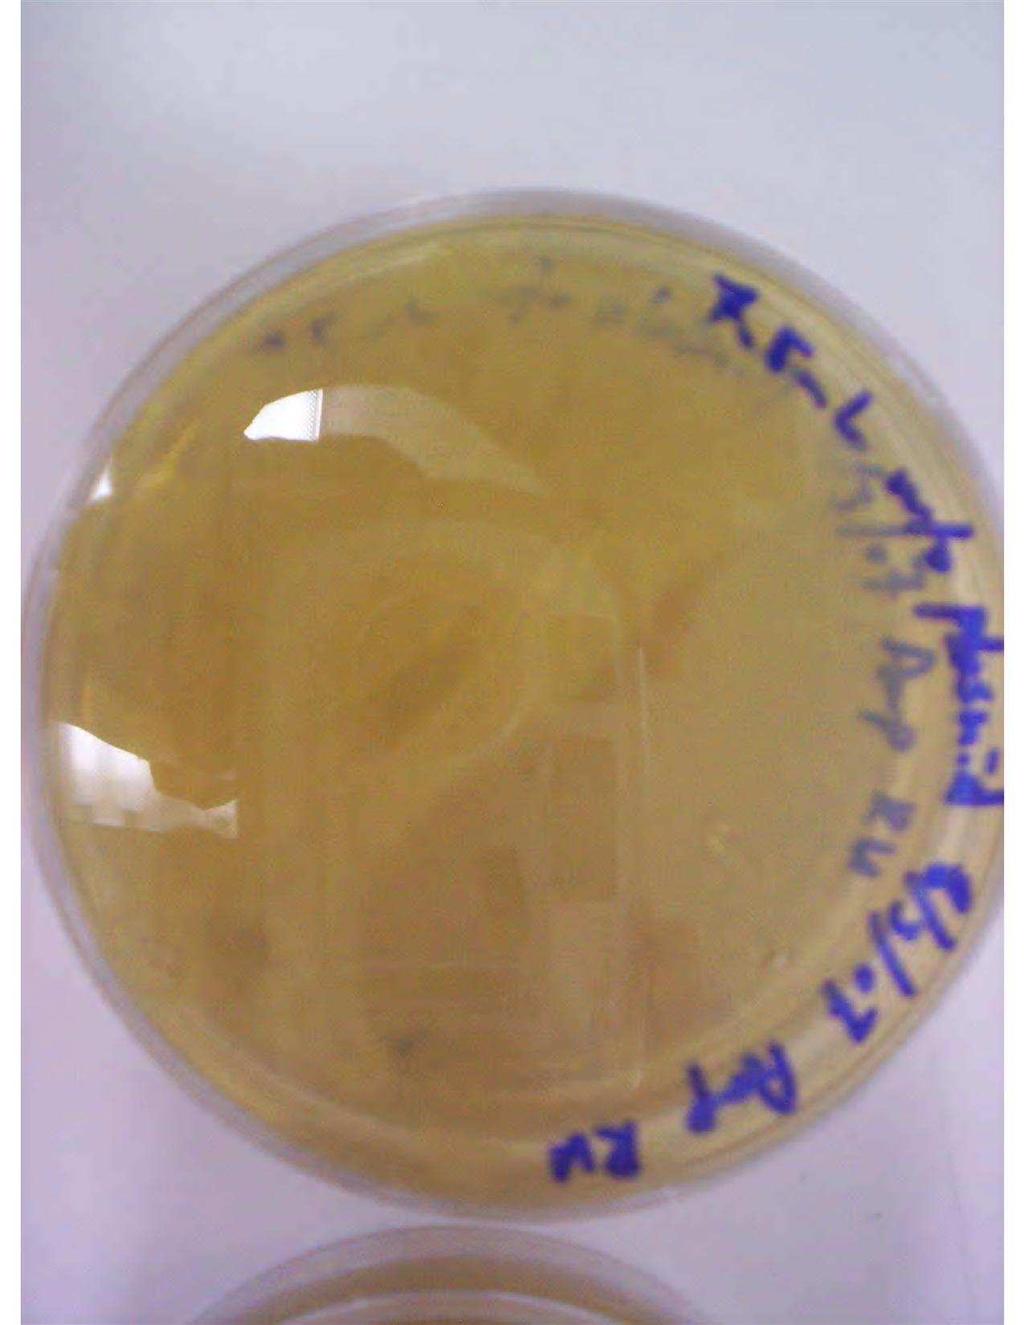
11 Main Page :40pm Autumn and I prepared more LB solution. 5:00-6:10pm Greg and I took the LB solution out of the autoclave. We then prepared many plates (1/2 with ampicillin and 1/2 without). We then streaked 6 plates with the original DH5 alpha e. coli strain. The plate that this strain came from was labeled "DH5 e. coli 4/4/07 RU." 3 of the plates had ampicillin, while the other 3 did not. If the original strain does not have ampicillin resistance (it shouldn't), then the bacteria should grow on the plates lacking ampicillin and should not grow on the plates with ampicillin. We'll have to see what happens. 8/7/07 11:05am I checked on the plates. There was growth on all 6 plates. When we prepared the plates, we were careful about how we labeled things. We also made sure that the ampicillin was mixed with the plates well. So our original strain must have ampicillin resistance somehow, and we need to order another strain. Another possibility is that our ampicillin is defective somehow. Yet another possibility is that the ampicillin wasn't mixed well enough, even though we made sure to mix it well. 3-4pm Autumn and I took pictures of the plates and tubes. We also took some pictures of ourselves to put onto the website. In addition to this we cleaned the lab, and autoclaved some more glassware for future use. Pictures of Original Strain Streaked onto 3 Amp Plates and 3 non-amp Plates

12 Main Page 12 5:30-6:10pm Professor Pedersen informed me that we were not preparing the plates quite right. We should have been adding the ampicillin to the LB solution, and then poured the plates. Earlier we were adding the ampicillin to the plates and then pouring the LB. Greg and I prepared more LB and put it in the autoclave. 8-9:20pm Professor Pedersen showed us how to prepare our ampicillin solution. We weighed out 0.5 g of ampicillin and diluted it to 10 ml with deionized/autoclaved water. We then filter sterilized this solution and placed it into a falcon tube. Next we took 500 micro L of ampicillin and placed it into 500 ml of LB solution which was allowed to cool down somewhat (there were ml LB solutions). We then poured as many plates as we could. We plan on streaking our bacteria out onto these new ampicillin plates tomorrow. 8/8/07 Autumn and I streaked some more plates. We streaked the original DH5 alpha e. coli strain onto 3 plain plates and 3 Amp plates. We then took some of the transformed cells with and without DNA (we used the transformed cells prepared with 30 ml TSS since these grew the best). We streaked 3 plates with the strain that had DNA, and 3 without. Original Strain: 3 Plain Plates (should grow) 3 Amp Plates (should not grow) w/dna: 3 Amp Plates (should grow) w/o DNA: 3 Amp Plates (should not grow) 8/9/07 4:00-4:20pm I looked at plates and took pictures. The original strain grew just as it should have. It grew well on the plain plates, and there was no growth on the Amp plates. The growth of the transformed cells was harder to interpret. I don't think any of the transformed cells really grew well or at all. I think we might get better results if we spread 20 micro L of the original transformed cells onto plates, instead of streaking from some older plates like we did. Original Strain on Plain Plates


13 Main Page 13 Original Strain on Amp Plates Strain with plasmid on Amp Strain without plasmid on Amp 8/10/07 12:05-12:10pm I checked the Amp plates that Greg and I streaked the previous day. There was not any growth on them. It looks like we are going to have to redo the transformation. Also, the competent cells were in the fridge, instead of the freezer. So we will have to make the cells competent again as well. 8/11/07 5:30-6:00pm I streaked the original DH5alpha strain onto some new plates. 8/12/07 6:45-7:00pm I inoculated tubes filled with 10 ml of LB media with the ecoli from the plates from the day before. 8/13/07 Prep 11:15am I transferred 1 ml of saturated solution into 100 ml LB. 12:30-12:50pm I also prepared some more TSS solution.

14 Main Page 14 Competent Cell Prep 1-3:15pm I wasn't able to check the OD until 2:40pm. By that time the OD was 0.756, which was too high. I asked Professor Pedersen about diluting the sample, and she said that would not work. So I need to start over. 8/14/07 11:15-6:30pm Ray and I tried to make the cells competent. We were checking the absorbance for a while and things were going well. Then all of the sudden the absorbance surpassed the 0.5 OD600 too much. We think a large part of this error had to do with the fact that we were using the spectrophotometer in the Instrumental Analysis lab which is fairly far away from the Molecular Genetics lab that we were growing the bacteria in. We then decided to take a look at the supposedly broken spectrophotometer in the Molecular Genetics lab itself. We found that it actually worked. We also found that it produced values that were more consistent with the water lab's spectrophotometer, which is supposed to be very accurate, than the instrumental analysis lab's spectrophotometer. We plan on trying to make the cells competent again tomorrow using the spectrophotometer in the molecular genetics lab. Here is some data from all three spectrophotometers. We zeroed each machine out with distilled water. We then read the absorbance (at 600 nm) of a sample of food coloring. Lab Calibration(water) Sample(food coloring) Water Lab Instrumental Analysis Lab Molecular Genetics Lab Here is the absorbance data that we collected. 8/15/07 1:00-1:10pm I placed 1 ml of saturated solution of DH5alpha e-coli into 100 ml LB, and placed this solution in the incubator. 8/13/07 Procedures Observations
. Competent Cell Prep 1. Check OD600 of the cells in the broth frequently when it gets beyond 0.2. Keep doing this until OD reaches 0.5 +-0.03. Prep 9:20-9:30am 1.")
15 Main Page 15 Prep 1. Transfer 1 ml of the saturated overnight culture into a steril 500 ml flask containing 100 ml of LB medium. Incubate the cells at 37 degrees C at 220 rpm until OD reaches 0.5 (takes about hours). Competent Cell Prep 1. Check OD600 of the cells in the broth frequently when it gets beyond 0.2. Keep doing this until OD reaches Prep 9:20-9:30am 1. I put 1 ml of concentrated solution from fridge into 100 ml LB. This solution was then placed into the incubator shaker. Ray and I (3-11:15pm) Greg (7-11:15pm) Autumn (7-8:30pm) Competent Cell Prep 1. We checked the OD on the spectrophotometer in the Molecular Genetics Lab. 2. When the culture reaches an OD of 0.5, chill the flask on ice for 20 min, and then collect the cells by centrifugation at 1,200 x g for 5 min at 4 degrees C. 3. Resuspend the cells in 10 ml of ice-cold TSS Solution. The cells are now ready for transformation. Transformation Control: Competent cells alone, competent cells with uncut plasmid 1. Take an ice bucket full of ice and go collect two tubes of competent cells. 2. You will need 100 micro L fresh cells per sample/control. Thaw cells from freezer slowly on ice and use immediately. 3. When thawed very gently pipette 100 micro L into 3 pre-cooled Falcon tubes each. 4. Add 1 micro L DNA to each tube with competent cells 5. Swirl tube gently and leave on ice for 30 min 6. Transfer tubes to 42 C water bath for 60 sec do not shake tubes. 7. Rapidly transfer tubes to ice again 8. Add 800 micro L SOC to tubes. Warm culture at 37 C for min 2. We chilled the cells for 20 minutes, and then collected them by centrifugation at 1,200 xg for 5 min. 3. We resuspended the cells in 10 ml of chilled TSS solution. Transformation 1, and 2. We used the competent cells right after preparing them. 3. We placed 100 micro L of the competent cells into 3 pre-cooled falcon tubes. 4. We added 1 micro L of the Biobrick DNA to one of the competent cell tubes. We added 1 micro L of DNA that had a gene for Kanamycin resistance to our other tube of competent cells. Ray had worked with this DNA before so he knew that it could be effective. If the cells with Kanamycin resistance did not grow on the Kanamycin plates, then we would know that we failed to make the cells competent. 5. We swirled the tubes and put them on ice for 30 min. 6. We transferred the tubes to a water bath at 42 degrees C for exactly 60 seconds. 7. We then placed the tubes back on ice. 8. We added 800 micro L of SOC, and then placed
16 Main Page If your plates are in the refrigerator bring them out. They need to warm up so the bacteria do not get shocked when plated. 10. Spread 20 micro L (each plate)on appropriate plates - incubate at 37 C overnight the tubes in the 37 degree C incubator for exactly 60 minutes. 9. We let our plates warm up for a little while. 10. We spread 20 micro L of the sample onto some plates and let them incubate over night. 8/16//07 5:20pm Ray and I checked the plates. The results did not turn out well. There was only growth on plates that lacked antibiotics. This indicates that none of our cells underwent transformation. Ray has been able to perform a successful transformation with the kanamycin DNA in the past. Therefore, we think that our failure did not occur during the transformation, but during the process of making the cells competent. Amp plates with Plain LB Plates with Amp plates with no Kan plates with Kan Plain LB Plates with Kan Plates with no Plain LB Plates Amp DNA (6) Amp DNA (3) DNA (2) DNA (6) Kan DNA (3) DNA (2) without DNA (2) (#) = number of plates of this type that were prepared Amp plates with Amp DNA= Plates containing ampicillin that were streaked with bacteria that should have had a gene for ampicillin resistance. Plain LB Plates with Amp DNA= Plates containing no antibiotic that were streaked with bacteria that should have had a gene for ampicillin resistance. Amp plates with no DNA= Plates containing ampicillin that were streaked with bacteria that should not have had any genes for antibiotic resistance. Kan plates with Kan DNA= Plates containing kanamycin that were streaked with bacteria that should have had a gene for kanamycin resistance. Plain LB Plates with Kan DNA= Plates containing no antibiotic that were streaked with bacteria that should have had a gene for kanamycin resistance. Kan Plates with no DNA= Plates containing kanamycin that were streaked with bacteria that should not have had any genes for antibiotic resistance. Plain LB Plates without DNA= Plates containing no antibiotic that were streaked with bacteria that should not have had any genes for antibiotic resistance. Note: We checked these plates again later and there actually was some growth on the Kan plates. So it looks like we actually did succeed in making the cells competent. The transformation also succeeded with the old DNA that Ray used with Kan resistance, but appears to have failed for some reason with the Biobrick DNA. 8/19/07 Ray and I placed 5 micro L of a solution of cells stored in the fridge into 5 ml of LB in a tube. We then placed this in the37 degree C incubator overnight in preparation for another competent cell prep. 8/20/07 11:00am Ray and I took 1 ml from the tube prepared the previous day, and placed it into 100 ml of LB in a 500 ml flask. We read the absorbance value on the spectrophotometer of the LB and the LB solution with cells. We then placed the flask in the incubator. 1:00-6:00pm Ray and I prepared competent cells once again (I won't display the procedure here again). We did this basically the same waythat we had done the other two times. However, we also saved a lot of competent cell solution by placing 500 micro L into cryogenic tubes. Thesetubes were then placed in a freezer at -80 degrees C. When we do the transformation we also plan on doing a few things differently. We are going to use the GFP biobrick and the kanamycin DNA as before. However, we will also use some yellow GFP. We are also going to use different amounts of DNA. Before we used 1 micro L. This time we are going to use 1 micro L and 5 micro L DNA in different plates. We think that using more DNA might help the transformation be more successful.
17 Main Page 17 Anticipated Results Table + = Growth -= No Growth Plasmid -> GFP YFP Negative Control Positive Control Amount of DNA -> 1 micro L 5 micro L 1 micro L 5 micro L 5 micro L 5 micro L Type of Plate -> Amp Normal Amp Normal Amp Normal Amp Normal Amp Normal Kan Normal Actual Results Table + = Growth -= No Growth Plasmid -> GFP YFP Negative Control Positive Control Amount of DNA -> 1 micro L 5 micro L 1 micro L 5 micro L 5 micro L 5 micro L Type of Plate -> Amp Normal Amp Normal Amp Normal Amp Normal Amp Normal Kan Normal I think we mislabeled some of these plates. I can tell by the color of the plate which one's were Amp plates. Some of our plates were labeled Amp
18 Main Page 18 when they were really just normal plates. Since I think we mislabeled some of these, we can't tell anything for sure from these results. The 5 micro L NC Amp plate had growth when it should not have. Likewise, the positive control Kan plate had no growth when it should have. Note that the plate was labeled "Amp" when it should have had a label of "Kan." 8/22/07 4-7:15pm Greg, Kelsey, and I performed the transformation as outlined above. We will check the plates tomorrow. 8/23/07 5:30-6:30pm I checked the plates. They did not totally give the expected results so I streaked some more plates to see what was going on. Anticipated Results Table + = Growth -= No Growth Plasmid -> GFP YFP Negative Control Positive Control Amount of DNA -> 5 micro L 5 micro L 5 micro L 5 micro L Type of Plate -> Amp Normal Amp Normal Amp Normal Kan Normal Actual Results Table + = Growth -= No Growth Plasmid -> GFP YFP Negative Control Positive Control Amount of DNA -> 5 micro L 5 micro L 5 micro L 5 micro L Type of Plate -> Amp Normal Amp Normal Amp Normal Kan Normal /24/07 8:00-8:15am I checked the plates and got the results above. I think that our Amp plates are bad or that we gave our negative control some antibiotic resistance. I am checking whether the plates our bad by streaking regular DH5 alpha e. coli out onto our Amp plates and the normal plates. There were two different types of Amp plates (prepared at different times). I tried out both types. 3:15-4:15pm We received the PsuedomonasfluorescensPfO-1 strain that has all of the cyanide specific genes that we needed. So today I streaked this strain out onto an Amp plate (it is supposedly ampicillin resistant) and a normal plate. There was not enough growth to discern anything for certain from the plates I streaked out in the morning. However, I feel like I know what the problem is. We have two different types of Amp plates prepared at two different times. I think one batch of these is good, and the other one is bad. I'll find out once there is enough growth on the plates I streaked in the morning. I streaked out the GFP, YFP, NC, and PC as before using the Amp plates that I think I know works. I'll know all of this stuff for certain tomorrow. 8/25/07 5:00-6:15pm It looks like one of our batches of ampicillin plates is good, while the other batch is bad. Now that I think back I am quite positive that I accidentally messed up one of the ampicillin batches by putting the ampicillin into the autoclaved LB while it was still to hot. I remember this because I was in a big hurry to get somewhere, and I remember the flask of LB burning my hands. I wasn't really thinking of the consequences at the time. The results of the transformation turned out perfectly when streaked onto ampicillin plates that we know are good. I threw the other plates out. We will just have to make more.


19 Main Page 19 Actual Results Table + = Growth -= No Growth Plasmid -> GFP YFP Negative Control Positive Control Amount of DNA -> 5 micro L 5 micro L 5 micro L 5 micro L Type of Plate -> Amp Normal Amp Normal Amp Normal Kan Normal /31/07 I was busy this week and lost track of exactly what we did and when we did it. Basically, Ray and I streaked out the GFP and YFP that grew on the Amp plates onto more Amp plates. We also had several meetings with Professor Pedersen about the project. I have details about these meetings in another document. Today we inoculated 5 ml of LB in a tube with our GFP, YFP, and P. fluorescens strains. 9/1/07 7:30-7:50pm I took 1 ml of a strain (GFP, YFP, or P. fluorescens strain) and 1 ml of glycerol buffer solution and placed these into a cryogenic vial. I then placed these three cryogenic vials into the -80 degree C freezer. 9/7/07 A lot of different people did different things this day. We also had a big meeting with all of the student's present to discuss the project plan as well as getting credit for the project. 2-4pm Luke and Kelsey made Amp plates. They also worked on this last week. 4-5pm Ray took GFP glycerol buffer solution and streaked it out onto a plate. 5-6pm Greg poured Amp plates. 9/9/07 Ray and I continued preparing GFP strain for extraction. We put 5mL of LB, 5 micro L of ampicillin, and some of the GFP strain into a tube. This tube was then placed in the incubator shaker at the standard settings over night. We plan on extracting the plasmid tomorrow. 9/10/07 We extracted the plasmids using the following protocol. 5:15-6:50 pm Ray

20 Main Page 20 6:00-6:50 pm Autumn and myself (Kurt) We started by resuspending the pelleted bacterial cells in 25 micro L of buffer P1 and transferred this solution to a microcentrifuge tube. We then added 250 micro L of P2 buffer and gently inverted the tube 4-6 times to mix. We added 350 micro L of Buffer N3 and inverted the tube. The solution turned cloudy at this point. We then centrifuged for 10 minutes at 13,000 rpm in a table top micro centrifuge. A white solid formed at the bottom with a clear supernatent on top. We decanted the supernatent into the QIA prep spin column. We then centrifuged for seconds. We discarded the liquid flow through because the DNA should now be caught on the filter. We then washed the QIA Prep spin column by adding 0.5 ml Buffer PB. We then centrifuged again for seconds and discarded the flow through. We then added 0.75 ml Buffer PE and centrifuged again for seconds. We prepared the PE Buffer by adding 25 ml of ddh20 to the PE Buffer in the kit. Next we discarded the flow through, and centrifuged for an additional minute. We then placed the QIA Prep column in a clean 1.5 ml microcentrifuge tube and added 50 micro L of Buffer EB, and centrifuged for one minute. When we were done we labeled the DNA Capsules "GFP 9/10/07 RU" and placed them in the -17 degree C fridge. Note that we used the centrifuge in the room next to the molecular genetics lab (Eppendorf Centrifuge Model). It was very cold in this room (15 degrees C). 9/13/07 3:00-4:30 Stacy 3:00-7:30 Ray 6:00-7:30 Kurt We prepared some gels using a standard protocol. We then ran the DNA we extracted from our cells on the gel. The results turned out well, and it appears that we successfully transformed our cells so that they contain the GFP plasmid. We used the following protocol for our gel electrophoresis. We also obtained a Polaroid picture of our gel. The dark band shown in the picture appears to be our plasmid (the genomic DNA of the cells was separated out by our procedure. Gel Electrophoresis Results for Strain containing GFP plasmid 9/19/ am, 12-1 pm I worked on straightening out problems with the primers for the project. Professor Howard noticed that we need to attach the reverse complement of the Biobrick suffix to the 5' end of the reverse primer for everything to work. Before this observation we were just planning on attaching Biobrick suffix
21 directly to the 5' end of the reverse primer. Main Page 21