Making Saline SOLUTION. Lab Number 2 Part 1
|
|
|
- Gerald Hoover
- 5 years ago
- Views:
Transcription
1 Making Saline SOLUTION Lab Number 2 Part 1
2 Purpose The purpose of part 1 of this lab is to learn the proper way to make reagents that are needed for labs.

 250 ml Solute")
3 Materials Need for the Lab are: Volumetric flasks Balance (any type) 250 ml Solute materials NaCl

")


4 Weighing Paper / Container (4) Spatulas Parafilm only) Funnel (use for water


5 Plastic pipette Beaker of H2O (1000 ml) Safety glasses Lab coat
6 Part 1: Procedure 1. Calculate how to make the following mixture. (put in calculation section) ml of.85% NaCl
7 2. Clean your safety glasses with 70% alcohol swab, let dry, and put them on prior to making saline.
8
9
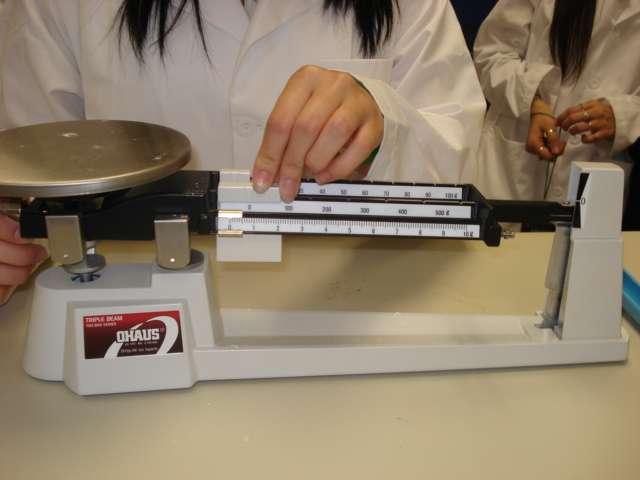
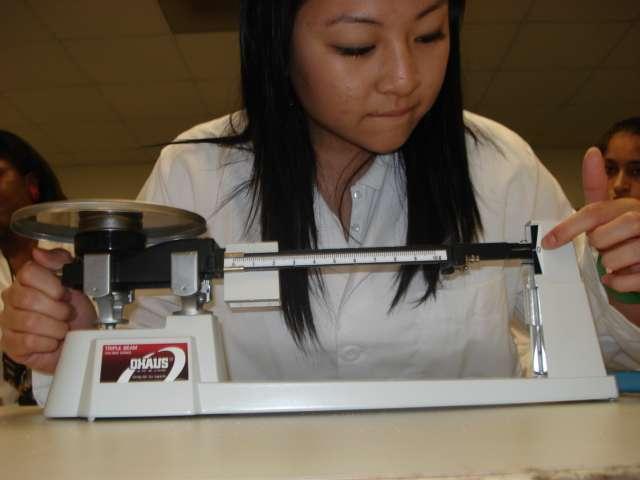
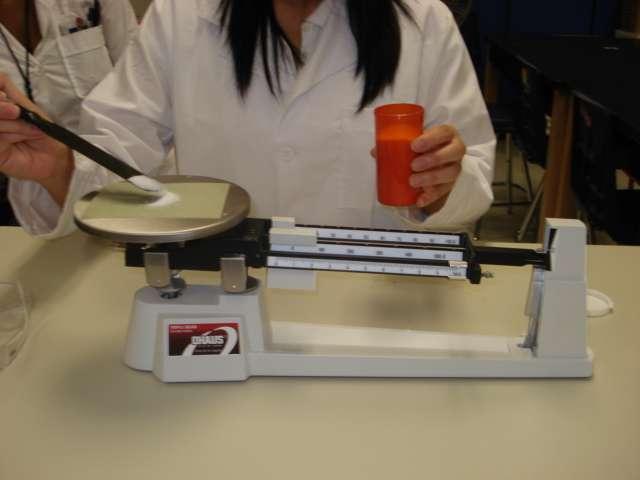
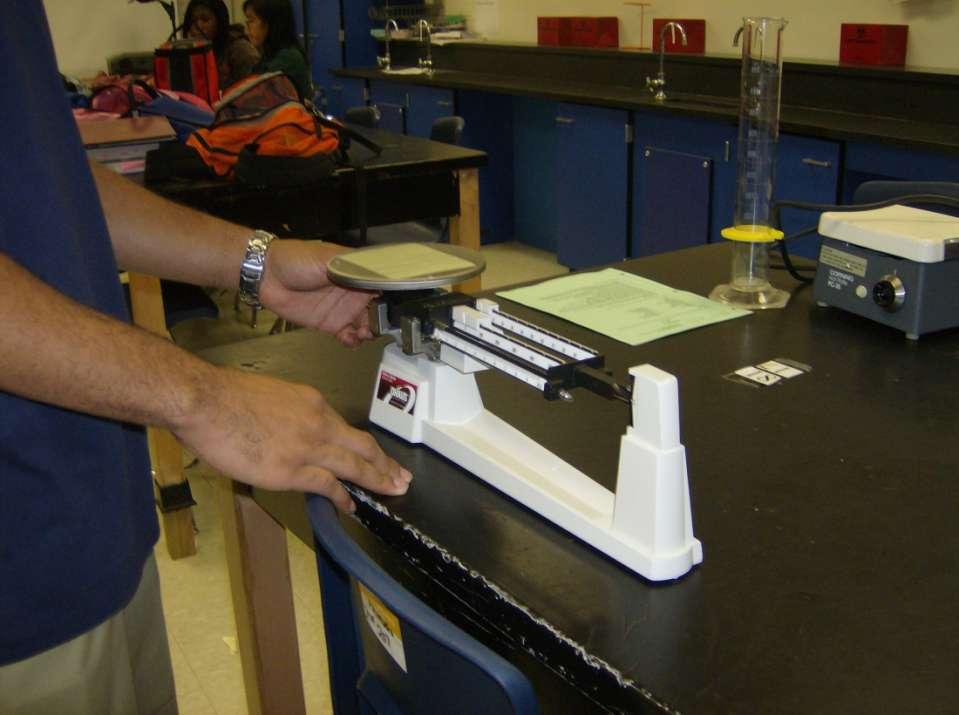
10 3. Zero scale. First position the balance so that the pan is on your right, and set all of the weights to zero.
11
12 Con t. Turn the knob that is located under the pan of the balance until the long line aligns with the short line next to the zero that is located on the left side of the scale.
13
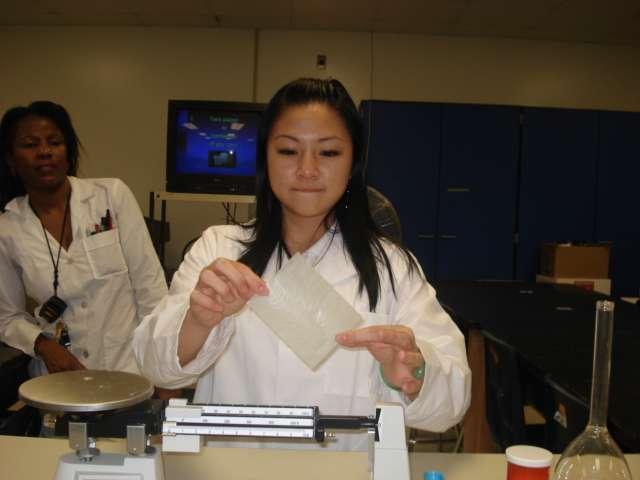
14 4. Tare paper by placing the weighing paper on the balance, and zero balance again just like in step one. If this method does not work, weigh the paper and add it to the mass that you need.
15
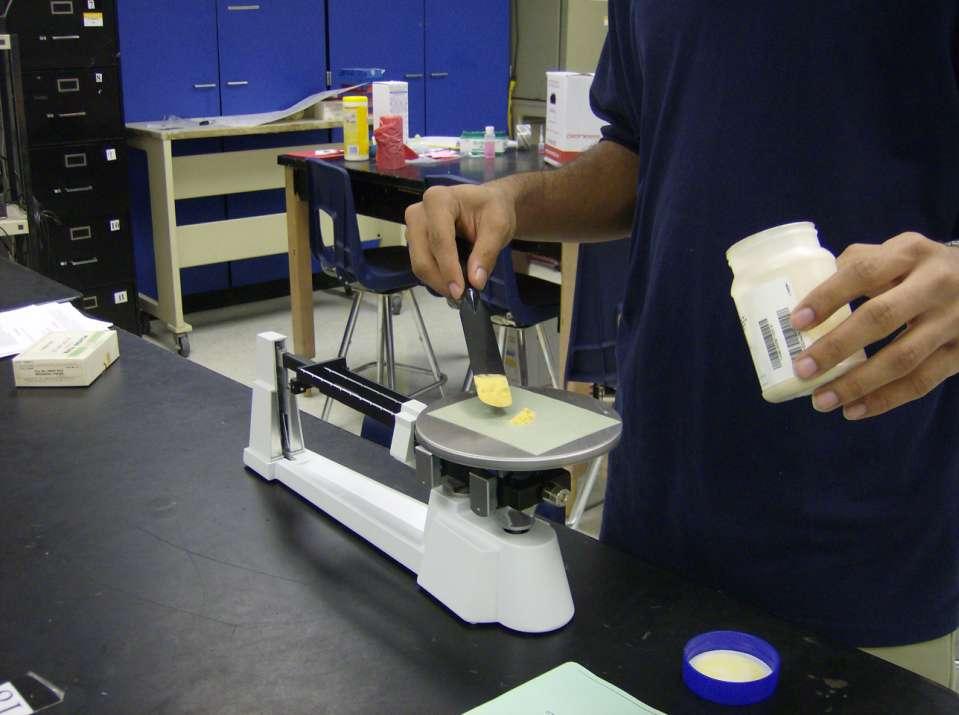
16 5. Take the solute material (NaCl) out of container with spatula until desired mass is obtained. (do not use hands)
17
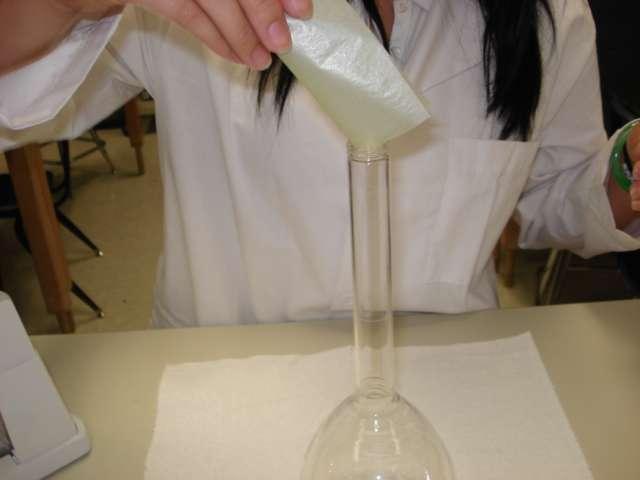
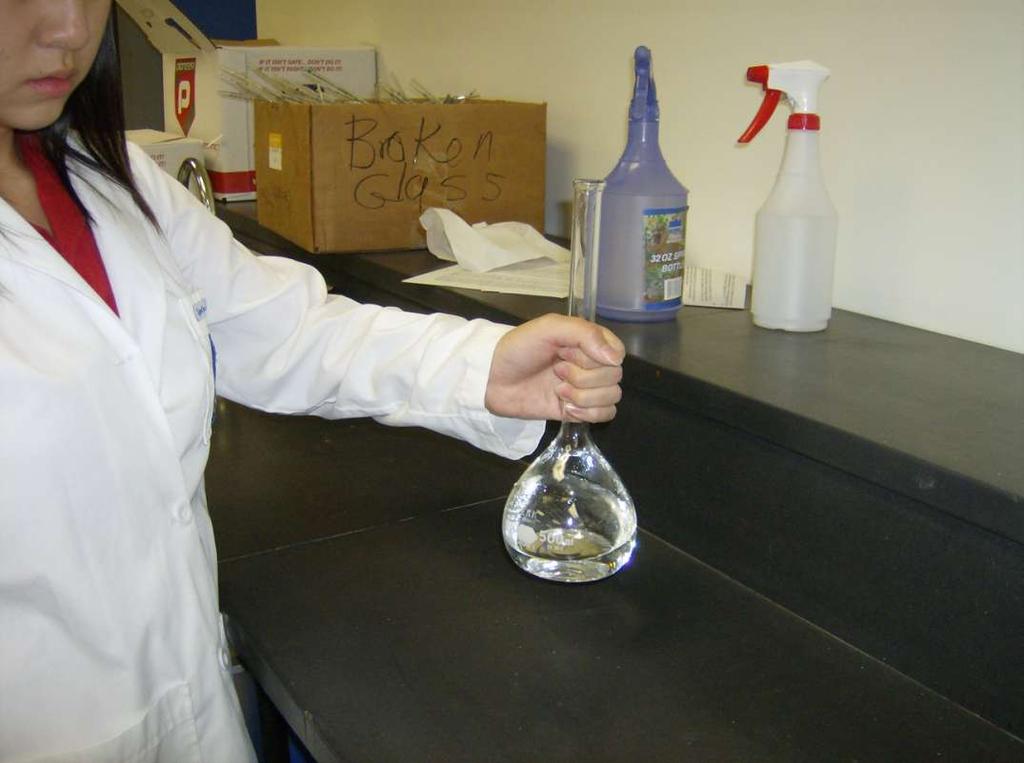
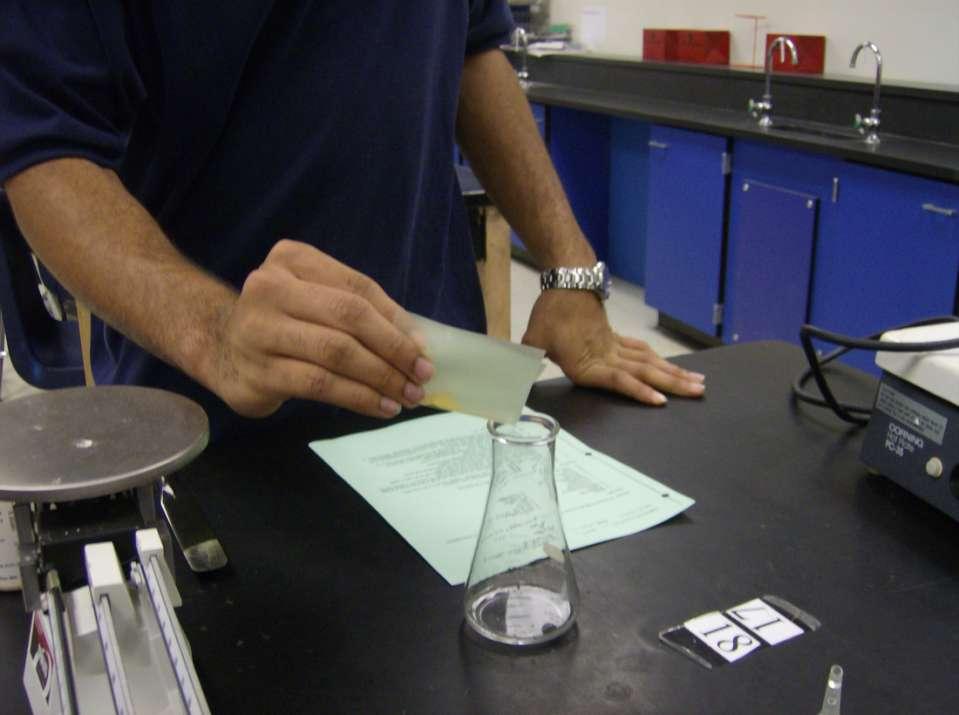
18 6. Carefully place solute into the mouth of volumetric flask by bending weighing container or weighing paper over the mouth of volumetric flask.
19
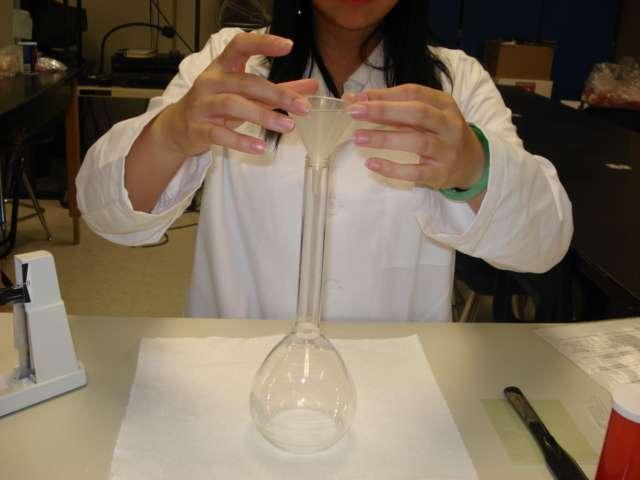
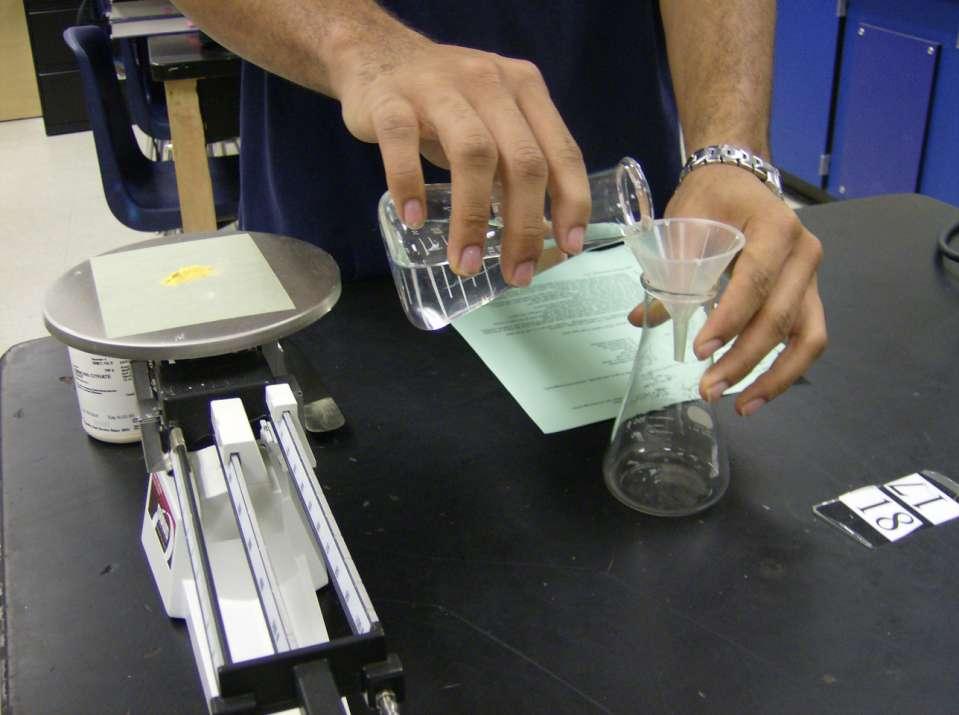
20 7. Place the funnel over the mouth of the volumetric flask.
21
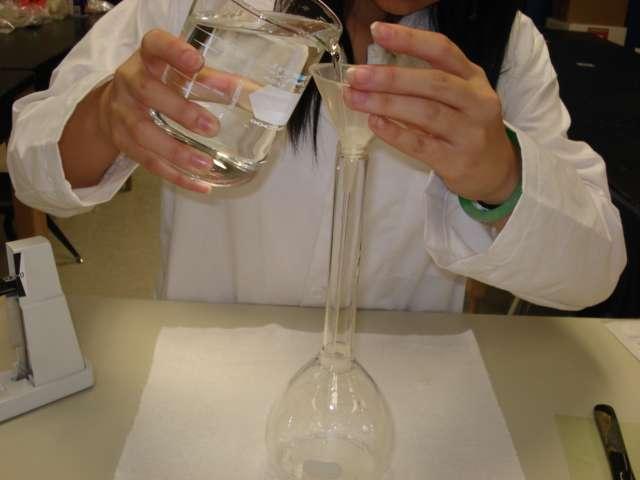
22 8. Pour in a small amount of water.
23


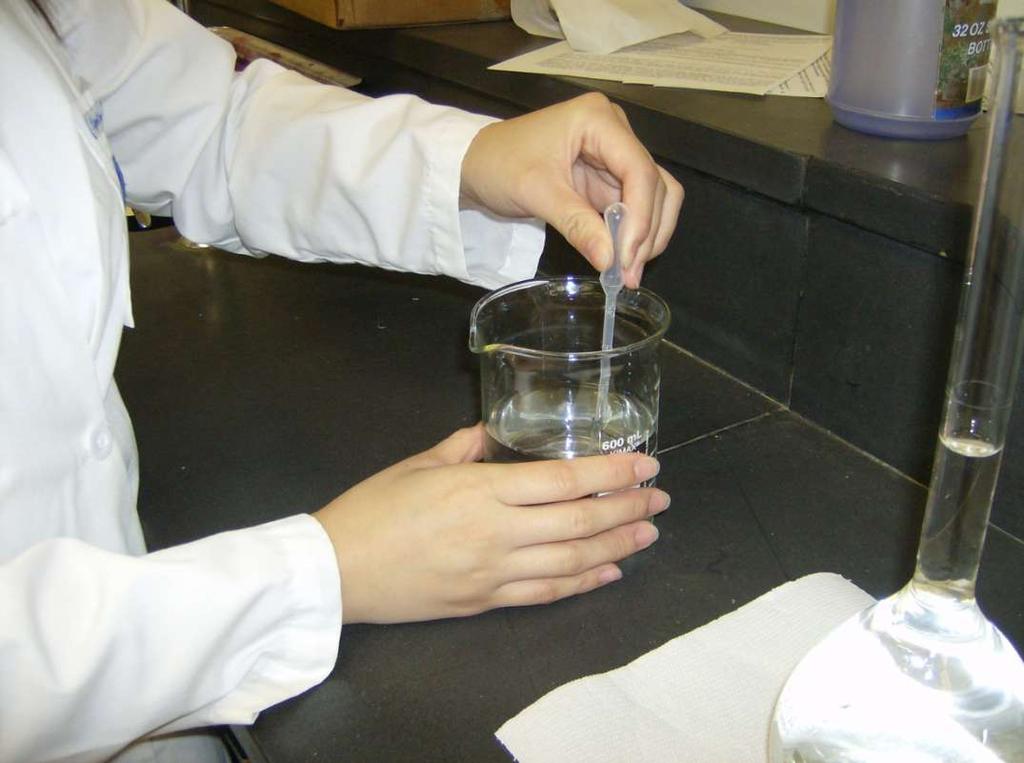
24 8. con t Gently swirl flask to mix solute material and water.
25
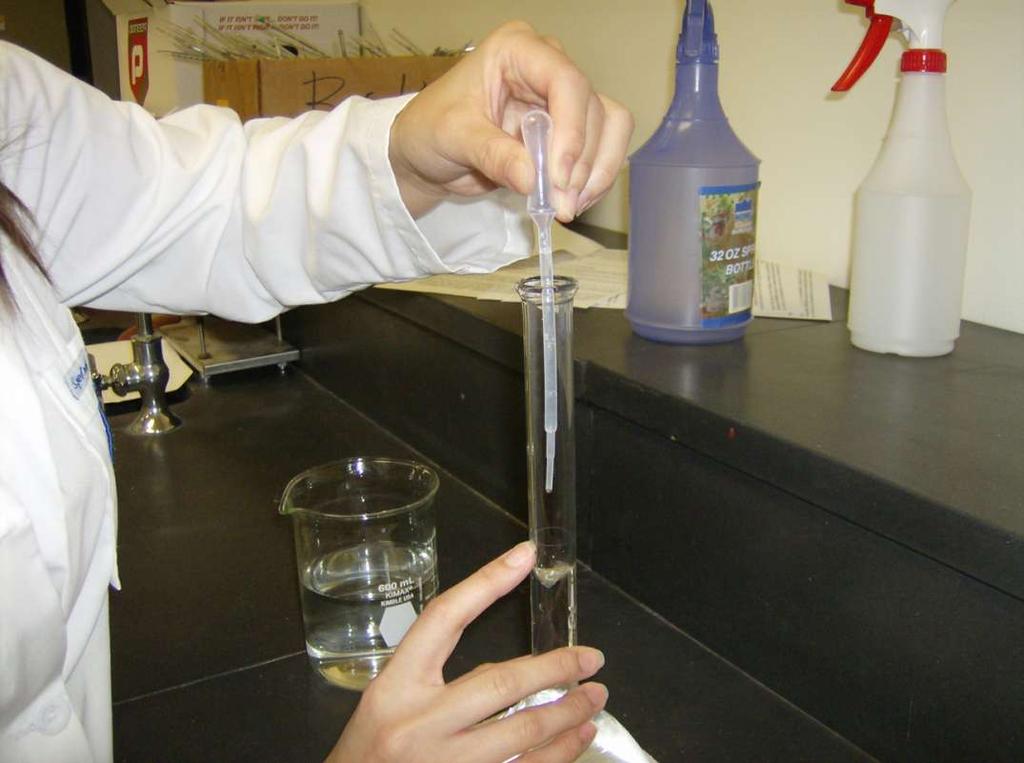
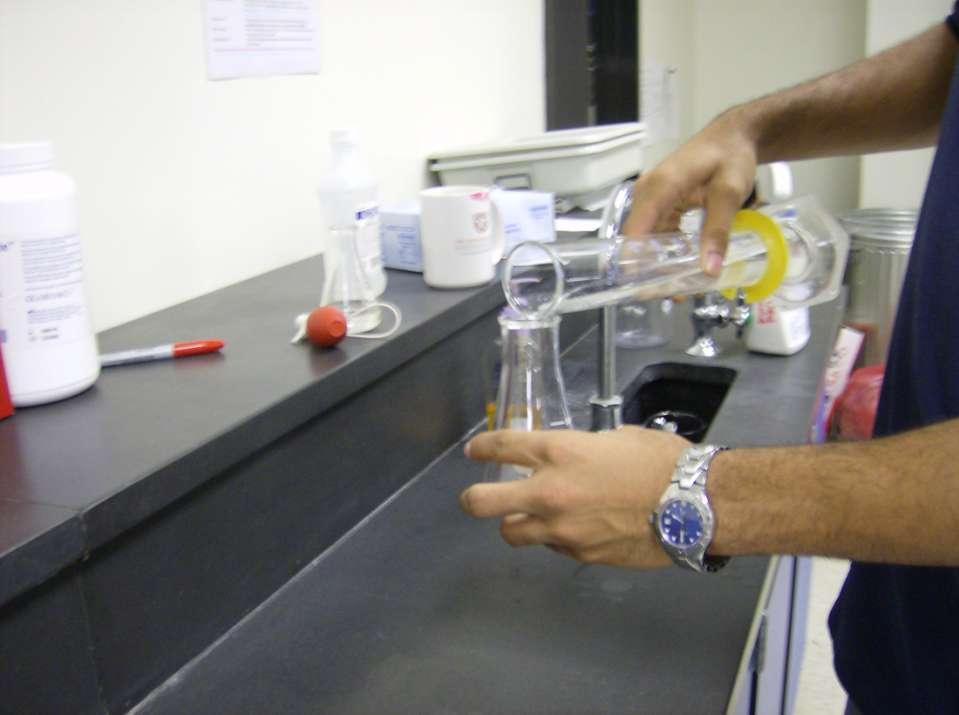
26 8. con t Repeat this process until the desired amount of water is obtained. (Be careful not to go past the fill line.) Use a plastic pipette to add water when close to fill line. (If you go past the fill line, start over.)
27
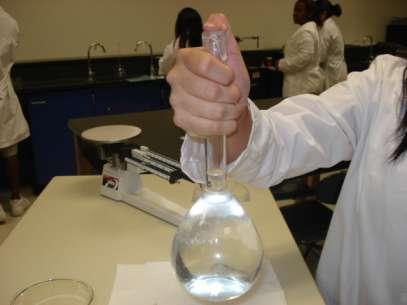
28 8. con t Add water slowly with drop until you get to the fill line. (If you go past the fill line, start over.)
29
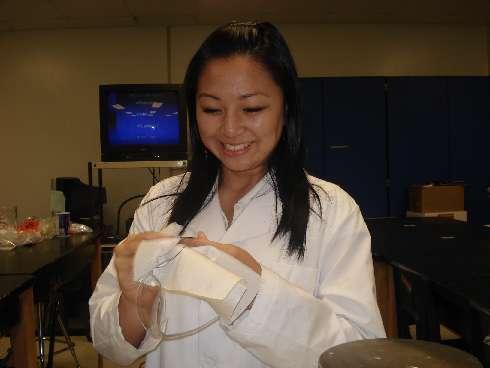
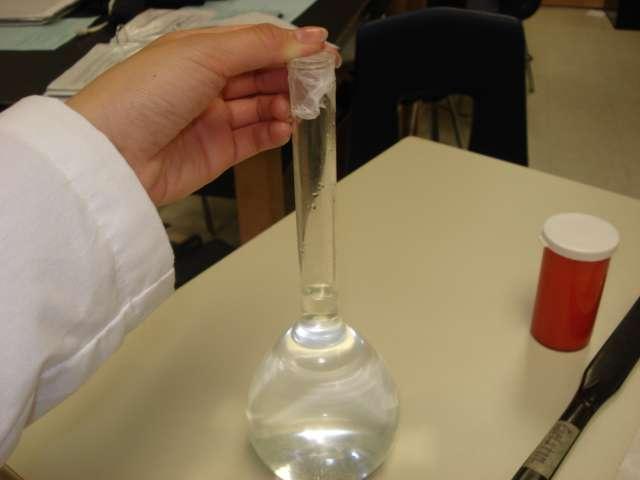
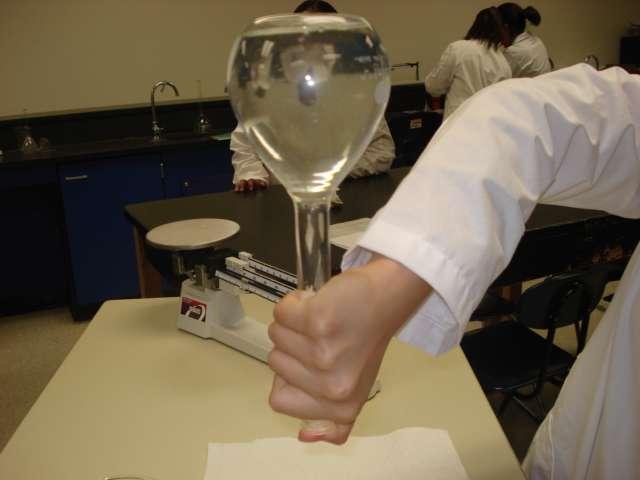
30 9. Place parafilm over the mouth of the volumetric flask. Be careful that the parafilm doesn t have holes.
31
32 9. con t Hold thumb over parafilm, and mix gently by inverting the flask upside down several times. If using a lid, hold the lid when mixing.

33

34 Further instructions will be given about where to store your saline for part 1, equipment and supplies.
35 Part 1 of Lab Performed by Crystal Duong Class of 2009
36 Part 2 Making Media
37 Purpose The purpose of part 2 of this lab is to learn how to make media in order to grow and identify various microorganisms.
38 Materials Balance Weighing Paper Spatula (2)Erlenmeyer or Florence Flask (size may vary) (2) Stirring Rods (2) Hot plates Distilled Water 500ml graduated cylinder Dry Media Petri dish(es) Cotton Safety gloves Autoclave Instrument Tubes for broth + slants Test tube rack Slant rack Funnel Working Mat Laboratory Coat Disinfecting wipes Biohazard containers
39 Balance

40 Weighing Paper
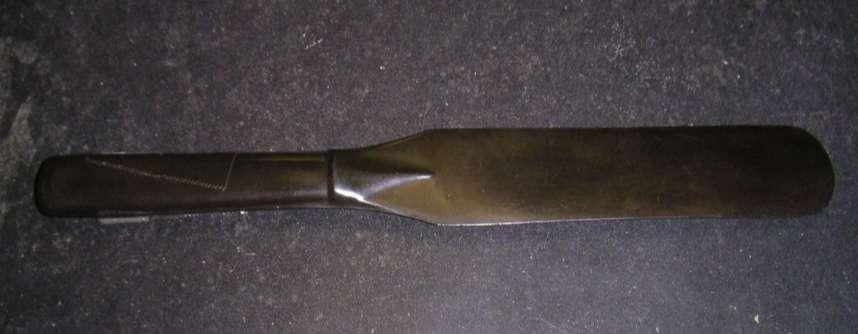
41 Spatula
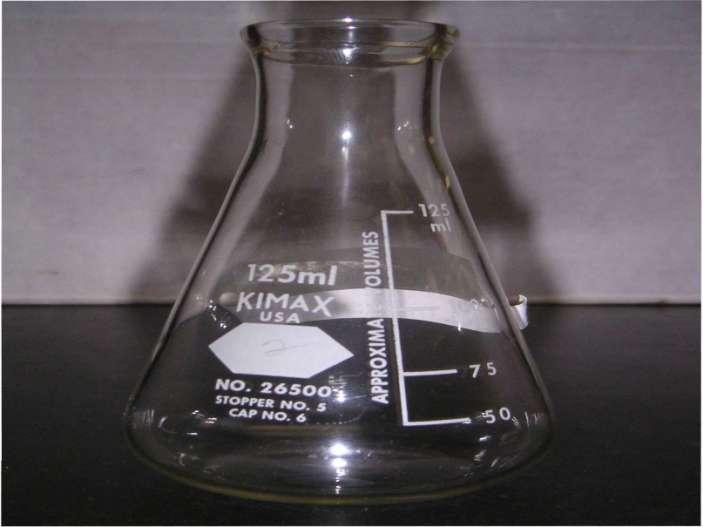
42 Erlenmeyer Flask

43 Stirring Rod
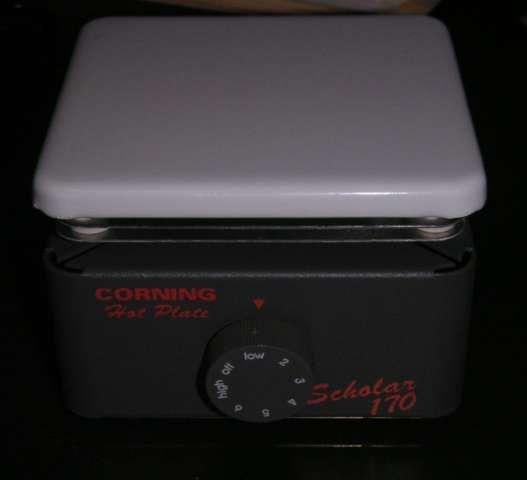
44 Hot Plate

45 Distilled Water

46 Graduated Cylinder
47 Dry Media

48 Petri Dish
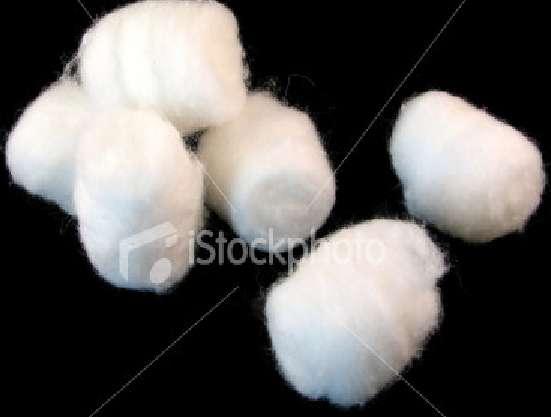
49 Cotton

50 Safety Gloves
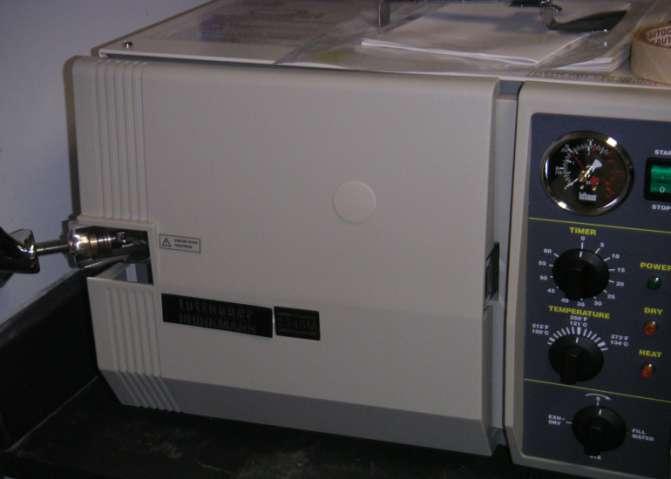
51 Autoclave
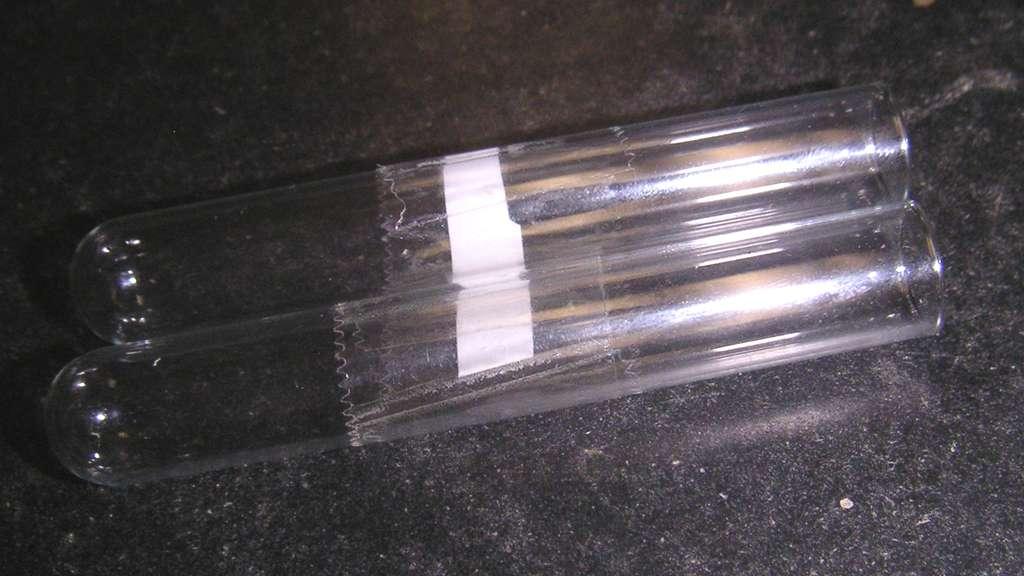
52 Tubes

53 Test Tube Rack

54 Slant Rack
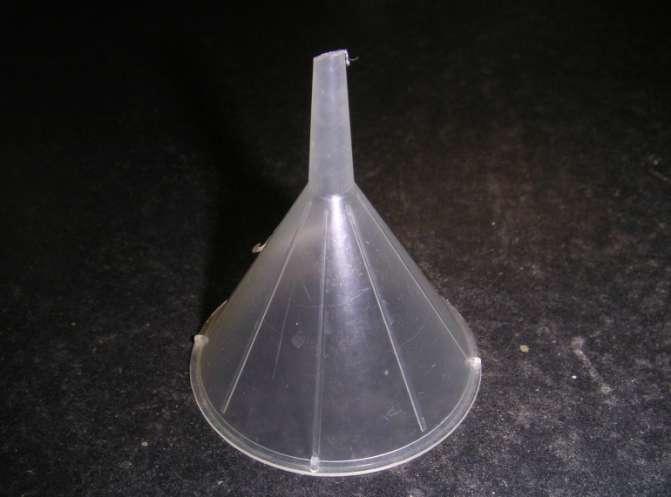
55 Funnel
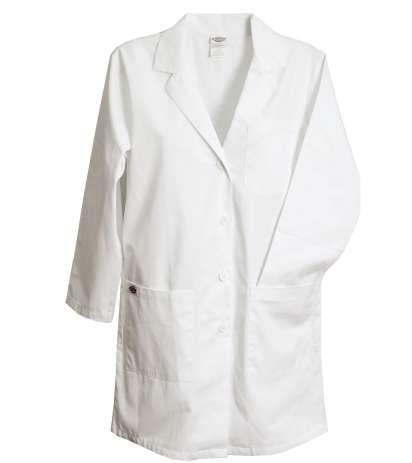
56 Lab Coat
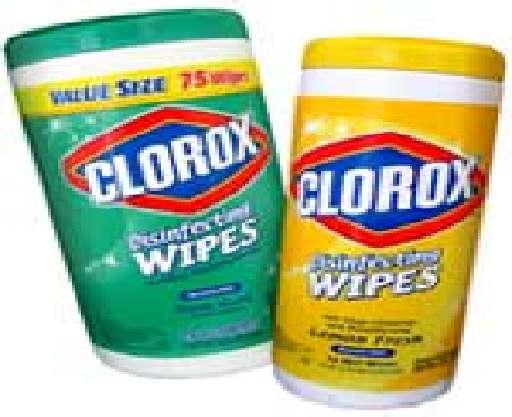
57 Disinfecting Wipes

58 Biohazard Containers
59 Procedures Students will work in groups. One student can be doing step 1, while another student does step 2, and another does step 3, etc The point is students will work together to get steps done.
60 1. Tare weighing paper.
61
62 2. Weigh out the appropriate grams of powder with spatula (see media container)
63
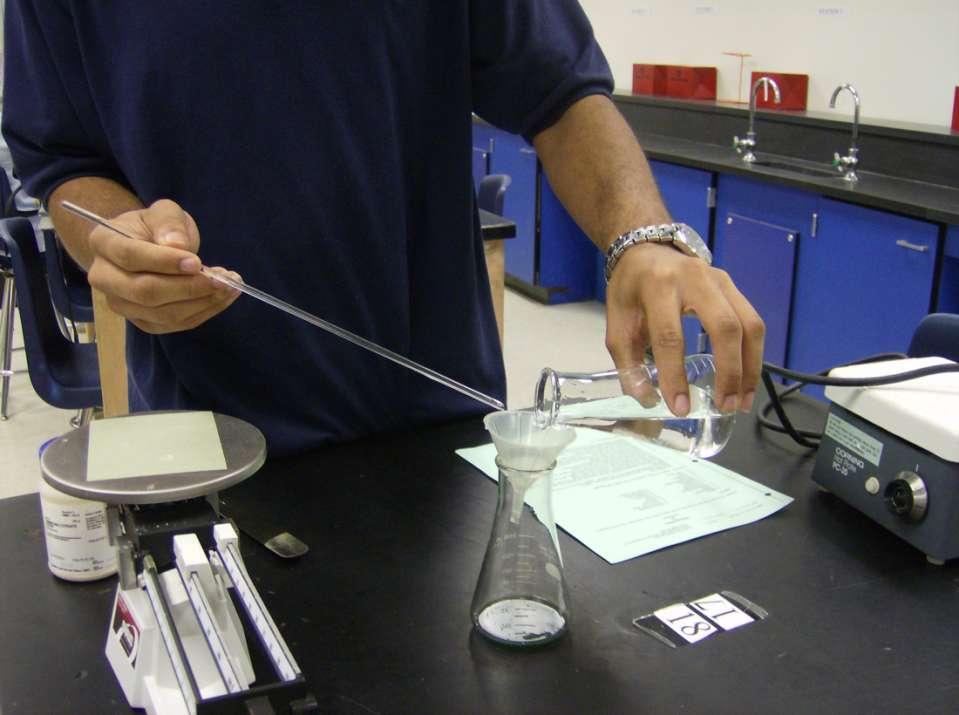
64 3. Measure the proper amount of distilled water using a graduated cylinder (see media container), and put it in one of the empty flasks.
65
66 4. With a funnel pour a small amount of distilled water into in empty flask, just enough to cover the bottom of the flask.
67
68 5. Pour powder into the flasks that contain the small amount of water by bending your weighing container, and putting it over the mouth of the flask. Tap gently to put powder in flask.
69
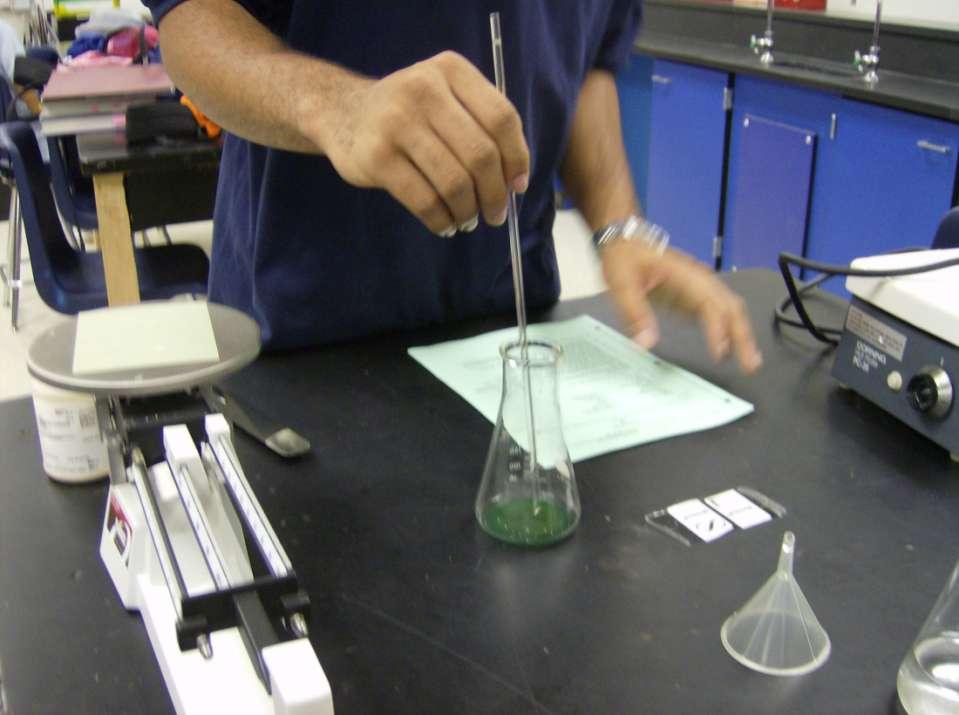
70 6. Make a paste with the powder and water by using a stirring rod.
71
72 6. con t Slowly mix paste adding a little water at a time until all water is added.
73
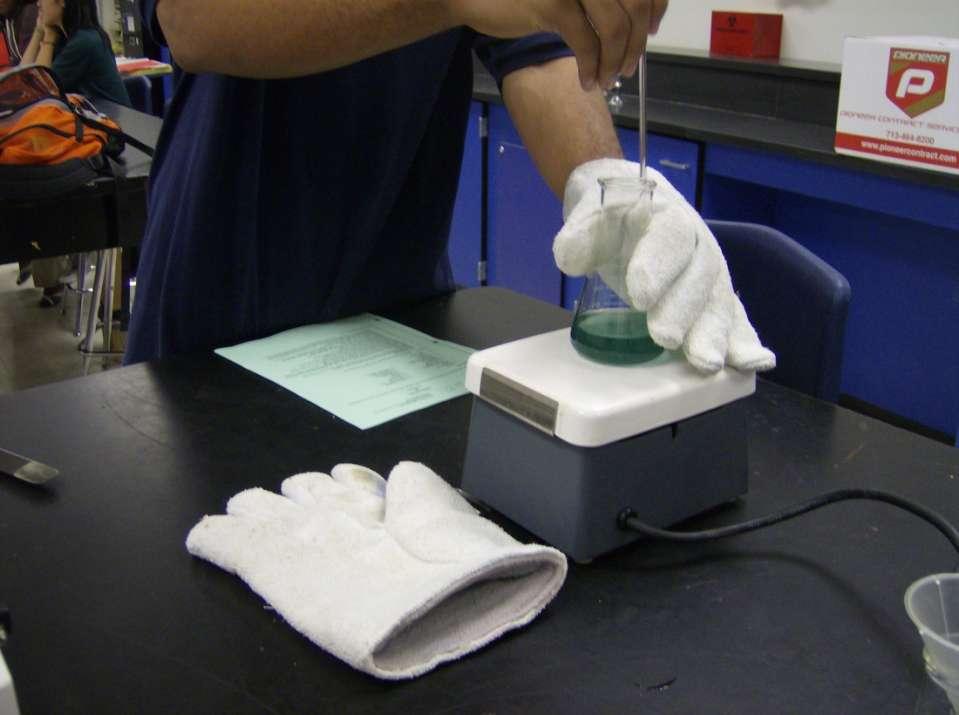
74 8. Put flask on hot plate. Mix and stir using one safety glove. Place the other safety glove next to the hot plate.
75
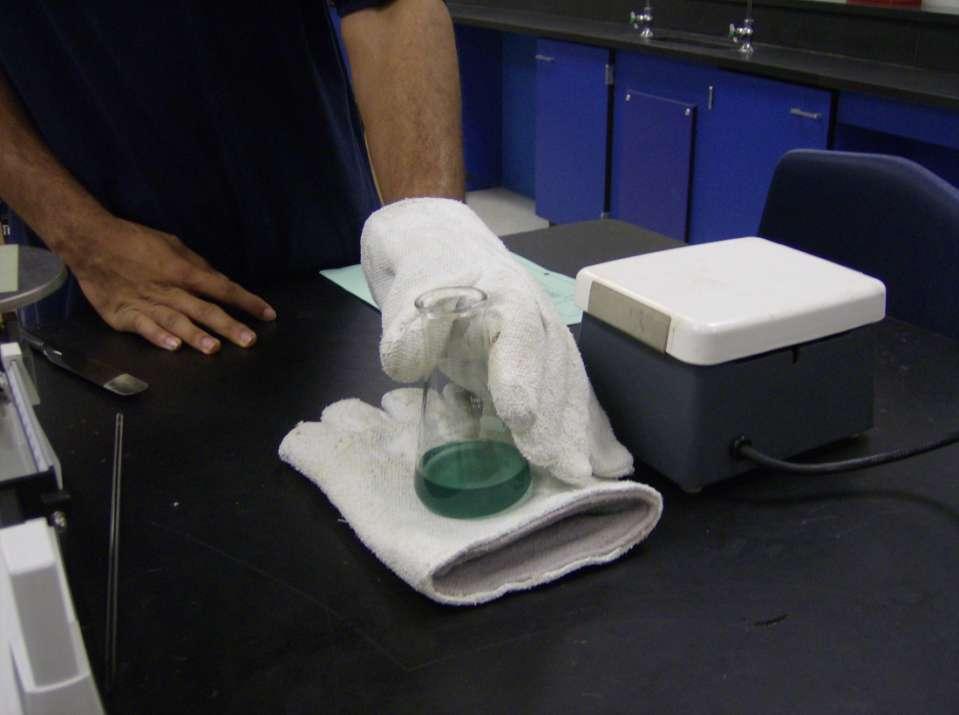
76 8 con t When bubbles rise one inch, quickly take flask off hot plate and place on safety gloves next to hot plate. This is done so the cold surface will not crack the flask with hot liquid.

77
78 9. Top the mouth of the flask with cotton before putting flask in the autoclave. Make sure the cotton is snug so it will not fall in the mixture during autoclaving. Some media will be place in and toped with cotton before putting in the autoclave

79
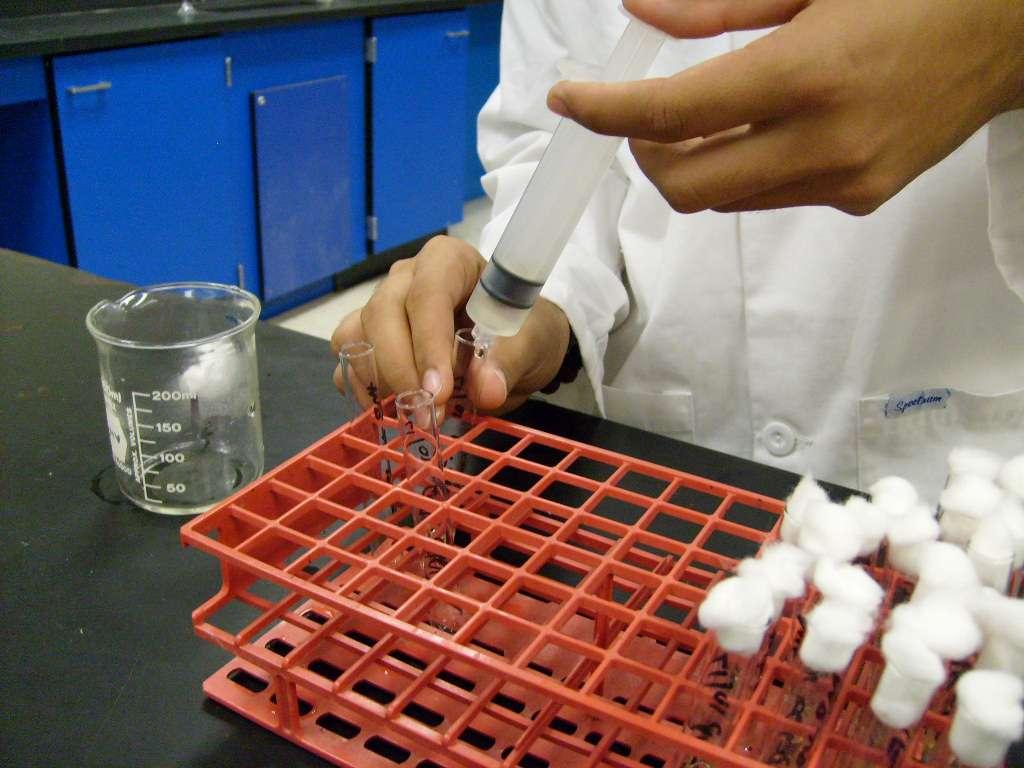
80 To Make Tube Media 10. Pour hot liquid in small beaker using safety gloves.
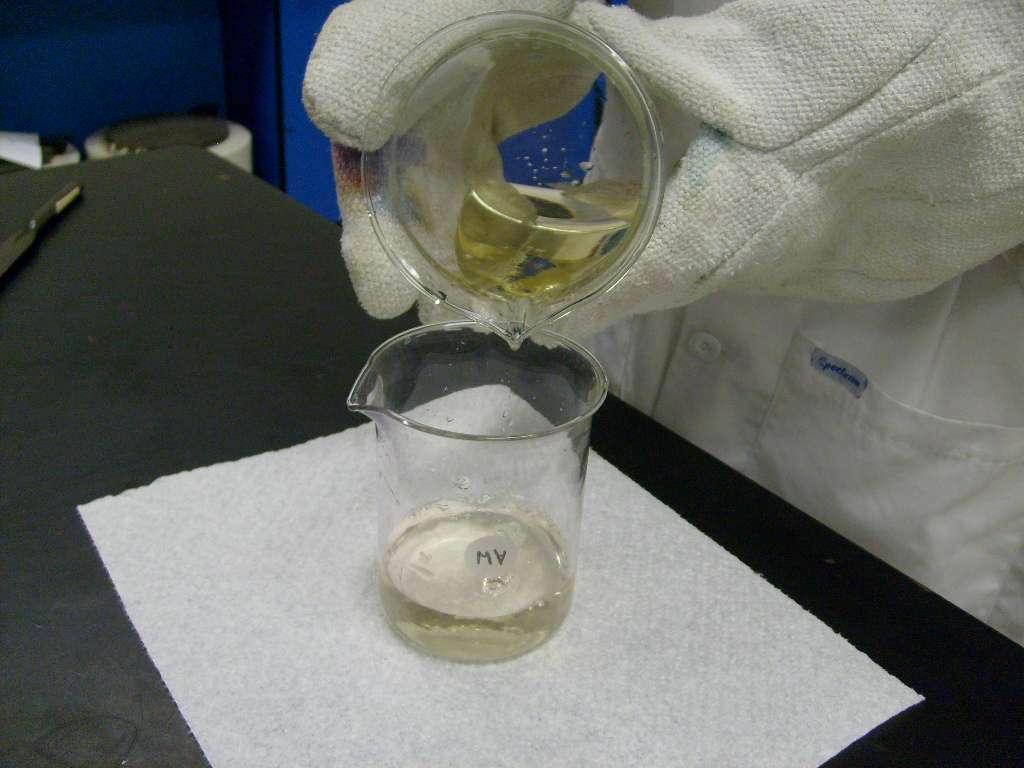
81
82 10. con t ml syringe, put approximately 1ml of hot liquid in each test tube.
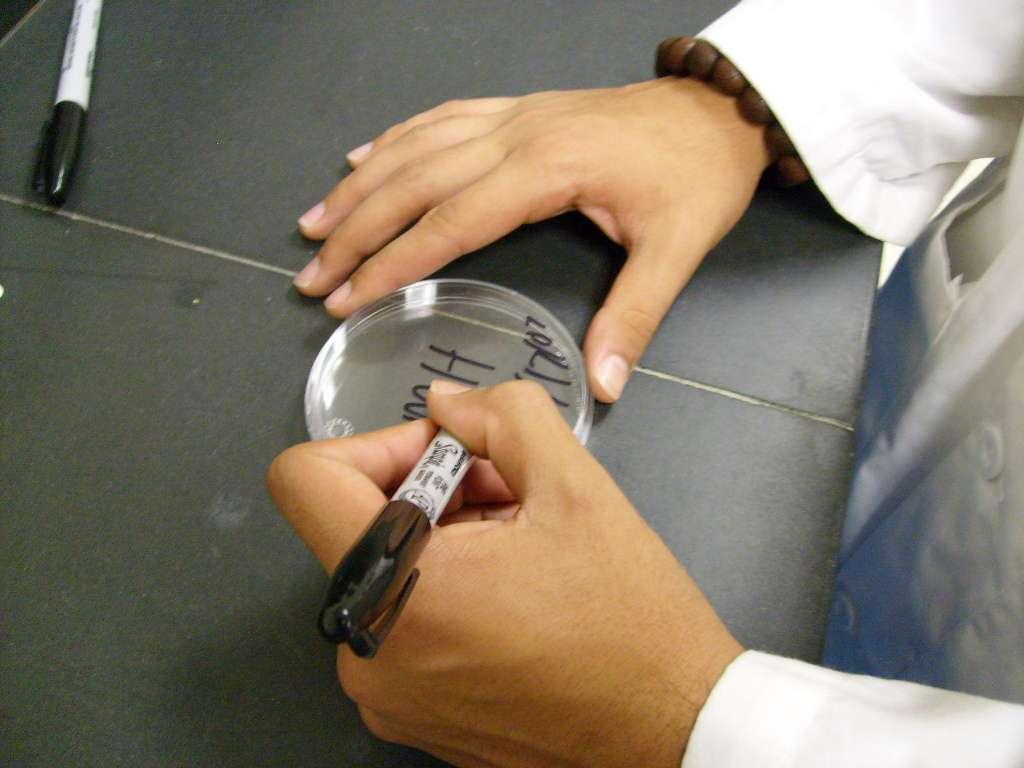
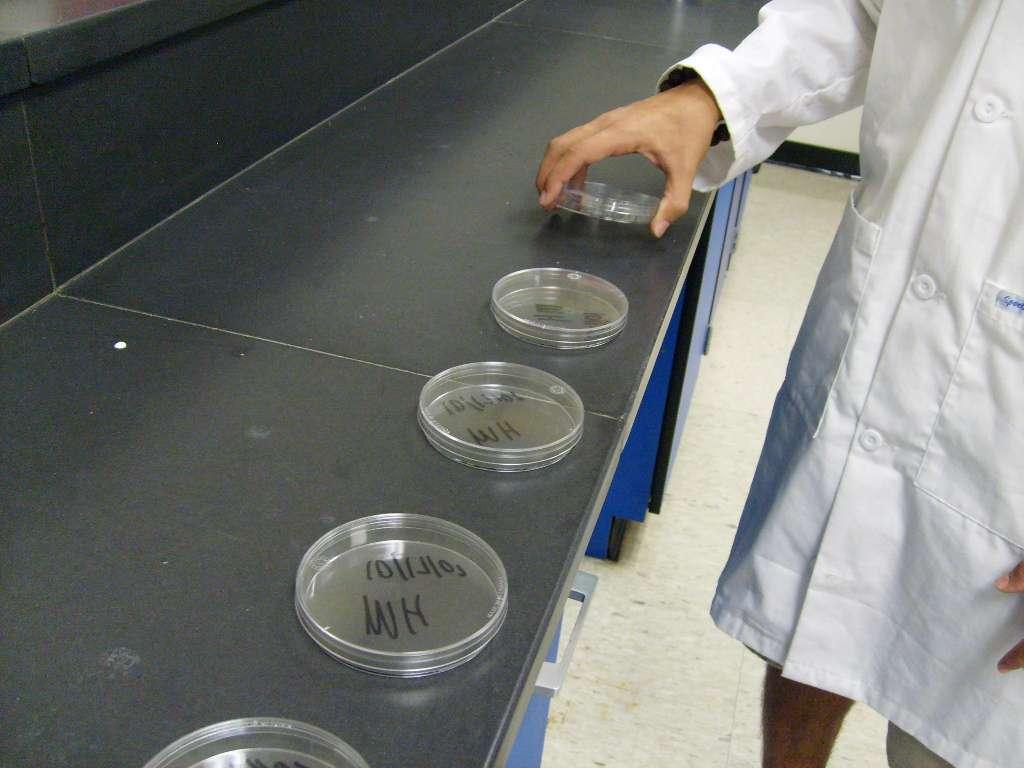
83
84 13. Students making media in tubes should place media in tubes before autoclaving and top with cotton.
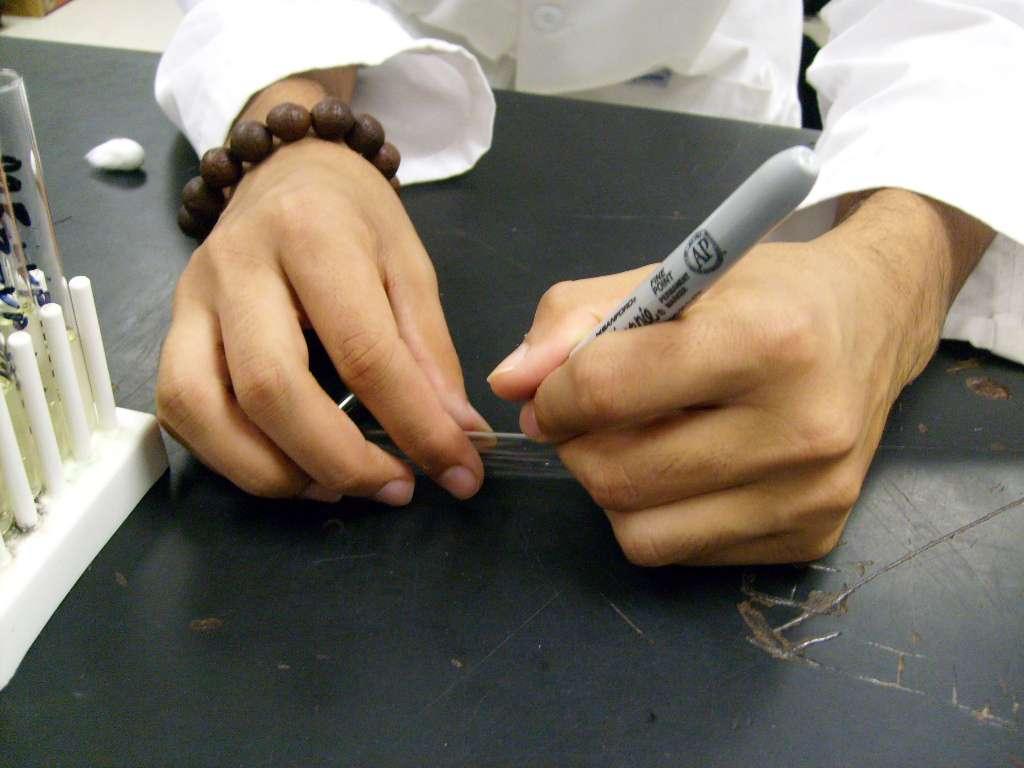
85
86 10. con t Label the flask to be placed in autoclave with abbreviated name of media. This is only for media to be placed in petri dishes.
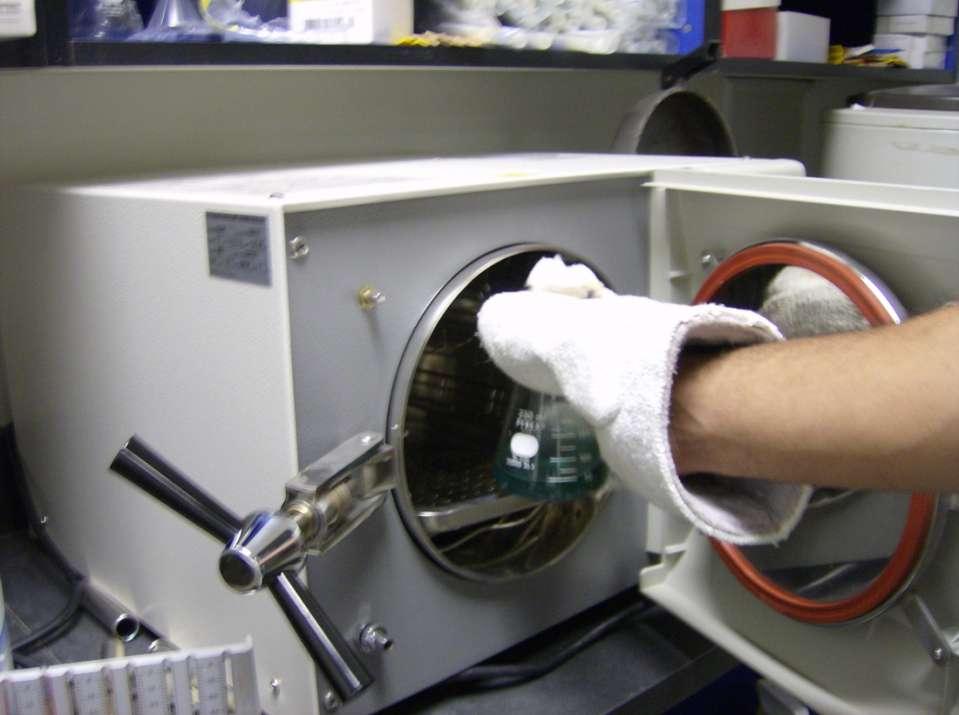
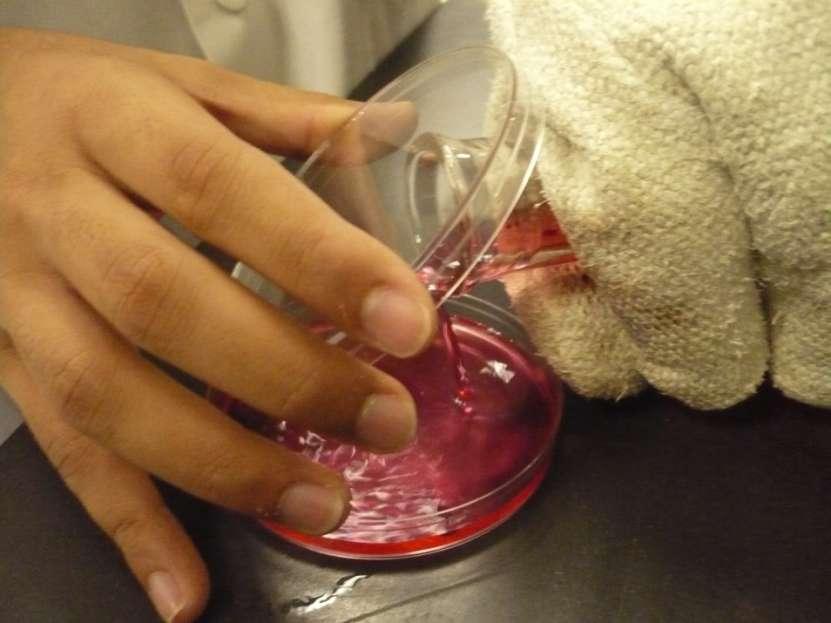
87
88 10. con t. Autoclave for minutes at 20lbs of pressure.
89 Instructions for autoclaving In the Beginning 1. Fill water reservoir with distilled (mineral free) water. 2. Turn control knob to FILL position. Let water enter until it reaches the indicator groove (4.) 3. Turn control knob to STE position. 4. Load autoclave. 5. Close the autoclave s door. 6. Set the following: a. Temperature selector to 250 degrees F (121 degree C) or 273 degree F (134 degree C) or any other temperature between the range of degree F ( degree C). b. Timer knob Refer to the time table tin our operation manual. c. Main switch to START.
90 Instructions at the end of the cycle. 7. When timer reaches 0, turn control knob to EXH+ DRY, open the door to unload the instruments. *LIQUID: after stop 6 is completed, and the timer reaches 0, leave the valve in the same position. The pressure will decrease slowly. When the pressure reaches 0, the door may be opened. 8. Drying: If drying is required, open the door approximately 1 inch. Turn timer knob to min. for drying cycle. When timer reaches 0, turn Main Switch to STO and turn valve handle to 0. Turn main switch to STOP and turn control knob to 0.
91
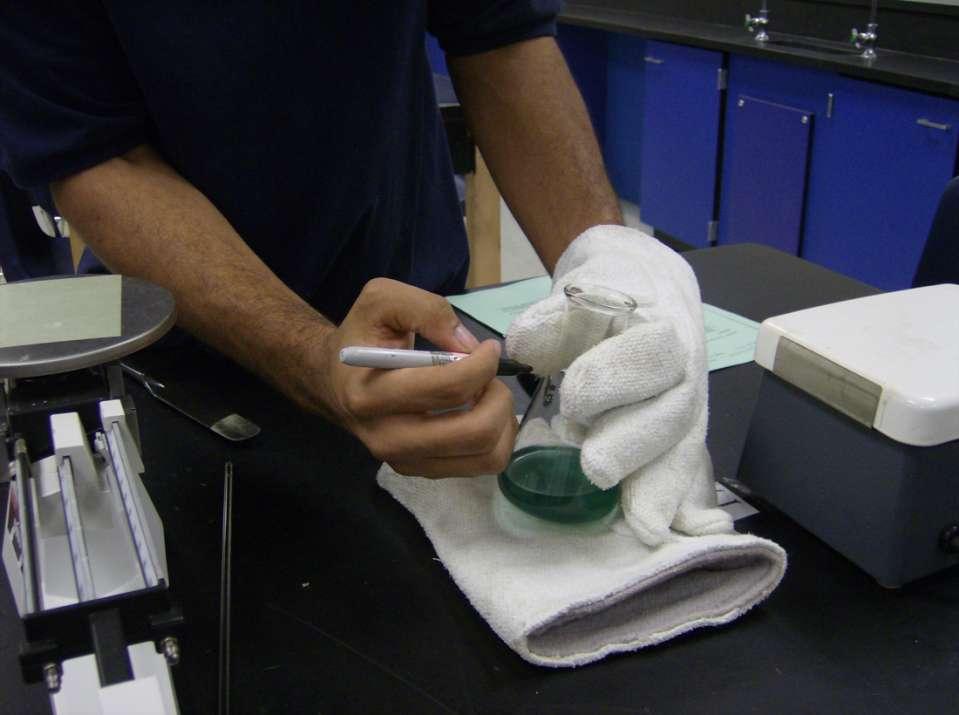
92 11. Label the fat side of the petri dishes with media s abbreviated name and date.
93
94 12. While media is in the autoclave, spread petri dishes all over a table or counter top one inch apart with small side on top. The labeled side should be on the bottom.
95
96 13. Carefully take media out of autoclave using safety gloves and fill (1/2 to 2/3) of petri dish with media. *** BE CAREFUL MIXTIRE WILL BE HOT***
97
98 13. con t Do not talk during this step or organism from your mouth can contaminate the media plates.
99
100 14. Place petri dish cover over plate leaving the cover (1/8) inch open so condensation will not build up on media. (close cover after media cools and solidifies.)
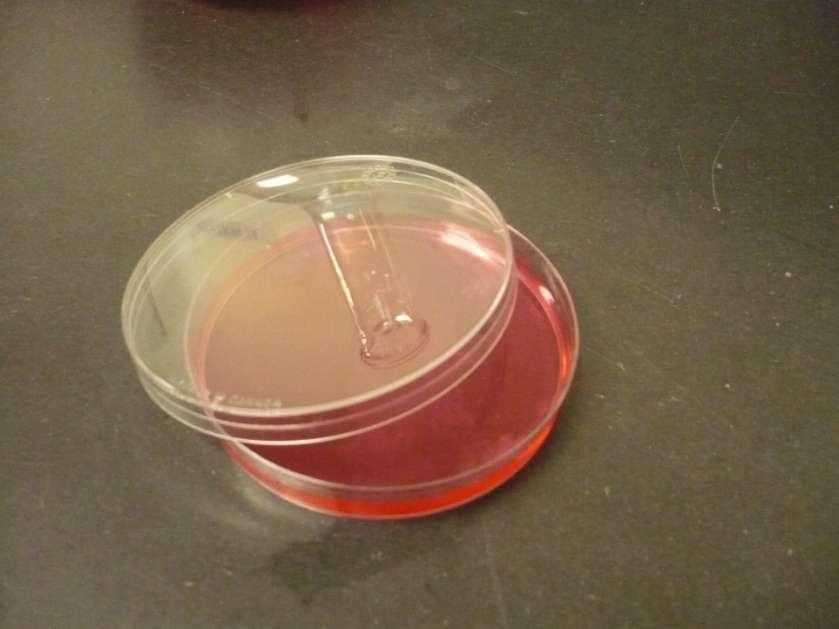
101
102 15. Invert plates and stack plates according to instructor. Plates will be boxed and refrigerated for 72 hrs.
103 16. Replace and dispose of all supplies and equipment according to instructor
104 17. Clean work area
105 Raw Data / Calculation Show your calculations in your calculation section of your lab.
106 Results (20 points): Make sure to write complete name of media that your group made. Make sure to write the abbreviated name of media that you wrote on your plates or tubes.
107 Normal Range: N/A
108 Conclusion (20 points): Write a sentence about how your media turned out according to the instructor.
109 Clinical Significance (30 points): Write a sentence stating the importance of making media.
110 Questions Your lab questions should be completed in the question section?????? Time for lab questions that you have written on your scartch paper.
111 Part 2 of Lab Done By: Sudip Thakar Class of 2009