Fundamentals of Insulated Panel Installation. MBCEA 2016 Clearwater, FL
|
|
|
- Dorthy Heath
- 5 years ago
- Views:
Transcription
1 Fundamentals of Insulated Panel Installation MBCEA 2016 Clearwater, FL
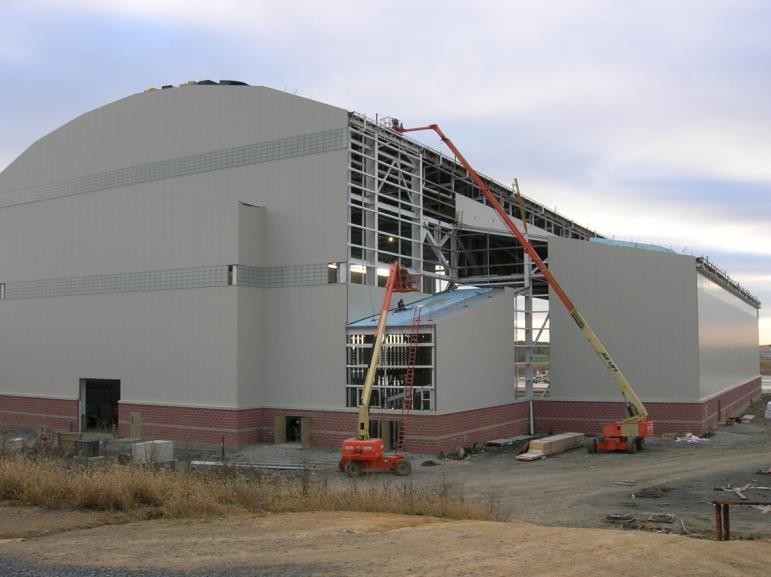
2 Fundamentals of Insulated Panel Installation Industrial Roof & Walls Not Architectural Not Cold Storage
3 Topics Preparation Installation Walls Installation Roof
4 Preparation


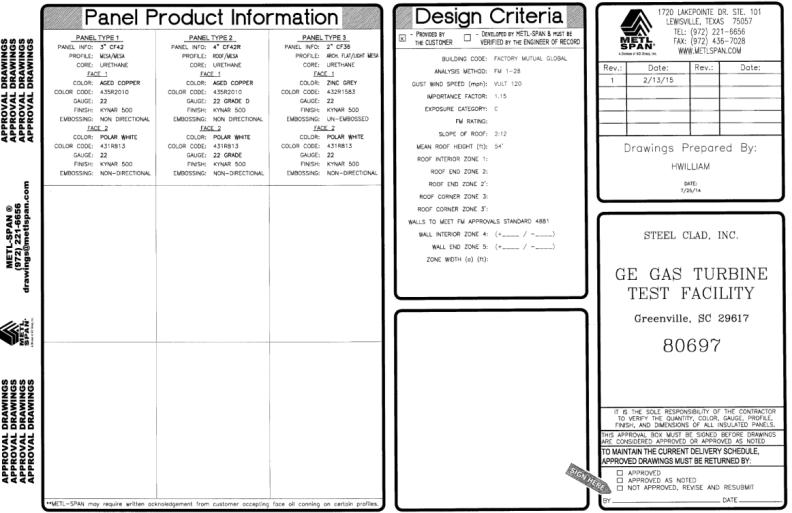
5 Drawings & Installation Guides Read the instructions

6 Plan Fail to plan, plan to fail. Don t have panels delivered too far in advance. Verify panel lengths and locations Install supports at end laps & stack joints

7 Handling & Unloading Be familiar with packaging Bundle by elevation Strippable Film or Interleaf Minimize moving bundles

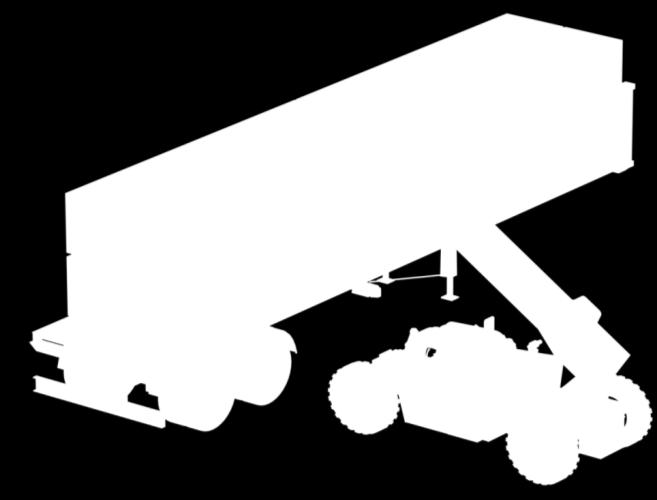

8 Fork Lift Unloading EQUAL EQUAL
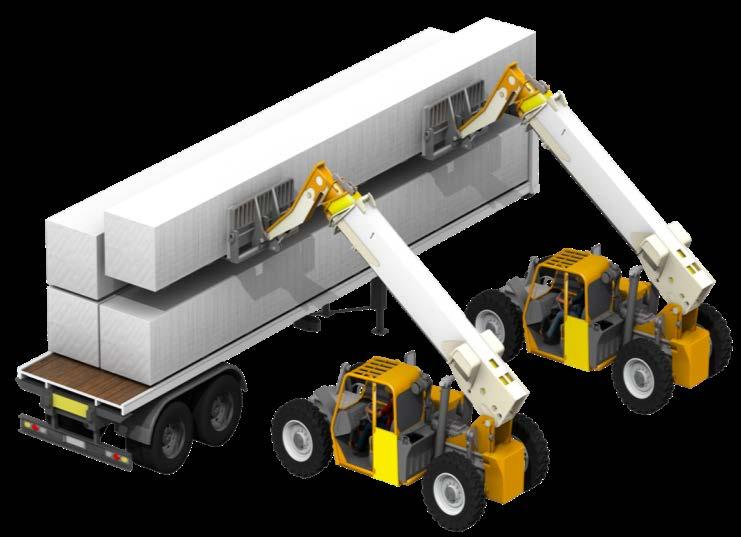
9 Specialized Equipment


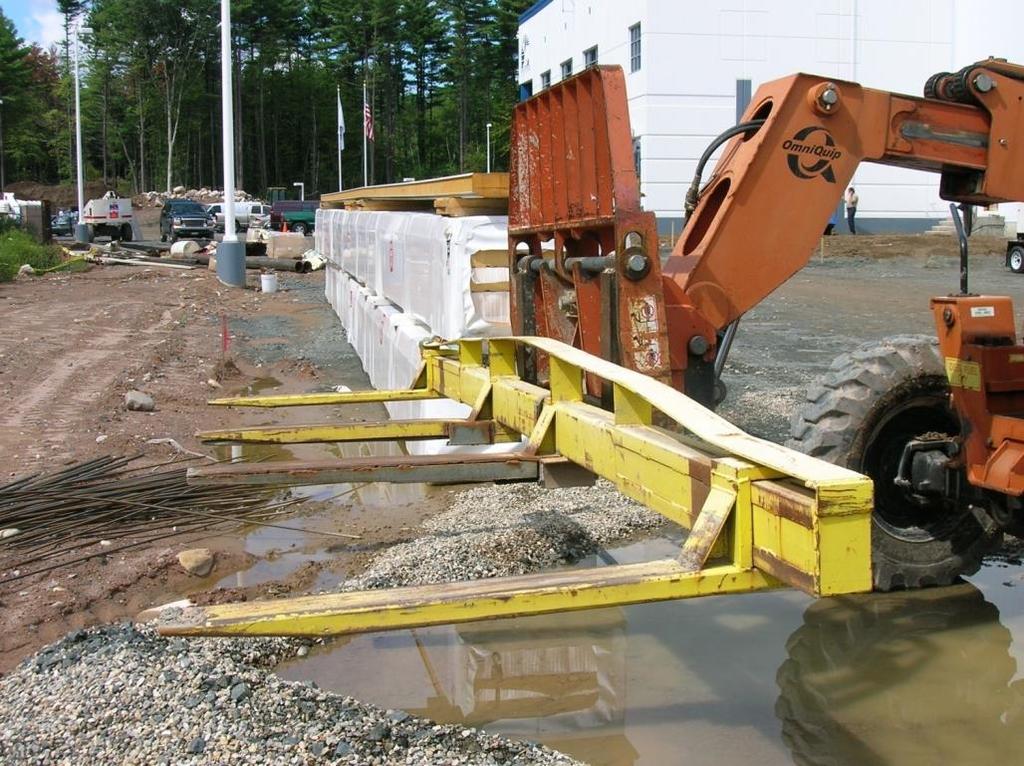
10 Fork Lift Modifications Bundle Width Blade Length Blocking (spacer)
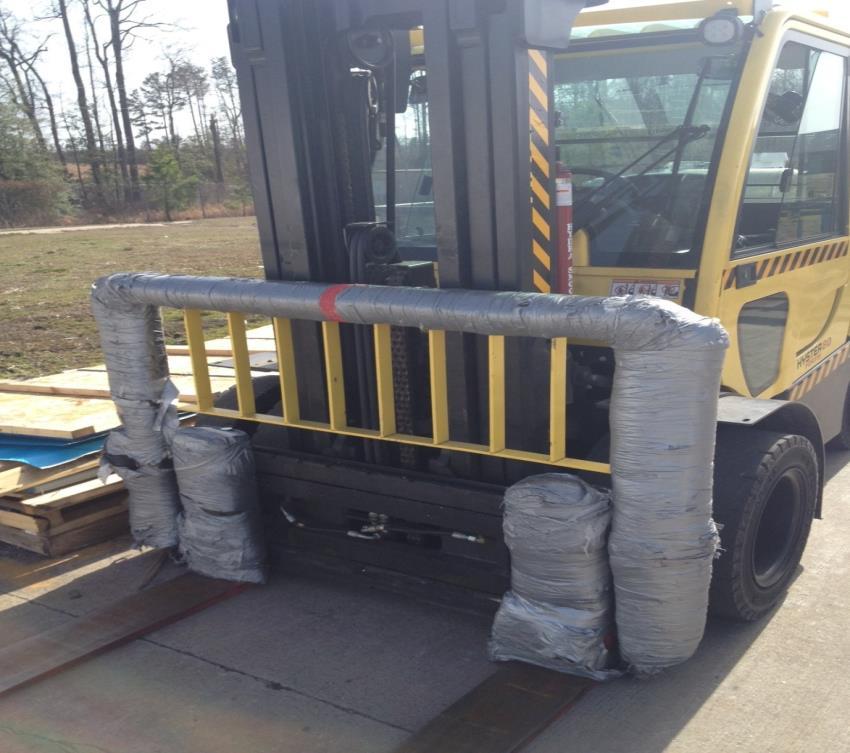
11 Fork Lift Modifications


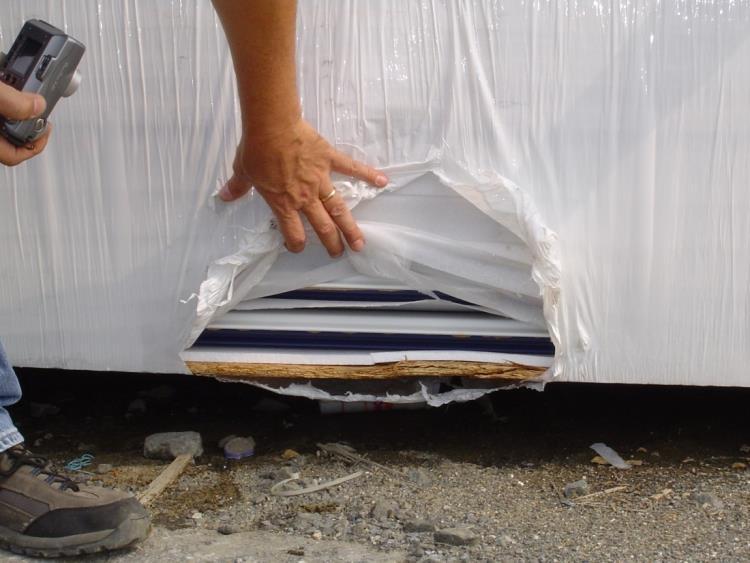
12 Forklift Damage

13 Crane Unloading


14 Crane Unloading Use straps Don t choke Pick points marked on bundles

15 Unloading Errors


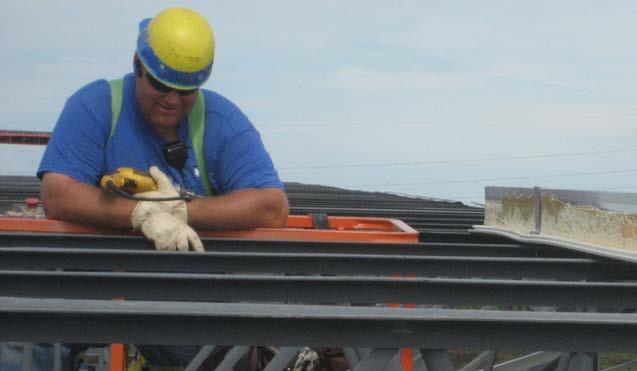
16 Handling Lift on edge not flat Do not lift by the top skin


17 Lifting Methods - Clamps Most common method Not commercially available Many are not engineered


18 Lifting Methods Vacuum Lift Engineered for lifting IMP Primary method used in manufacturing


19 Proper Storage Slope to drain Stack no more than two bundles high Slit to allow air flow in bundles Do not move bundles after wrap removed

20 Storage Not correct storage


21 Cutting Panels Always use blades designed to cut metal. Do not cut panels with: Abrasive blades Reciprocating saws Torch
22 Elevation Layout Walls can be installed both directions Roofs are directional Avoid narrow start or finish panels

23 Stack Joints Alignment of panel seams is critical with stack joints. Best practice is to install bottom, middle and top courses at the same time.
24 Structural Alignment Verify installation of all structural framing and bracing. Verify alignment is acceptable. Shim voids as necessary.

25 Structure Structure must be complete, all bracing installed Structure must be square and plumb


26 Framing Alignment

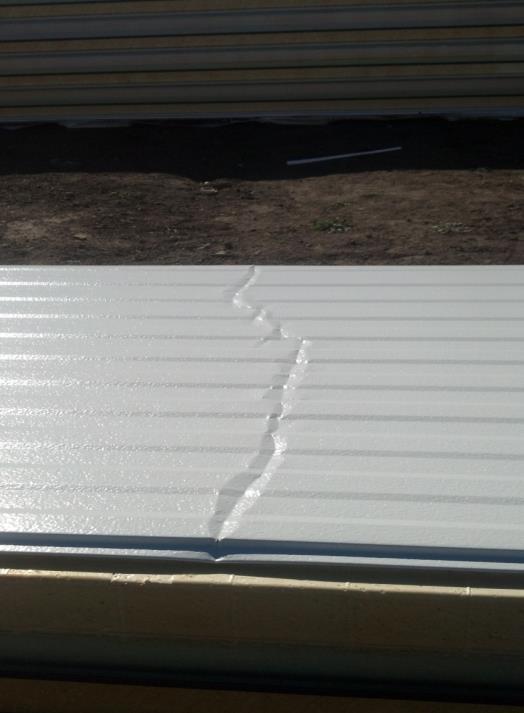
27 Oil Canning Misaligned structure Over driven fasteners Longitudinal expansion Fastener pattern Movement of structure


28 Thermal Bow Normal Characteristic Bow is toward warm side


29 Air Barriers Attention to sealants is critical Moisture moves from warm side to cool Perimeter sealants are critical.

30 Installation Vertical Walls

31 Base Base or Stack Joint Install air barrier sealants

32 Base Just like single skin

33 Base Commonly missed detail

34 Corner Interior corner trim Part of air barrier
35 Corner


36 Corners Air barrier Marry air barriers together


37 Framed Openings Interior air barrier

38 Seam Sealant Factory or field applied Look for contamination or gaps Reapply if damaged Cold sensitive

39 Setting Panels Avoid using narrow starter panels Plumb panel!


40 Panel Attachment Concealed Clips Do not over drive fasteners Back side fastening if required


41 Air Barrier Marry joint perimeter sealants

42 Setting Panels Install to module


43 Framed Openings Air barrier Water dam sealant


44 Framed Openings Install through fasteners Do not over drive

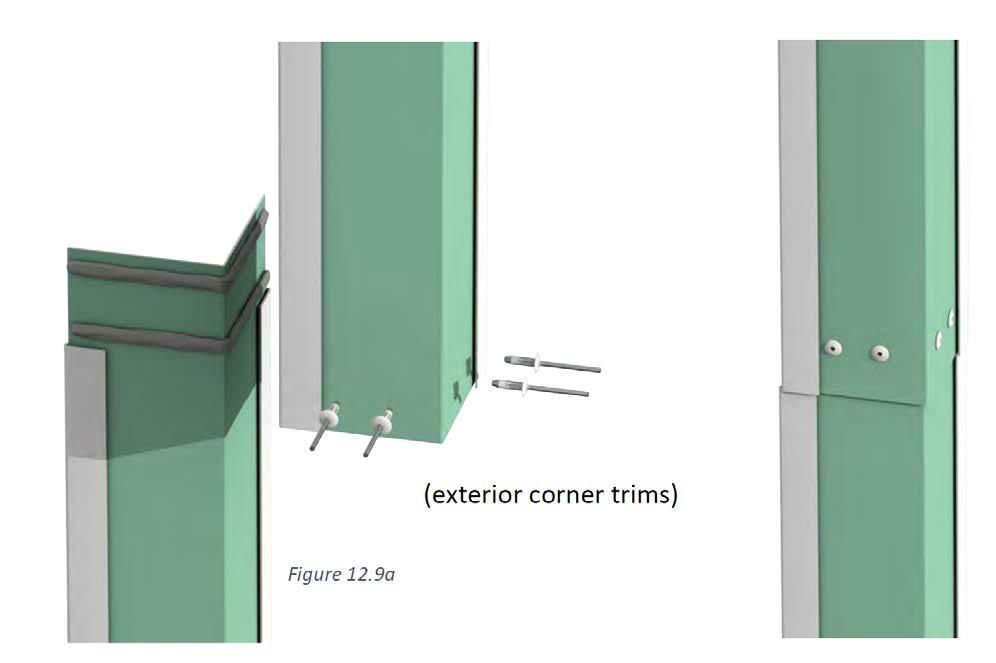
45 Exterior Trims Expandable foam to fill voids

46 Exterior Trims Screws or Rivets
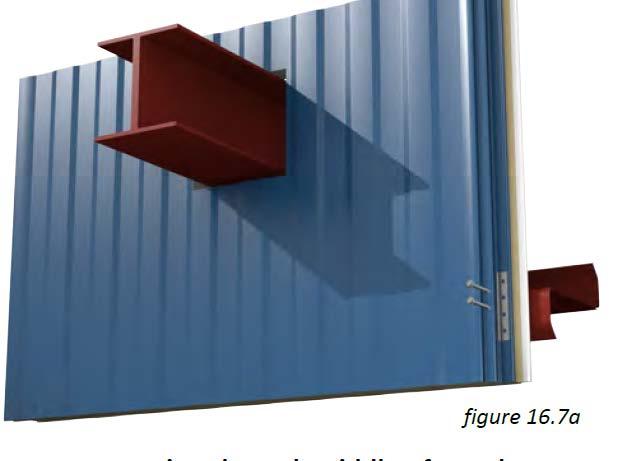
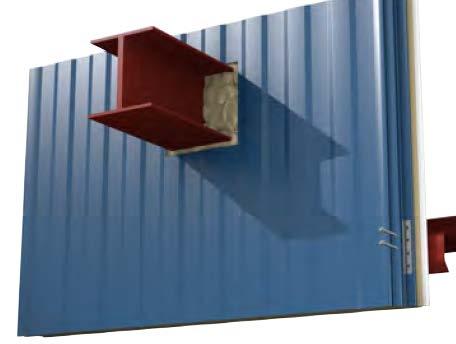
47 Penetrations Cover plates Air barriers Field applied foam

48 Installation Standing Seam Roof

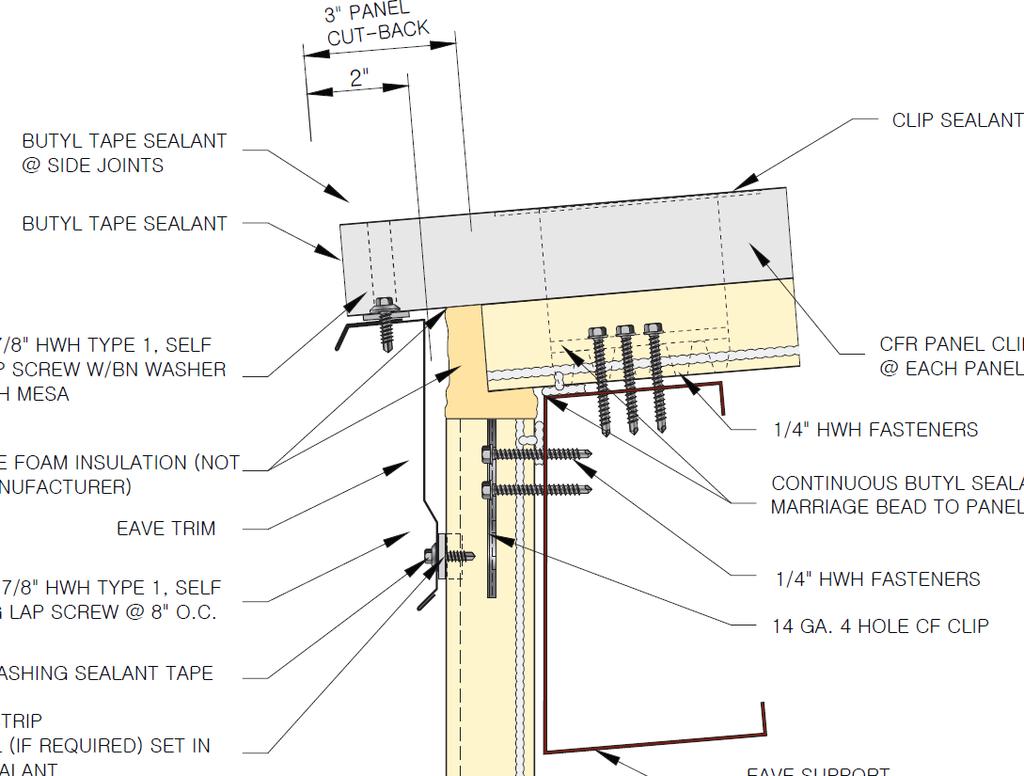
49 Roof Air barrier Connections Common Details Seaming Penetrations

50 Air Barrier Interior ridge trim Air barrier most critical for roof


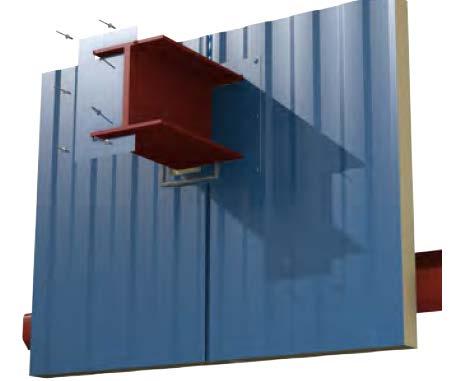
51 Connection Fixed Clip Concealed attachment


52 Seaming Hand seam at clips, end laps, and ends.

53 Seaming Mechanically Seamed at the end of project.

54 Installation Sequence Bottom to top May require staggered joints


55 End Laps Cut back Notch Field or Factory

56 Low Eave Notching

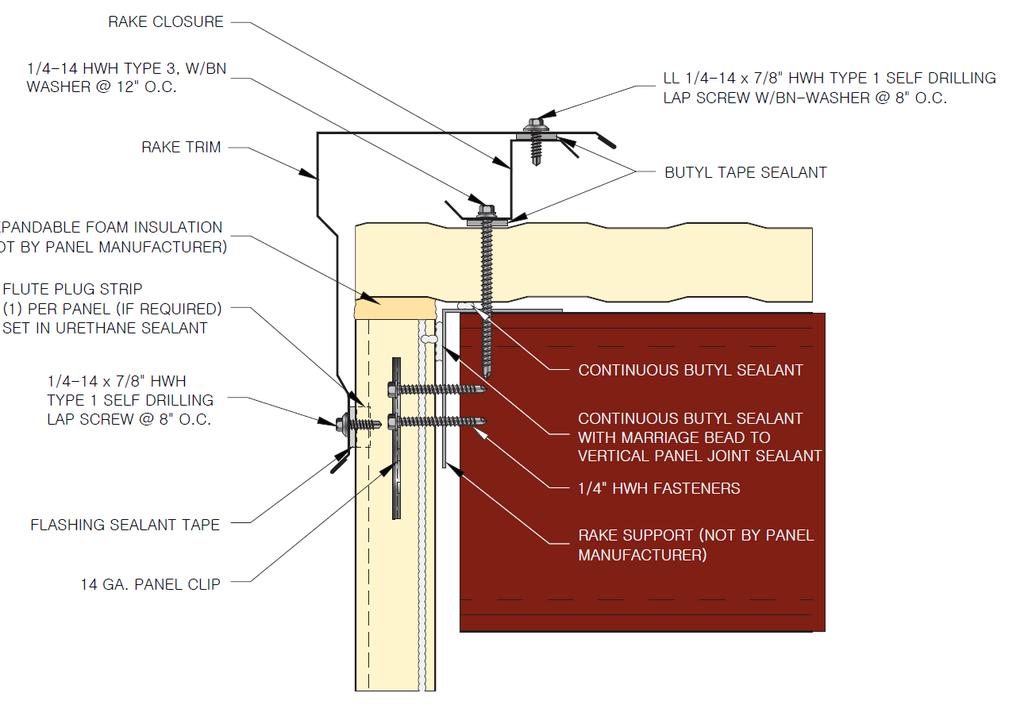
57 Common Details

58 Exterior Trims Expandable foam to fill voids
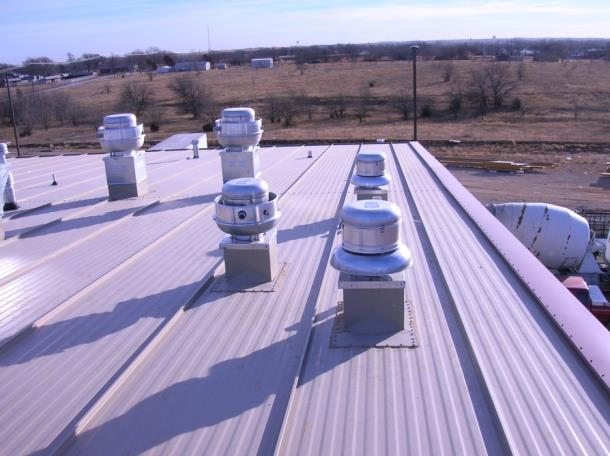
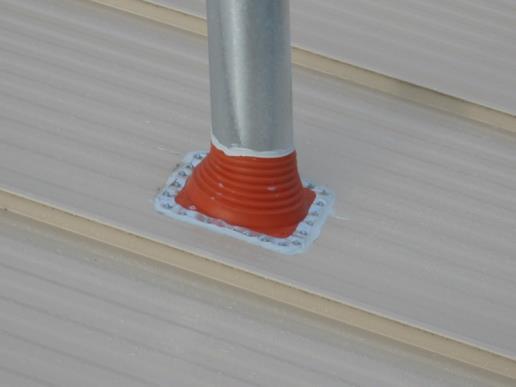
59 Penetrations Use insulated curbs
60 Questions