BEST PRACTICE GUIDE FOR ADHESIVE SEAM JOINTING. Brian Spencer Chairman ESTO Adhesives Working Group
|
|
|
- Lizbeth Reynolds
- 5 years ago
- Views:
Transcription
1 BEST PRACTICE GUIDE FOR ADHESIVE SEAM JOINTING Brian Spencer Chairman ESTO Adhesives Working Group
2 SOME BASIC GUIDANCE TO START WITH
3 Designed to last a lifetime! Correct choice of adhesive Correct installation conditions Correct installation techniques

4 Whatever the weather? Adhesives are formulated to extend the season but limitations exist
5 How wet is wet? Moisture tolerant adhesives are available but If it s really wet the adhesive will try to bond to the water on the surface rather than the surface itself impossible for any adhesive!

6 The effective use of two component adhesives and considerations of: Temperature & storage Mixing Application Seam joints Curing process A recommended check list
7 Before use try to protect the adhesive from temperature extremes Store before use at C
8 EFFECTS: Use of adhesive at high temperatures Mix will lose some structure Mix will cure more rapidly and give shorter working period Mix will absorb more into textile faced jointing tapes.
9 To compensate: Store adhesive components at the recommended storage temperature Compensate for loss of structure by increasing amount of adhesive Reduce time from mixing to application Mix less sets of adhesive in advance of application Work efficiently as a team to apply the adhesive and make the seam joint promptly Do not install in conditions above 35 C 35 C
10 EFFECTS: Use of adhesive at low temperatures Adhesive will be thicker and more difficult to mix components Adhesive will cure more slowly after mixing Slow cure gives more time for bad weather conditions to affect bond
11 To compensate: Store adhesive components at recommended temperature Ensure thorough mixing of the two components Use the 3 rd component accelerator to promote faster cure time Do not install if temperature is below 3 C Allow 4 hour window to cure before temperature drops to 0 C 3 C
12 New technology is improving consistency... Products available where: Structure more stable at high & low temperatures Application easier and more consistent Mixing is easier at uniform viscosity
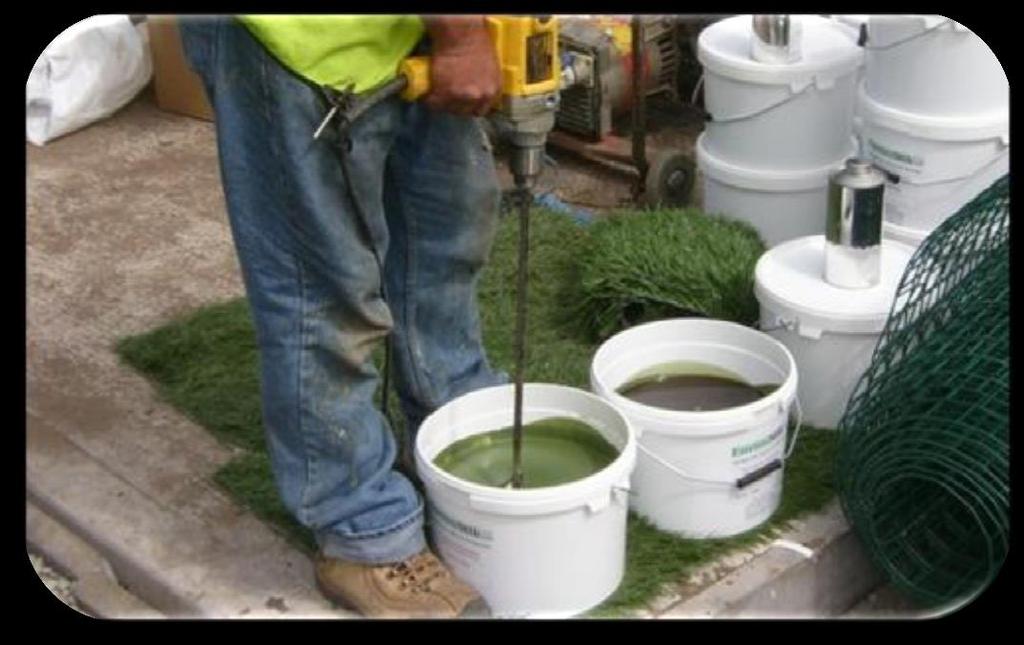
13 MIXING


14 Ensure complete mixing of the two adhesive components
15 EFFECTS: Poor mix consistency Adhesive will not cure to a consistent tough film Soft spots will give rise to a bond failure points
16 REMEDIES: Use an effective mechanical mixing device whenever possible Pay close attention to dispersing adhesive from sides and base of container Observe uniform colour consistency through the mix If in any doubt that mixing of entire contents is not uniform, pour into another container and remix
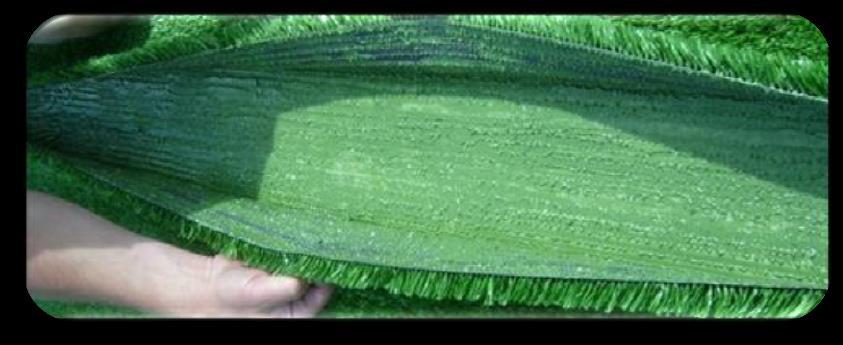
17 Application Apply the correct quantity of adhesive appropriate to the carpet backing
18 EFFECTS: Not enough adhesive applied Bonding will be less than 100% to back of carpet Bond strength is reduced Future bond failures are highly likely
19 REMEDIES: Apply sufficient adhesive to fill the spaces between stitch rows on the back of the carpet Use correct applicator setting that will give consistent application Ensure notches on applicator are clean Test the carpet before installation to determine the correct coverage


20

21 GOOD PRACTICE BAD PRACTICE


22 SEAM-RITE ADHESIVE APPLICATOR POOR TOOLS
23 EFFECTS: Too much adhesive applied Adhesive will extrude at seam joint causing hard glue line Danger of raised seam joint affecting performance
24 REMEDIES: Apply sufficient adhesive to just fill the spaces between stitch rows on the back of the carpet Use correct applicator setting that will give consistent application Ensure notched applicator tray is level over tape Test the carpet before installation to determine the correct coverage* * Test by applying adhesive to tape and pressing carpet into the adhesive. Remove carpet and you need to see adhesive transferred over whole area of carpet backing.

25 HEAVY COAT Too much adhesive applied SEAM-RITE

26 SEAM JOINTS Correct Use of Adhesive With Seaming Tape
27 EFFECTS: Common errors in combining materials Too narrow a width of adhesive applied to tape Carpet joint not positioned down centre of tape Both effects can lead to reduction of seam strengths
28 REMEDIES: Apply minimum 24cm adhesive across width of tape 30cm Position carpet seams centrally


29 For cut in line installation it is advisable to use a wider tape to allow for extra seam joint width. This particularly applies to inserted curved lines.
30 SEAM JOINT
31 EFFECTS: Non removal of tape backing at cross joints Adhesive will not bond to the plastic backing of the jointing tape, where joints cross or lines are cut in Bond in this area will be weak and may be future point of failure
32 REMEDIES: Remove the tape backing that will be in contact with the new bond area, i.e. Remove the film backer from the tape; If tape has a sealed plastic coating or reinforcement, then remove this portion of tape by abrading.
33 The yellow area represents the section of horizontal tape where it is necessary to remove the film backer or tape section before bonding to the vertical seaming tape.

34 New technology of seaming tapes Jointing tapes available that eliminate the need to remove backing on cross joints (not suitable for all specifications) Jointing tapes available with secondary laminates to impart high strengths to tape structure Cross joints with these tapes necessitate removal of backing laminate as previously described

35 Curing process Apply uniform pressure to bonded area during adhesive curing process Light even pressure is required immediately after making bond.
36 EFFECTS: Poor pressure Adhesive may not transfer evenly to carpet backing Extreme edges of carpet may not be bedded into adhesive Stiffness of carpet may cause seams to open in some areas
37 REMEDIES: Use light roller to transfer adhesive Apply light even pressure to seam joint several times until adhesive solidifies Use one of the following methods to consolidate bond: Flat planks with weights Frequent use of light roller.

38 POOR PRESSURE

39 On-site check list
40 Check list: Are external conditions suitable for seam bonding? Was the adhesive stored at the recommended temperature range? Is mixing of adhesive components consistent? Are application tools clean and set correctly? Is amount of adhesive adequate for carpet being installed? Is adhesive applied to tape uniformly? Is procedure correct for cross joints? Is pressure on seam applied adequately and frequently? Finally check standard of bond being achieved!
41 For further information visit