Installation guide Thermory decking
|
|
|
- Annice Pope
- 5 years ago
- Views:
Transcription
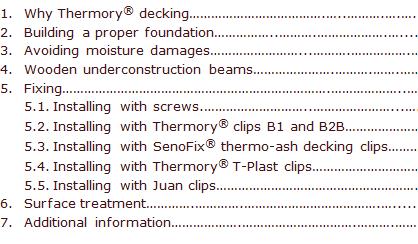
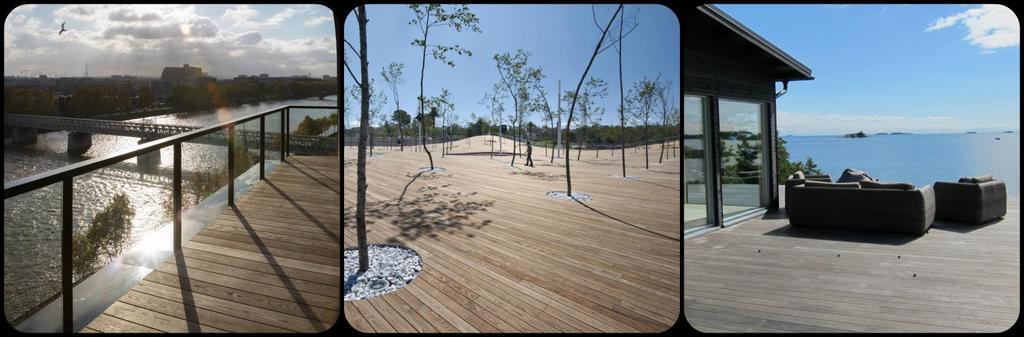

1 Installation guide Thermory decking

 is better than tropical hardwoods.")


2 1. WHY THERMORY DECKING? Durable, stable, resistant to weather and decay All Thermory decking boards are intense treated (215 degrees) which results to considerable resistance to moisture and decay. Thermo-ash and thermo-spruce have both been tested to have durability class 1, thermo-pine durability class 3. Durability class 1 is the same class predominant for some tropical hardwoods on the market, particularly Ipe and Teak. Thermo-ash is therefore a good alternative to tropical hardwoods. The application of thermo-ash contributes to saving tropical forests. Dimensional stability (swelling and shrinking) is better than tropical hardwoods. Hidden installation systems Thermory decking boards come in wide range of widths and profiles and can be fixed both with visible and hidden installation systems. End-joints Most profiles can be produced with end-matching, which enables falling lengths to be installed efficiently. Thermory end-joints are tested for load bearing and do not have to be laid on the underconstruction. End-joints do not have to be laid on underconstruction beams Thermory Joint End Matched 2. BUILDING A PROPER FOUNDATION Thermory decking must be laid on even, flat ground. Good drainage is essential for directing water away from the structure. When using screws, leave about 4-5 mm between decking boards and underconstruction beams by using spacers. Wood must not be directly connected to wood. Thermory clips achieve the same effect. Deck should lay at least 100 mm above ground as underconstruction beams must never be in contact with ground water. Recommended distance for underconstruction beams to support the decking is 400 mm. 2

3 Max 400 mm Max 400 mm Minimum 100 mm from the ground Use spacers or Thermory clips to leave 4-5 mm between decking boards and underconstruction beams Use moisture protection layer between foundation and underconstruction beams 3. AVOIDING MOISTURE DAMAGES Wood must not be joined too tight Leave sufficient air gap between decking boards in order to prevent water causing swelling. Formula for calculating necessary space: Thermo-ash: width of decking board/18 Thermo-pine and spruce: width of decking board/40 When joining straight cut (no end-joint) Thermory decking boards in length, leave about 5 mm space between boards for air circulation in order to prevent swelling due trapped moisture. Leave some space in between boards both in length and in width to enable proper ventilation 3


4 Seal the ends with decking wax When joining two boards with end-joint, the ends must be sealed with decking wax. Sealing the ends with wax is also recommended for straight cut boards. Seal all ends carefully with decking wax 4. WOODEN UNDERCONSTRUCTION BEAMS We recommend to use Thermory thermo-ash or thermo-spruce (both durability class 1) underconstruction. This ensures that your underconstruction lasts at least as long as your decking. Thermory range offers different types of thermo-treated underconstruction beams (all durability class 1 very durable). Thermo-ash Thermo-spruce 4

5 5. FIXING Always use only stainless steel screws or Thermory fastening clips for fixing Thermory decking boards. 5.1 Installing with screws: Especially for thermo-ash pre-drilling is needed in order to avoid cracking. The pilot hole should be minimum 1 mm larger in diameter than the screw itself, to allow necessary movement and prevent splits. Thermo-treated pine can be screwed with self-drilling screws. Decking Pre-drill and countersink Underconstruction CROSS SECTION VIEW Screw head must not penetrate too deep into the wood. Screw head should seat snugly and be approximately level with the wood surface in order to reduce risk of water absorption. In order to avoid splitting of timber, leave ca. 20 mm space from the edge and 40 mm from the end of the board for drilling. D = screw diameter + 1mm Distance from end of the board Distance from the edge of the board TOP VIEW 5
.")

6 5.2 Installing with Thermory clips B1 and B2B: Use Thermory fastening clips for completely hidden installation. Thermory stainless steel clip B1 is suitable for following thermo-ash decking profiles: 20x95 mm D11sg; 20x112 mm D4sg; 26x90 mm D22 (width up to 112 mm). Thermory black-coated stainless steel clip B2-B is suitable for following thermo-ash decking profiles: 20x132 mm D4sg2; 20x150 mm D4sg2, D8sg2 (width over 112 mm). Distance between boards after installation: B1 clip 4 mm B2B clip 6 mm Thermory metal clips B1 Thermory stainless steel screws Use stainless steel screws to attach the clips to the underconstruction, 2 screws for each clip is enough. Estimated usage of clips 2,5 pcs per running meter (considering battens in every 400 mm). 6


 and the next board.")
7 5.3 Installing with SenoFix thermo-ash decking clips: SenoFix black coated stainless steel/rubber clip is suitable for various thermo-ash decking profiles: 20x112 mm D31; 20x132 mm D32; 20x150 mm D38; 26x115 mm D33 and D34; 26x130/160 mm D34 and for thermo-spruce profile 26x160 mm D34 The gap between the boards and the underconstruction guarantees optimal ventilation, enhances drying of the boards and prevents waterlogging. For fixing with SenoFix clips remove one lateral contact surface of the SenoFix and place it under the decking board. The first board is then fastened from above with a screw made of hardened high-grade steel into a pre-drilled and pre-sunk hole. Fix the first and last board with screws Attach the SenoFix clips (do not drill the screws) and the next board. After the installation of ca 0,7 m terrace widths use the clamp to fix the distance between the boards and then drill the screws. Two decking clamps should be used at a time for equal pressure. SenoFix clip An efficient tool for mounting: the decking clamp 7

8 5.4 Installing with Thermory T-Plast clips: Black plastic clips are suitable for Thermory thermo-pine decking boards D5sg and D34sg. Thermory T-Plast 5.5 Installing with Juan clips: Juan clip is a black plastic clip for 100% hidden fastening for thermo-ash profile 20x112 mm D45 and thermo-pine profile 26x118 mm D45. Decking boards will be delivered with special groove on the back side for especially easy installation. Juan plastic clips 8

9 6. SURFACE TREATMENT Thermory decking does not require surface treatment. However, as with any wood, exposure to weather conditions and sunlight can cause the colour to go gradually silver grey. This does not make the wood any less resistant to decay. To minimize colour changes or restore the dark colour, Thermory decking can be protected by applying Thermory decking oil or any other regular UV or pigmented UV oil (wax, stain, paint). A light sanding will also remove the surfake silvering and restore the original wood tones. We recommend to follow manufacturer s guidelines for the treatment. FOR CRACKS Thermory decking can show small stress cracks. These are normally not wider than 2 mm and are not limited in length. Surface hairline cracks are a natural occurrence with wood and are no reason for a claim. The surface of correctly installed Thermory will always swell and shrink faster than its core causing the hairline cracks during the shrinking process. Due to the growing conditions of the wood, some boards will experience more surface-checking than others. Regular application of decking oils can help minimize the occurrence of surface hairline cracks. End checking can be lessened by applying a decking wax to the ends of the boards prior to installation. Use caution that excess wax is not applied to the face of the decking as this may discolour that area of the surface. 7. ADDITIONAL INFORMATION These guidelines are informational only, based on the best knowledge known at that time and should be used accordingly. Should our general recommendations given in this broschure vary from the ones valid in your country, we always advise you foremost to follow your country s regulations. 9