2018 Intertape Polymer Group GEOSYNTHETIC RAIN COVER INSTALLATION GUIDE
|
|
|
- Violet Dalton
- 5 years ago
- Views:
Transcription


1 2018 Intertape Polymer Group GEOSYNTHETIC RAIN COVER INSTALLATION GUIDE
2 TABLE OF CONTENTS INTRODUCTION MATERIAL HANDLING AND STORAGE SURFACE PREPARATION DEPLOYMENT PANEL PLACEMENT AND SEAMING SEWN SEAMS THERMALLY BONDED SEAMS PENETRATIONS BALLASTING AND PERIMETER ANCHORAGE WARRANTY itape.com
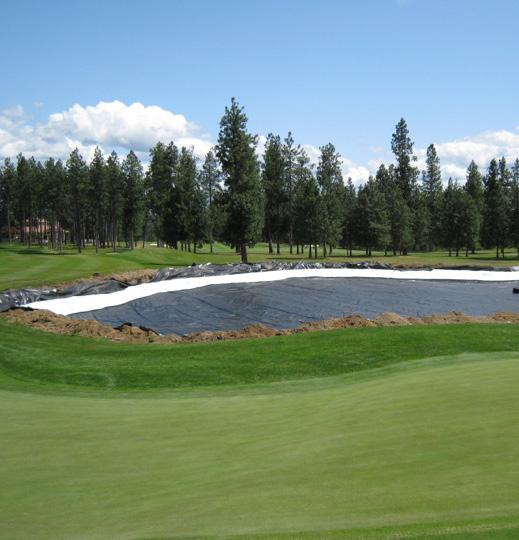
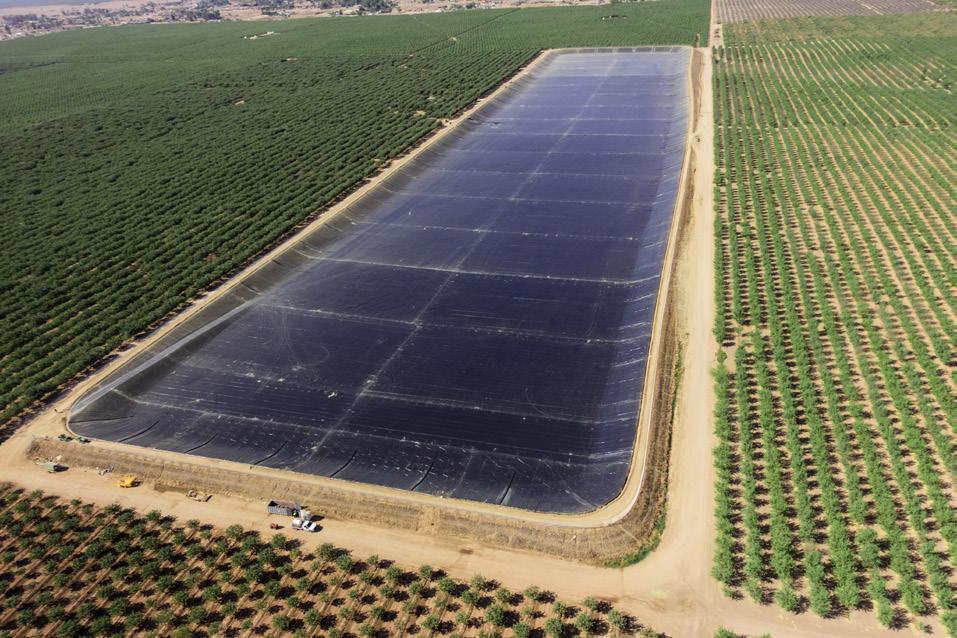
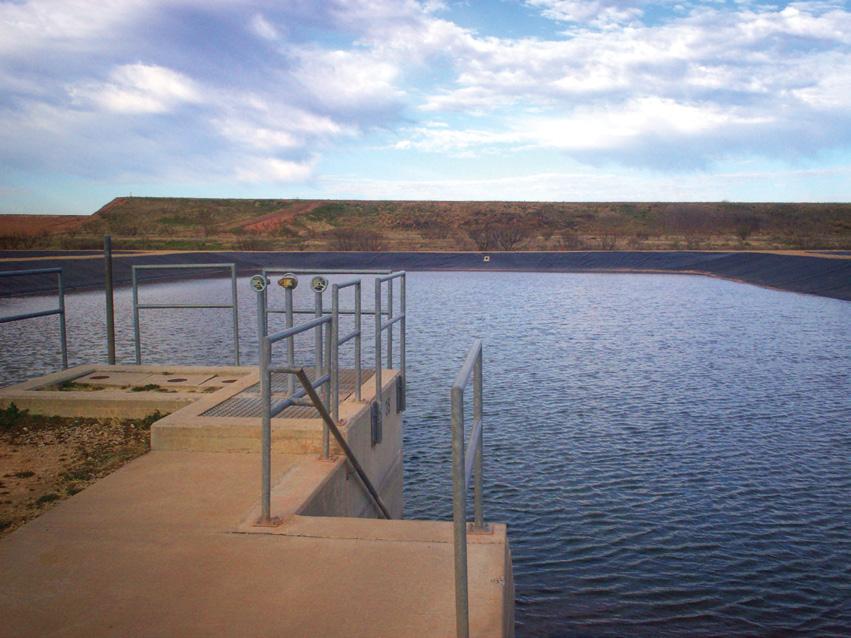
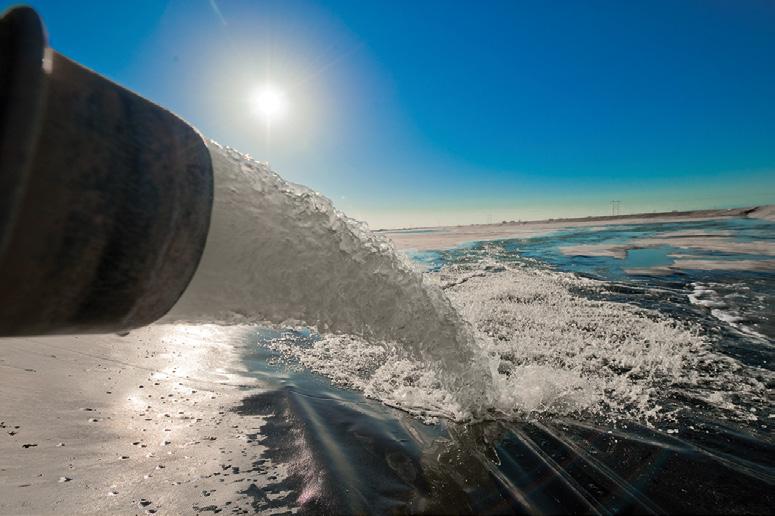
3 GEOSYNTHETIC RAIN COVER INSTALLATION GUIDE NOTE: Due to its general nature, this installation guide is not intended to be applicable for all installations. This guide does not substitute or replace professional engineering judgment or practice. Also, use of this guide does not imply a warranty or a guarantee. Thus, Intertape Polymer Group, Inc. assumes no liability in connection with the use of this guide. 1.0 INTRODUCTION Geosynthetic rain covers are an effective means of minimizing water infiltration over large areas and thus preventing damage to underlying materials. The rain cover materials are typically intended for outside, exposed conditions for periods of time ranging from several months to multiple years. Engineered Coated Products, a division of Intertape Polymer Group, Inc, manufactures woven coated polyethylene geomembranes which perform well when used as a rain cover. This information is intended to provide general guidelines to follow when installing these materials. 2.0 MATERIAL HANDLING AND STORAGE The rain cover will arrive as panels (shipped accordion-folded and rolled up on a core or placed on pallets) to be cut to fit and/or seamed together at the site. The installer will sew or heat-bond the seams between the panels. Prior to unloading the rain cover, the shipment should be inspected to verify that no damage has occurred during shipping, and to verify that the bill of lading matches the shipment and the order. Proper equipment needs to be used for unloading. This may mean using a fork lift or other equipment suitable for lifting pallets of folded rain cover or using spreader bars to unload rolls of material. Regardless of the equipment used for unloading the shipment, care must be taken to avoid damaging the material. The rain cover should be stored on a relatively smooth, level area. Material shipped on rolls may be stacked, but not to a height that damages the inner roll core. 3.0 SURFACE PROTECTION Before deploying the rain cover, the ground surface should be graded to a relatively smooth, even surface. All rocks larger than ½ inch in diameter should be removed, especially sharp, angular ones. Sticks, logs, roots, metal, glass, concrete, or any object that could puncture the rain cover should also be removed. The subgrade should not have standing water or be excessively wet. Slopes should be no steeper than 3 horizontal to 1 vertical (3H:1V). 1
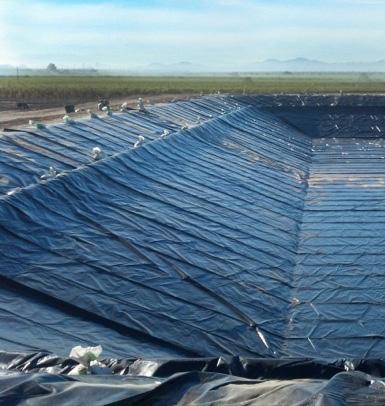
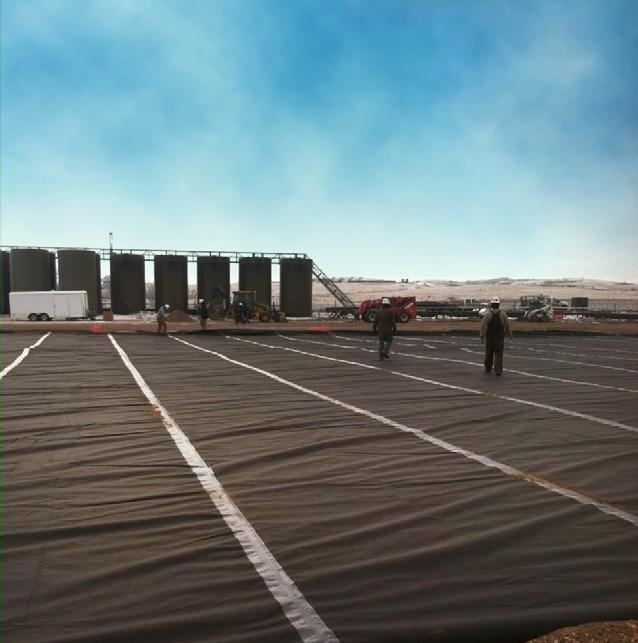
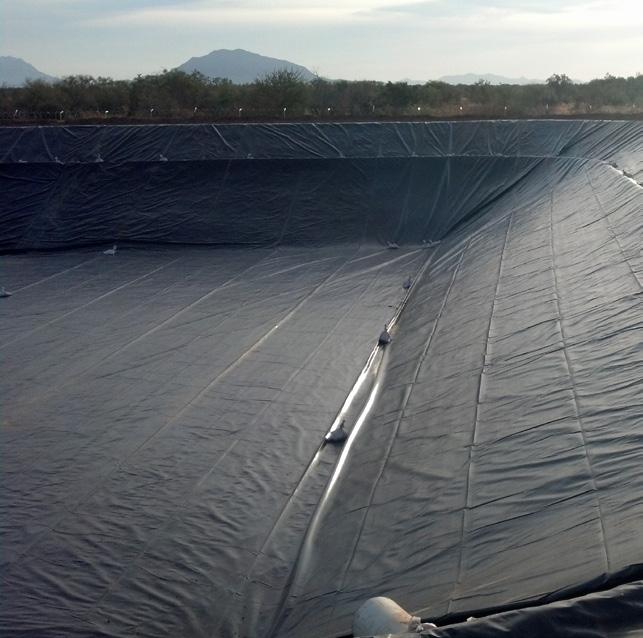
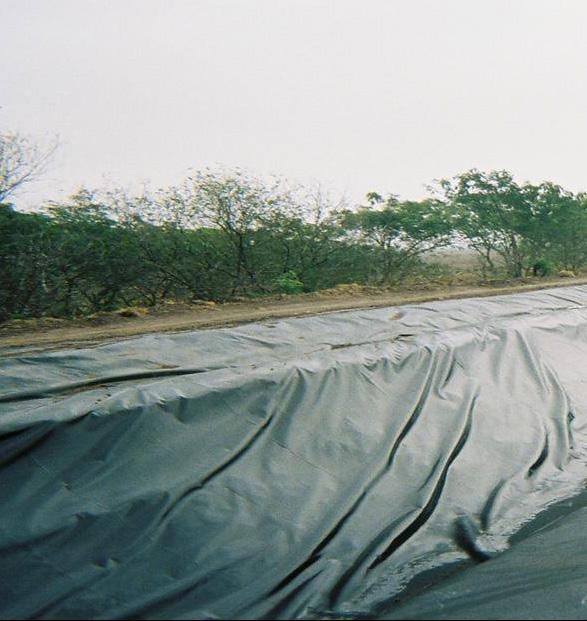
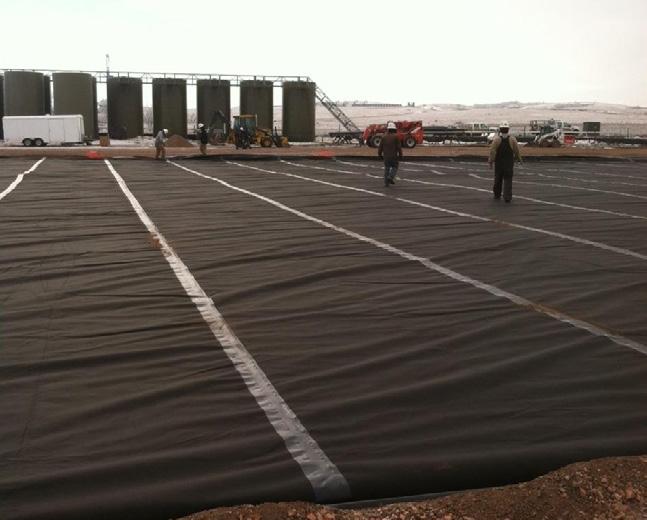
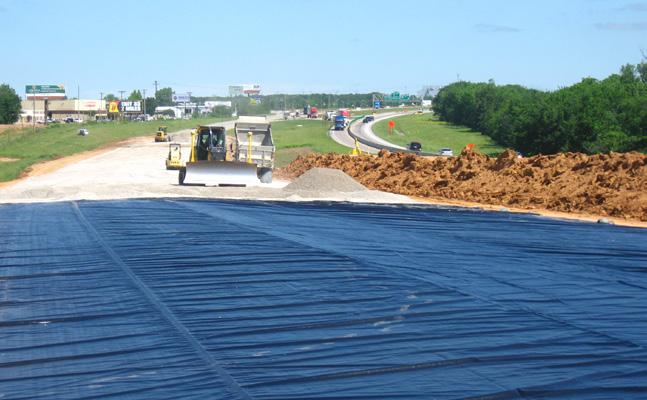
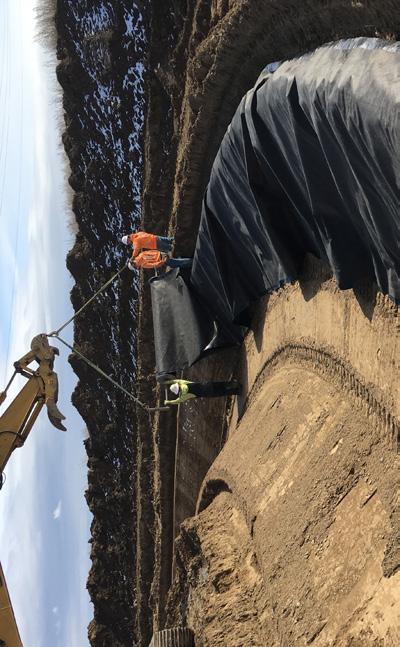
4 4.0 DEPLOYMENT The rain cover is deployed with equipment (such as a lift, loader, excavator, etc.) with a spreader bar. The material will be unrolled or unfolded in one direction, then unfolded in the direction perpendicular to the direction it was initially unrolled or unfolded. Before deploying rain cover, the installer should access the weather. The rain cover should not be deployed during precipitation events or in excessively windy conditions. Typically, excessive winds are those above 25 miles per hour; however, excessive winds are those that may damage the rain cover or cause injury to the installation crew. 5.0 PANEL PLACEMENT AND SEAMING If the panels arrive pre-cut, care must be taken to deploy the rain cover panels in the correct locations. The installer should ensure that the panels are numbered for identification. The numbering should be in the sequence of installation, unless a diagram or instructions indicate otherwise. The pre-cut sections will fit together in a pattern that will gradually cover the area. Panels should be deployed so they lay flat, with minimal wrinkling, in particular along seams and where penetrations will be made. Adjacent panels should generally overlap about 6 inches, or enough distance to allow seaming. When practical, seams are shingle-lapped so water flows over the seam, rather than into the seam. After two adjacent panels are deployed, positioned, and smoothed out, seaming will begin. The seaming technique should conform to the specifications for the project. The most common methods of seaming are sewing and thermally bonding, as described below. When deploying rain cover on slopes, the rain cover should generally be deployed down and not across slopes and starting at high elevations so that rain water will not be able flow under the panels. Horizontal seams on slopes steeper than 5H:1V should be minimized. 5.1 SEWN SEAMS Sewn seams will be made about 1 to 1.5 inches (2.5 to 5 centimeters) from the edge of the panel. The project specifications should include: Seam type; Stitch type; Number of rows of stitches; Stitch count; and Thread type. Some project specifications may require a prayer seam for sewn seams, but the typical seam for a rain cover is a J-seam. A prayer seam is formed by holding two panels together and stitching through them. For a J-seam, the edges of the panels are first brought together as in a prayer seam, but they are folded over so that the stitching goes through two layers of the material from each panel being joined together. 2
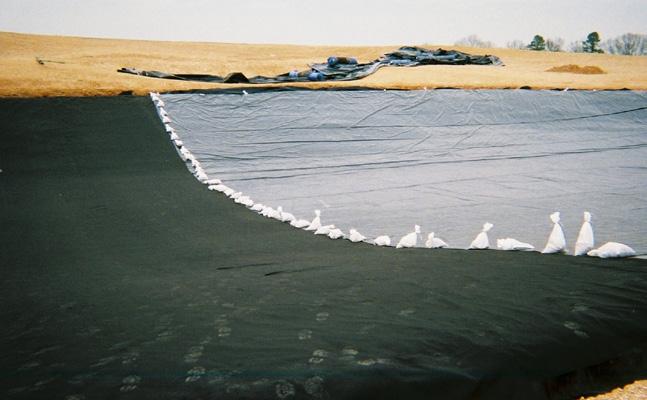
5 The typical stitch type for rain cover installations is called a Type 101 chain stitch, which is familiar to anyone who has opened a feed-bag or a bag of charcoal. The 101 chain stitch will securely hold most rain cover applications; however, the 101 chain stitch can be unraveled for its entire length by pulling on a single broken stitch. If a stronger stitch is needed, the Type 401 lock stitch uses two threads, and will not unravel. For typical installations, a single row of stitches is sufficient, but sometime project specifications may require two rows of stitches. For sewn seams, the number of stitches per inch (spi) is also important in determining the strength of seam. Typically, a stitch density of 3 spi is sufficient for most rain cover applications. The seaming thread must be resistant to ultraviolet radiation. The typical thread type used for sewing rain cover seams is polypropylene or polyester. The thread may be blended with cotton to make it feed more easily through the sewing machine. Typically, the threads used in seaming rain cover will have a denier of 15, but the project specifications may allow use of a different thread. 5.2 THERMALLY BONDED SEAMS Rain cover seams can be heat-bonded, using a wedge welder (with a heated wedge and pressure rollers) or with hot air. Heat bonded seams are generally less likely than sewn seams to leak. Care must be made to establish an acceptable operating temperature and welding speed to maintain the integrity of the seam. When heat bonding seams, the temperature must not be so high that the material is damaged, or so low that the material does not bond. Seam overlap (distance and direction) should be as previously recommended. 6.0 PENETRATIONS Penetrations through the rain cover should be minimized whenever possible, but sometimes they are unavoidable. When penetrations are required to accommodate items such as pipes or structural supports, they are generally booted and sealed to minimize water or air infiltration. If possible, the boot around the penetration should be sealed with elastomer tape to secure the rain cover to the penetrating object, or sealed by the method required by the project specifications. As a general practice, try to make the penetration higher than the expected level of standing (or flowing) water on the rain cover. While the rain cover penetrations do not usually need to be completely water tight, they need to minimize air infiltration that may allow wind uplift and potentially damage the rain cover. 7.0 BALLASTING AND PERIMETER ANCHORAGE Ballasting and perimeter anchorage of rain cover is critical to minimize the potential for wind uplift and water getting underneath the material; thus, ensuring the functional longevity of the rain cover. As such, it is recommended that the plan for perimeter anchorage and ballasting be provided or reviewed by an experienced professional engineer. The following are some general recommendations. Along the entire perimeter, the rain cover will typically be buried in an anchor trench. The trench dimensions should be included in the project drawings or described in the project specifications. In most installations, the rain cover 3
6 will extend across the bottom of the anchor trench. The edges of the trench should be rounded. The anchor trench should be backfilled with soil soon after the rain cover is installed. The trench and backfill must be free of rocks or other material that could damage the rain cover. The central area of the rain cover (away from the perimeter anchor trench) will generally need to be ballasted to prevent wind uplift. Frequently, sandbags are used for ballast, although used tires are also often used. Sandbags should be made with suitable, UV-resistant material designed for exposure for the life of the cover. The actual spacing of the sandbags should be determined by the design engineer and based on actual site conditions. A very common specification requires the placing of a bag every 10 across the width and every 5 up the slope. To prevent shifting (especially on slopes), the sandbags (or tires) are frequently tied together with UV-resistant rope. The thickness, material, spacing, and anchorage of the rope should be addressed in the project specifications. 8.0 WARRANTY Intertape Polymer Group (IPG) provides a pro-rated warranty that IPG s AquaMaster NovaLiner 12, 16, and 20 are free from manufacturing defects at the time of sale and against deterioration due to the effects of ultraviolet light for a period of time as stated in the table below. PRODUCT NAME NOVALINER 12 NOVALINER 16 NOVALINER 20 WARRANTY 5 years exposed, 10 years buried 5 years exposed, 10 years buried 5 years exposed, 10 years buried Purchasers of AquaMaster NovaLiner 12, 16 & 20 are urged to consult with their engineer for the appropriate specifications for the installation of the product. There is no warranty of fitness for a particular purpose or merchantability issued by IPG. Similarly, there is no express or implied warranty which is issued in connection with AquaMaster NovaLiner 12, 16 & 20 other than that warranty which appears within the confines of the terms and conditions of IPG s limited warranty, which are set forth in the limited warranty s document. Intertape Polymer Group 100 Paramount Drive Suite 300 Sarasota, FL