Flatbed Leach Drain: Installation Manual. December DS Water
|
|
|
- Denis Daniel
- 5 years ago
- Views:
Transcription

1 Flatbed Leach Drain: Installation Manual December 2016
2 Flatbed Leach Drain Guarantee DS Agencies Pty Ltd provides a guarantee for the DS Flatbed leach drain, as per the technical specifications, and installation instructions. If the DS Flatbed cells and distribution pipe are installed in accordance with the specifications, DS Agencies Pty Ltd will provide a 15-year product guarantee. Our guarantee extends only to the supply of faulty product. DS Agencies Pty Ltd, it s agents and distributors accept no responsibility for incorrect product handling and installation. December 2016
3 Flatbed Leach Drain Appendices A. DS Flat bed specification sheet B. DS Perforated distribution pipe C. DS Flat bed leach drain (3D presentation) D. DS Flat bed leach drain (Gravity Feed Layout) E. DS Flat bed leach drain (Pump Feed Layout) F. DS Flat bed leach drain install manual December 2016


4 Rainsmart 50mm (2.0 ) NERO DRAINAGE CELL, Turf & Gravel Paver SPECIFICATION SHEET Standard Used Metric Imperial Width 500mm in Length 600mm in Height 50mm 1.96 in Surface Void Area Internal Void Area >90% void >95% void Material 100% recycled polypropylene Biological & Chemical Resistance Unaffected by moulds and algae, soil-borne chemicals, bacteria and bitumen Service Temperature -10 C to 85 C -14 F to 185 F Compressive Strength/ Ultimate Load ASTM D1621 >225 t/m2 > psi Flow Rate per unit width unfilled ASTM D4716 >23.5 1% gradient >6.20 1% gradient Compressive strength test confined filled with sand Filled with sand Area (sqm) Area (sq inches) Compressive strength (t/m2) Compressive Strength (PSI) *110 mm diameter load m in 2 ± ± NOTE: All RainSmart Products and Systems are Design Registered or Design Registration Pending. Safety Factors: Engineers, designers and geotechnical engineers should design and calculate safety factors to a serviceable limited state to suit specific project. In case of doubt, consult your nearest distributor or representative. Disclaimer: All information provided in this publication is correct to the best knowledge of the company and is given out in good faith. This information is intended only as a general guide, no responsibility can be accepted for any errors, omissions or incorrect assumption. As each project is unique, and as Rainsmart Solutions Pty ltd. and its distributors and agents worldwide have no direct control over the methods employed by the user in specifying, installing or supervising of its products hence no responsibility is accepted by Rainsmart Solutions Pty Ltd. and its distributors and agents worldwide. Users should satisfy themselves as to the suitability of the product for their purpose
5
6
7
8
9 Flatbed Leach Drain: Installation Manual DS agencies (approval holder 08/16) recommends potential installers review the online registration at ds.com.au/flatbed-leach-drain/ to observe the correct installation procedures. Component List 50 mm cell 4 pieces per 1.2 square metre (Appendix A) DS Geotextile non-woven in packs (11.0m x 3.0m) perforated pipe 100mm x 50mm x 3000 mm (Appendix B) pipe connector pipe end cap 1 per length 1 per length
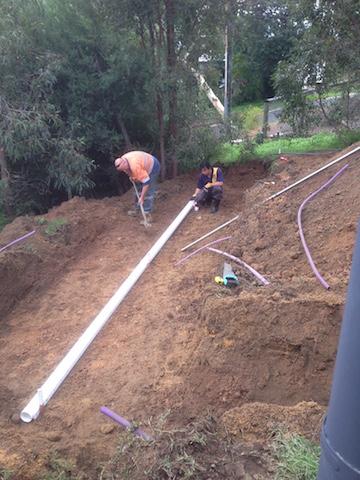
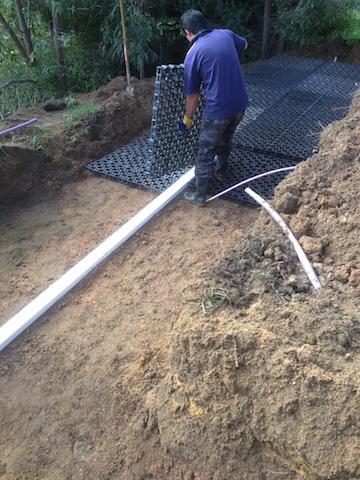
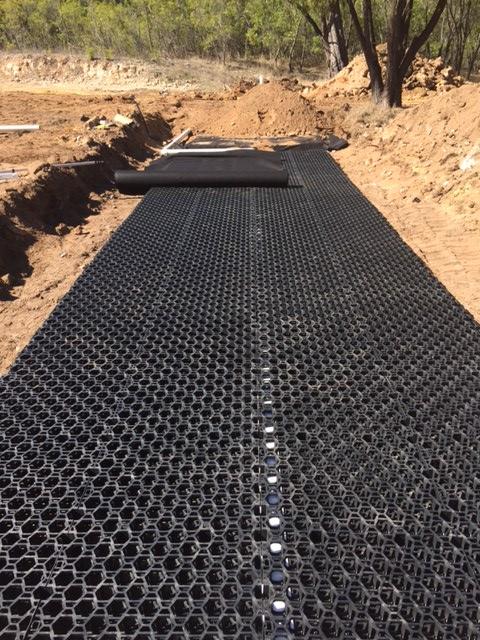
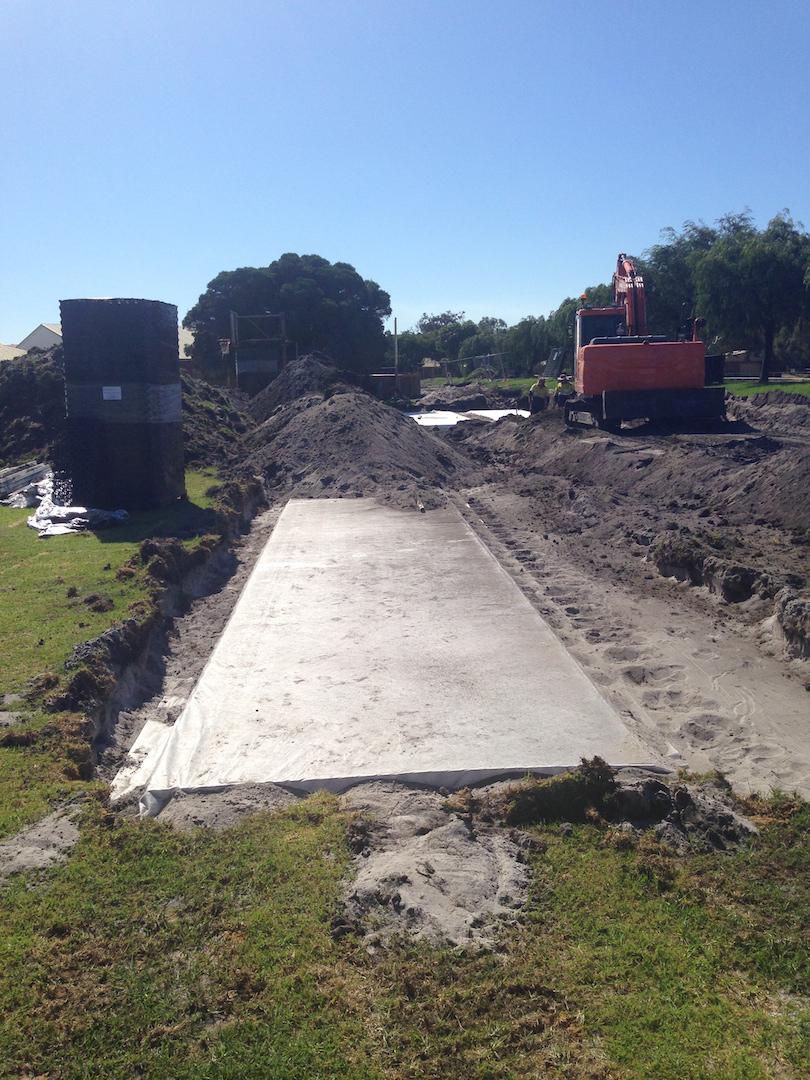
10 Flatbed Leach Drain: Installation Manual Excavation We recommend that construction techniques described in AS/NZS 1547 Clause L7 be observed as well as the specific details that follow. Ensure that the level bed is prepared to +/- 20mm tolerance. Installation Step 1. Distribution Pipe In a prepared bed (as detailed above) lay the Distribution Line centrally in the trench, with the pipe orientated so it is 50mm high. Using the connectors, join the 3.0m lengths, the required length, ensuring it finishes a max of 1000 from the end. NB insert the gutter plug in the end of the run, or ensure it is blocked off. Then fit a pipe connector to the start of the line, to accept the incoming feed line. Step 2. Bottom layer Clipping or abutting the cells together to form a continuous blanket installs the 50mm cell units, either side of the perforated pipes. The 600mm dimension across the bed, and the 500mm dimension along the bed (See Appendix C) NB: LPED lines can be used instead of distribution pipes, when dose-loading effluent into beds. To ensure that the 50 Flatbed blanket is level, additional friable material can be added through the cells to their underside, to areas which exhibit depressions, using a lift and drop technique. (See Appendix D) Step 3. Top layer Similar to the Bottom layer, except this forms a continuous mat on top of the Bottom layer and Distribution pipe. Step 4. Geotextile The Flat bed is then covered with the geotextile supplied, in packs (11.0m x 3.0m) or complete 3.0m wide rolls.. The geotextile covers the top and the sides. Step 5. Backfilling The Flat bed leach drain can now be carefully backfilled using the excavated material. Step 6. Restoration The surface can now be restored using suitable plants.


11


12
13