C.A.I. Customer Service Department 1462 East Ninth Street Pomona, CA Toll Free: CAL-SPAS Fax:
|
|
|
- Oswald Paul
- 5 years ago
- Views:
Transcription
1 11/30/2005

2 CONTACT INFORMATION For customer service, please contact your authorized dealer immediately. If you need additional information and/or assistance, please contact: C.A.I. Customer Service Department 1462 East Ninth Street Pomona, CA Toll Free: CAL-SPAS Fax: Copyright 2004, 2005, 2006 California Acrylic Industries, Inc. All rights reserved. Duplication without written consent is strictly prohibited. Cal Spas and Cal Enclosures are registered trademarks. Due to continuous improvement programs, all models, operation, and/or specifications are subject to change without prior notice. 11/30/ Spa Surround Owner's Manual Page ii
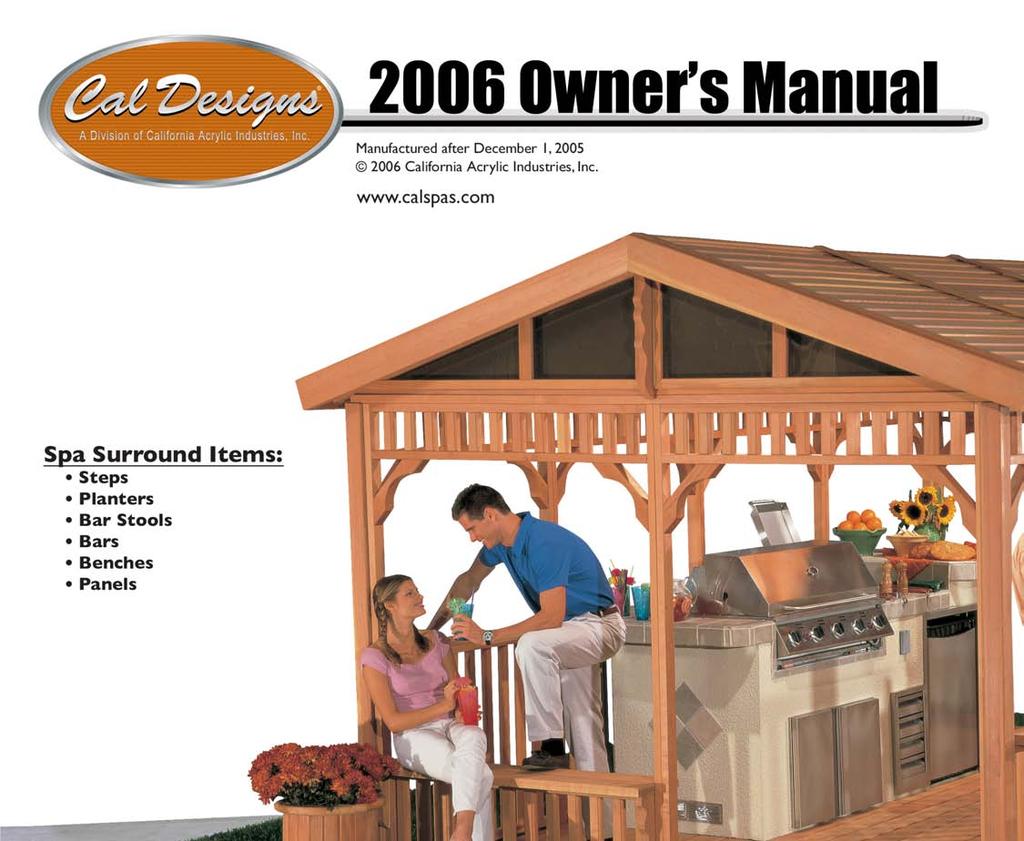
3 Table of Contents Read This First! Assembly General Safety Precautions... 1 Tools and Materials... 2 Step Assembly... 2 Two Tier, 30 Step... 2 Package R Step Assembly... 3 Package D, E, and I Step Assembly... 4 Cal Select Step Assembly... 5 Planter Assembly... 6 Bar Stool Assembly... 7 Bar Assembly and Installation... 7 Package B and M... 8 Package C, J, N and Northeast... 9 Package P and G Package R Bench Assembly Package P and G Package R Panel Assembly Package I Package J Maintenance and Care Appendix Cleaning Maintenance Troubleshooting... Error! Bookmark not defined. Replacement Parts... Error! Bookmark not defined. Accessories... Error! Bookmark not defined. Warranty Information Warranty Limitations Warranty Exclusions Customer Service Spa Surround Owner's Manual Page iii
4
5 Read This First! General Safety Precautions Carefully read and follow all safety instructions. Read This First! 1. When installing and assembling your surround package, it is recommended that two or more people be involved. 2. Do not use the unit during an electrical storm. 3. Do not climb on top of the surround package. While the surround package is made out of high-quality material and is extremely durable, it is not meant to support weight. In addition, falling off of the surround package while climbing on it can result in serious injury or death. 4. Do not attempt any repair without consulting the manufacturer first. Unauthorized repairs will void the manufacturer s warranty (within the first 90 days) Spa Surround Owner's Manual Page 1
6 Assembly Assembly Whether you assemble your surround package yourself or hire someone to do it, your new surround package needs to be assembled in a specific order. Our Cal Enclosures professionals have determined through their experience that this is the easiest way to assemble your surround package. Tools and Materials Utility knife 25' tape measure Cordless drill 100' extension cord Electric drill Phillips-head drill tips 1/8" pilot hole drill bit 9/16" socket Slotted-head drill tips Sandpaper (various grades) Redwood stain Wood putty Gray wash stain Rags 1/2" ratchet and impact drill 1/2" carbide drill bit (masonry bit) Step Assembly Two Tier, 30 Step 1. Stand the legs up at 30 apart. Place the upper step on top of the upper section of the step. 2. To attach the step, screw in 4 screws (2 at each rear corner): 1 into the step leg and 1 into the step itself. 3. Place the lower step on the lower section of the step. 4. To attach the step, screw in 4 screws (2 on each on the outside of the step). Use the toe-in method on both sides, as shown. Page Spa Surround Owner's Manual
7 Package R Step Assembly Assembly 2006 Spa Surround Owner's Manual Page 3
8 Assembly Package D, E, and I Step Assembly Page Spa Surround Owner's Manual
9 Assembly Cal Select Step Assembly 2006 Spa Surround Owner's Manual Page 5
10 Assembly Planter Assembly Page Spa Surround Owner's Manual
11 Bar Stool Assembly Assembly 1. Attach the bar stool legs to support the brace using the provided 2 ½ screws. There will be a total of 12 screws. 2. Place the bar stool seat on a flat surface. (Make sure the finish side is on the ground.) Attach the leg assembly using four 2 ½ screws Spa Surround Owner's Manual Page 7
12 Assembly Bar Assembly and Installation Package B and M Page Spa Surround Owner's Manual
13 Assembly Package C, J, N and Northeast 2006 Spa Surround Owner's Manual Page 9
14 Assembly Page Spa Surround Owner's Manual
15 Package P and G Assembly NOTE: The manufacturer recommends mounting corbels on the cabinet so that the bar top sits just under the spa lip. 1. Using 2 1/2 screws, mount the corbels directly to the cabinet wall (Figure 4C). Make sure that the corbels are horizontally level with each other. 2. Mount the bar top to the corbels with the 2 1/2 screws (Figure 4C). The screws must be mounted from the underside of the bar top. Make sure that the bar top rests just below the lip of the spa Spa Surround Owner's Manual Page 11
16 Assembly Page Spa Surround Owner's Manual
17 Package R Assembly 2006 Spa Surround Owner's Manual Page 13
18 Assembly Bench Assembly Package P and G Page Spa Surround Owner's Manual
19 Assembly Package R 2006 Spa Surround Owner's Manual Page 15
20 Assembly Panel Assembly Package I Page Spa Surround Owner's Manual
21 Assembly Package J 2006 Spa Surround Owner's Manual Page 17
22 Maintenance and Care Maintenance and Care Cleaning Your surround package was designed with low cleaning and maintenance in mind. We recommend that the surround package be cleaned at least twice a month (or more, if needed). When cleaning your surround package, do not use cleaning solvents -- using a sponge and water will be fine. For ground-in dirt and grime, refer to the following section. Maintenance Maintaining your surround package is an easy task. We recommend that every six months you inspect your surround package. If your surround package is redwood, take note of any deformities in the wood (i.e. cracking, peeling, dirt, grime, etc.). Wipe the stained area clean and reapply until the sanded area matches the rest of the surround package. If your surround package is Cal Select, wipe off any dirt or grime using a sponge and water. Condition the Cal Select with Cal Spas Vinyl Cleaner and Conditioner. Follow directions on label. Page Spa Surround Owner's Manual
23 Appendix Appendix Warranty Information See your Cal Enclosures surround package dealer for a copy of the applicable warranty, details and any questions you may have regarding the warranty coverage on your surround package. Warranty Limitations The Limited Warranty is void if the surround package has been subject to negligence, alteration, misuse, abuse, repairs by non- C.A.I. authorized representatives, acts of God and any other cases beyond the control of C.A.I. Examples of common acts invalidating this warranty include but are not limited to: Use of the surround package in a non-residential application Scratches caused by normal use Damage caused by extreme weather conditions (heat, cold, etc.) Damage caused by dirt, sand, and/or water damage Damage caused by direct sunlight Damage caused as a result of failure to follow the assembly instructions as defined in this Owner s Manual This Limited Warranty applies only to surround packages normally used for personal, family, or household purposes. This Limited Warranty is obsolete 90 days after the original purchase date. Warranty Exclusions C.A.I. warranties the surround package from defects in material and workmanship for a period of 90 days from the original date of purchase. DON T FORGET TO REGISTER YOUR NEW PRODUCT AT WWW. CALSPAS.COM. Customer Service For customer service, contact the authorized selling dealer immediately. If you need additional information and assistance, please contact the C.A.I. Customer Relations Department at 1462 East Ninth Street, Pomona, CA 91766, or call Spa Surround Owner's Manual Page 19
24 Cal Spa Model: Please make a record of the following. It will be valuable if service is required. Cal Spa Serial Number: Date Purchased: Date Installed: Cal Spa Dealer s Phone Number: Cal Spa Dealer s Address: C.A.I. Customer Service Department 1462 East Ninth Street Pomona, CA Toll Free: CAL-SPAS Fax: