Transcript P-File Imaging
|
|
|
- Kristian Morrison
- 5 years ago
- Views:
Transcription

1 Welcome to Preparing for Personnel File Imaging. Personnel files are also known as P- files. This module will be part of a training series on personnel file imaging adoption, using ImageNow software. March 2017, Version 1.0
2 Whether at a meeting or through documentation or conversations, you ve likely identified the value of adopting electronic P- File imaging for your School, College or Division. You and your colleagues are likely excited.
3 What do you hope to achieve by adopting electronic P- File imaging? Please select an answer. Then, click Next to continue.
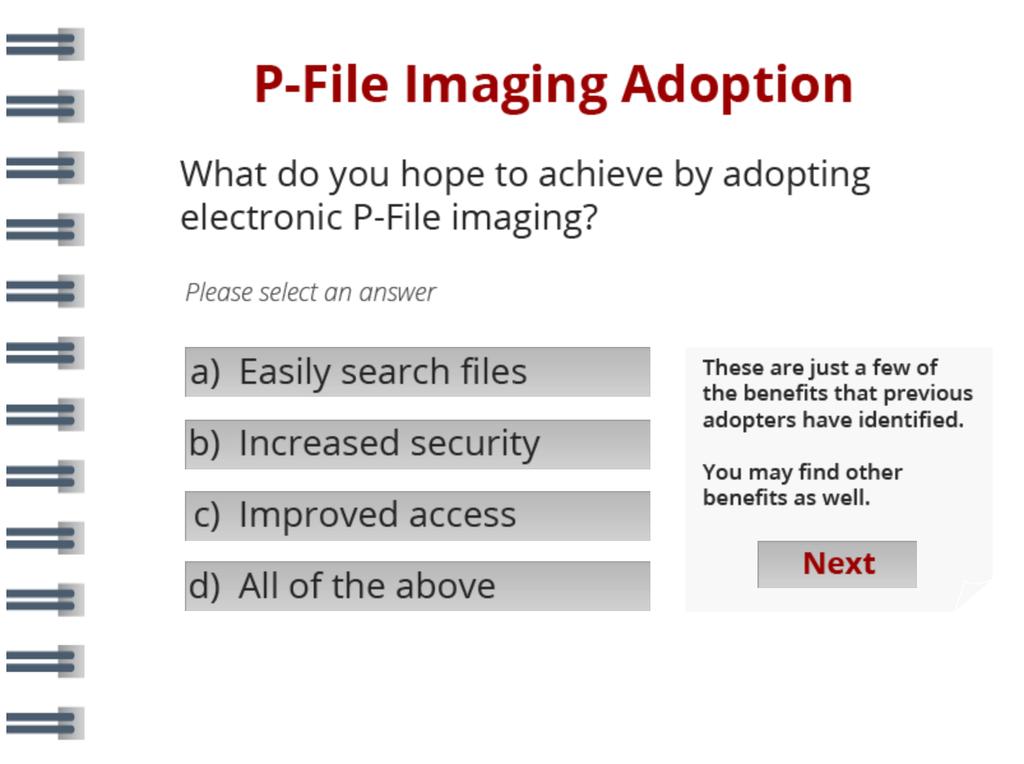
4
5 This training module will provide you with a bit of background, outline steps to complete as you prepare for P- File imaging, and link you to resources and documentation. Our goal is to save you time, help you get the most value for your efforts, and ensure success. Please note the last slide will provide you with a comprehensive list of resources from this presentation. Let s get started.
6 Let s begin with a bit of background and a few resources. ImageNow software by Perceptive Content is the software used on campus for electronic document management. It s also the service that campus is using to store and manage electronic P- Files. It provides a consistent framework for electronic P- Files on campus. You will use this electronic system to scan, store, and retrieve P- files. P- File Imaging is a self- service adoption model with technical assistance from the Imaging Team at the Division of Information Technology, also known as DoIT.

7 Please review the Summary, Imaging service page, and KnowledgeBase documents at the links on this screen to learn more. Then, click Next to continue.

8 There are several steps involved as you consider adopting P- file imaging. We ve broken the steps into two phases: prepare and seek approval for adoption, and School, College, Division preparation for adoption. These steps will help prepare your School, College or Division for your initial meeting with DoIT s Imaging Team. We will walk through each step throughout this training. Download the checklist to track Phase I and Phase II steps. Then, click Next to continue.
9 The first step in Phase I is to consider when your School, College, or Division will be ready to start the project. To do this, identify a primary and secondary time frame for P- File imaging on- boarding. The slides going forward will describe tasks that will help you select an appropriate adoption time frame based on your circumstances. There are two time frames within each year to onboard: September to December and March to June. You will be asked to identify a time frame that works for your division, based on your circumstances. Please select a first and second choice time frame and then seek approval from the Office of Human Resources, also known as OHR. Please note there are a limited number of on- boarding slots during each year and time frame. OHR will work with the technical staff to determine the on- boarding schedule for each year and time frame.
10 The next step in Phase I is to review your School, College or Division s current document workflow. It s important to think about and plan for how documents will be scanned and entered into ImageNow. How does your division currently enter documents and manage your P- files? Is it a centralized or decentralized workflow? In what format are documents received, and where are they stored? Download and complete the Workflow Document to help answer these questions. Then, click Next to continue.
11 Next, make a request to OHR to secure approval. When making the request, please provide your first and second choice time frame, as well as your P- File workflow document. As a reminder, there are a limited number of slots in a given year. Before making a request to OHR, review the applicable record retention policy for P- files. To do this, download the Records Schedule document. Please note that once you opt- in to imaging for P- files, it s a permanent decision for your School, College or Division.
12 While you are awaiting approval from OHR, there are things you can do. These steps are part of Phase II, and the first step starts with creating your team. This is your opportunity to determine which team members should be involved in P- File imaging at your School, College or Division. Please note that there is a time investment on this project, and creating your team will help you think about this. Download the worksheet to assist you with documenting and creating your team. Then, click Next to continue.

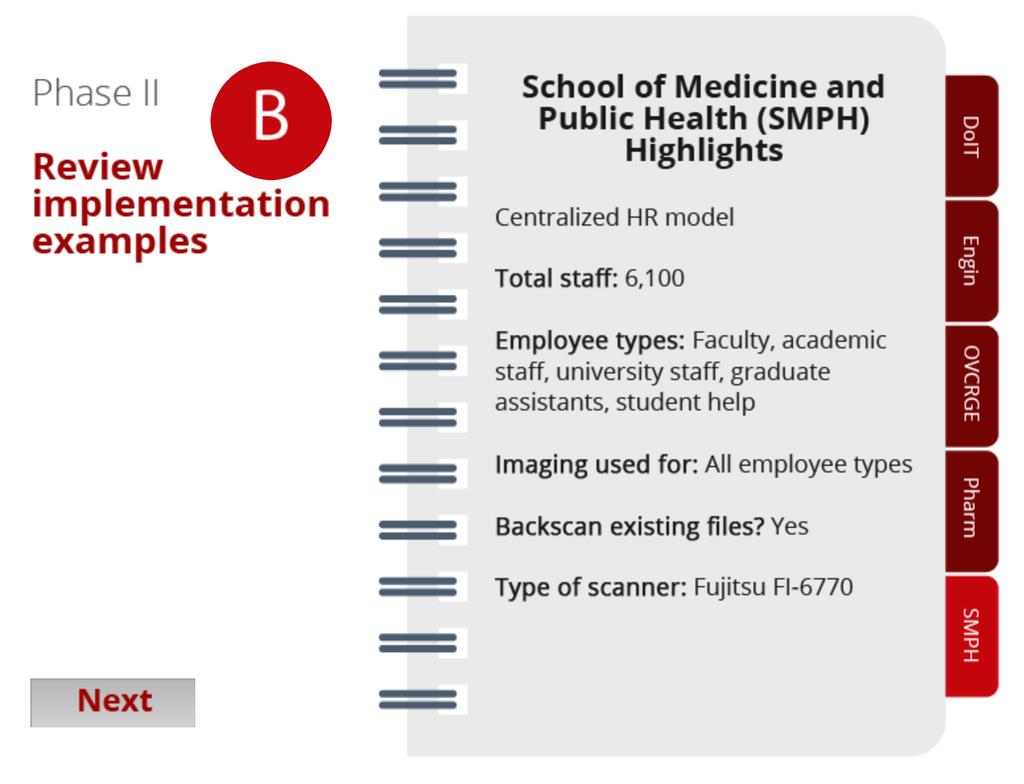
13 There are differences in how each School, College or Division implements P- File imaging. Each implementation may be somewhat unique. Please review a few examples of previous implementations to provide context for your unit. Your situation may be similar to one listed or it may be unique. This will all be part of your discussion with DoIT s Imaging Team. Click on each tab to see highlights from Divisions that were part of the pilot project. When you are ready, click Next to continue.

14

15

16

17
18

19 Seeking more information? You may find it helpful to find a P- File imaging migration partner. Download Migration Partners for a detailed review of Schools, Colleges or Divisions that are already using P- File imaging. Please feel free to contact a migration partner to talk about their implementation and process. When you are ready, click Next to continue.
20 Let s discuss equipment and personnel resources. An ImageNow scanner is highly recommended. Please do not purchase a scanner until you confer with DoIT s Imaging Team at your initial meeting. Most units do not have a scanner that will work unless they are currently using ImageNow. Multi- function scanners like a printer, scanner, fax combo will not work for this project, as they don t meet security standards. We recommend that scanners used for this project be used solely for ImageNow. There are upfront costs such as the scanner itself, maintenance, and licensing agreements. Some Schools, Colleges or Divisions have decided to share a scanner with another unit. There are a variety of ways to absorb the cost if it s prohibitive. You will learn more at your initial meeting with DoIT s Imaging Team. Please also identify a Windows computer as well as physical space for document staging and scanning. For technical specifications regarding the computer, review the Computer Specs document. In addition, it s important to keep local IT support informed and available for implementation and on- going support. This includes on- going implementation and support for any Windows computers utilized for scanning and interaction with electronic P- Files. Click Next to continue.
21 It s important to determine and document permissions needed, for HR staff, in the ImageNow software system. This provides an additional security to the campus system and outlines who is able to access the system and what they are able to do. Please complete the Permissions Spreadsheet by listing the HR staff that will be accessing the ImageNow software and their role as manager, staff or student. Bring the Permissions Spreadsheet to the initial meeting with DoIT s Imaging Team. Click Next to continue.
22 The final step in Phase II is requesting HRS role permission for the ImageNow linking page. This is a page in the HRS system designed to assist with the input of P- File documents into ImageNow. You will learn more about this page during the on- boarding process. For information about how to request access to this page, please download the Request HRS Access via OIM document. Click Next to continue.
23 Now that we ve outlined the Phase I and Phase II steps to prepare you for P- File imaging, let s highlight the support you will receive from DoIT s Imaging Team. At the initial meeting, DoIT s Imaging Team will verify and review the steps identified in this presentation. They will also help your School, College or Division purchase a scanner that meets the criteria for ImageNow. DoIT s imaging team will plan for implementation and configuration of scanner and computer for this work. They will schedule a meeting with you and your local IT support and explain what s needed for implementation and on- going support. The Imaging Team will also work with you to configure permission levels in the ImageNow software and establish a security approver. Finally, they will plan for testing your specific implementation and determine a go- live date that fits into the established time frame.
24 Thank you for your interest in P- File Imaging. We appreciate the time you took to complete this presentation.