Verea Spanish S Roof Tile Installation Guide
|
|
|
- Brandon Powell
- 5 years ago
- Views:
Transcription


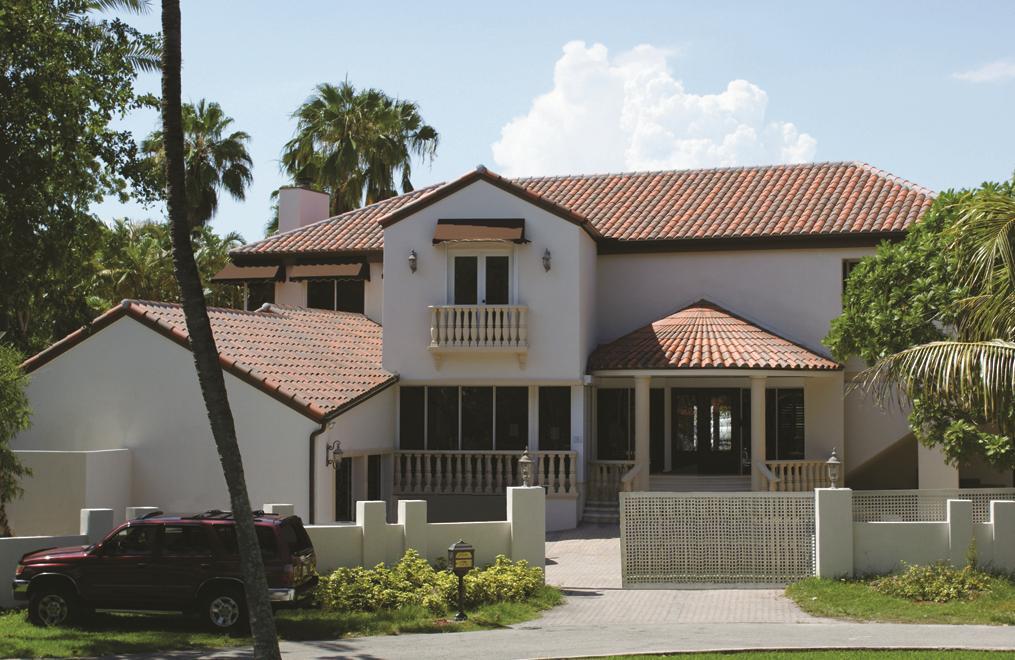
1 Verea Spanish S Roof Tile Installation Guide
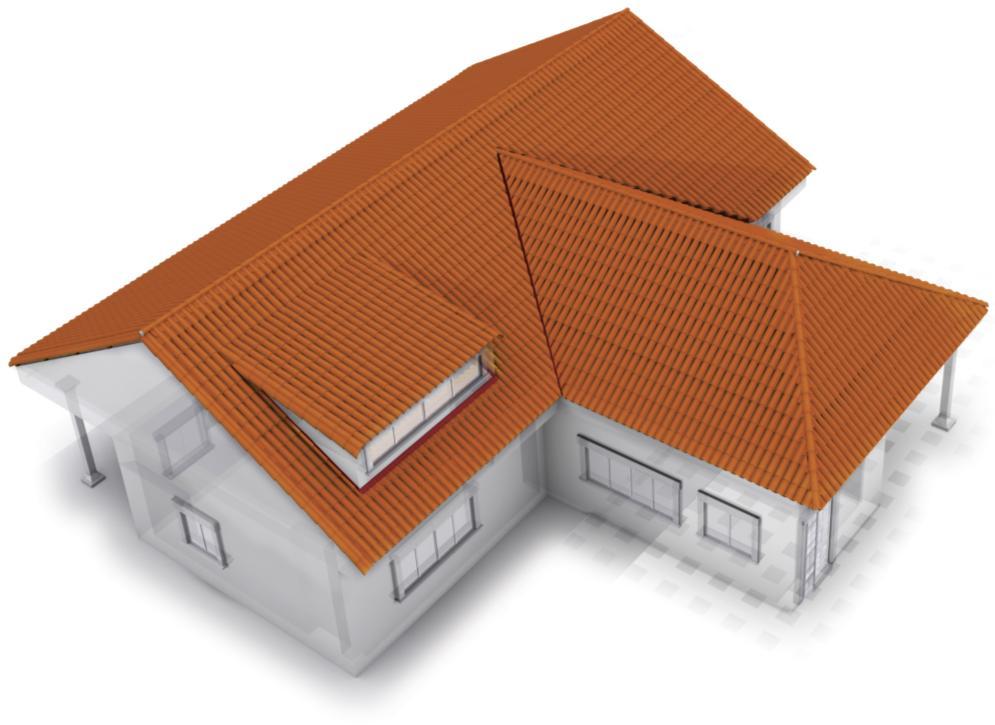
2 IDENTIFICATION OF ROOF AREAS RIDGE HIP FIELD OF ROOF RAKE (left) EAVE VALLEY GABLE END HEAD WALL SIDE WALL RAKE (right) DISCLAIMER NOTICE It is important to recognize that these recommendations are neither warranties, explicit or implicit, nor representative of the only method by which Verea Spanish S roof tiles can be installed. Rather, they try to summarize for the designer, installer or developer good roofing practices and the requirements of various building code agencies. These guidelines may not be applicable in all geographical areas. It is the responsability of those individuals who are referring to these guidelines to independently research and determine which is best for their particular project. Check with local authorities prior to installation 1

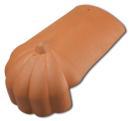

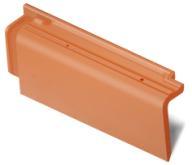
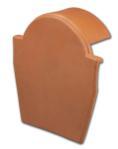


3 IDENTIFICATION OF ACCESSORIES Chimney Under Hip & Ridge Hip & Ridge Four-way ridge Three-way ridge Straight rake (right) Ridge end Straight rake (left) Bird Stop S Hip Starter Gable end detail Hip & Ridge detail 2
4 Please refer to: Notice of Acceptance issued by Miami-Dade County NOA # (available in our page web). Concrete and Clay Roof Tile Installation Manual edited by FRSA & TRI (Florida Roofing, Sheet Metal and Air Conditioning Contractors Association, Inc & Tile Roofing Institute) Concrete and Clay Roof Tile Installation Manual edited by TRI & WSRCA (Tile Roofing Institute & Western States Roofing Contractors Association) DECKING for complete installation specifications. Solid decking shall be of proper thickness to be structurally adequate and properly fastened to support the loads. Decking material and installation of it shall comply with all local Building Code Requirements. Never install underlayment on wet, frozen or icy surfaces. Consult Local Building Codes for Compliance. TILE APPLICATION 1. Tile Layout 1.1. Layout-Horizontal Mark horizontal lines at 16 ¾, which will provide a nominal 3 headlap. Set first course at 19 ¾ less desired overhang from the eave. Overhang shall be ¾ to Layout-Vertical Chalk vertical guidelines at 9.44 (between 9 ¼ and 9 ½ in an attempt to finish with a full tile at the gable ends). Note: Due to the nature of clay, color and size variations may vary from technical data. Tile measurements should be checked at time of installation and adjust guidelines to assure a better tile installation. 3
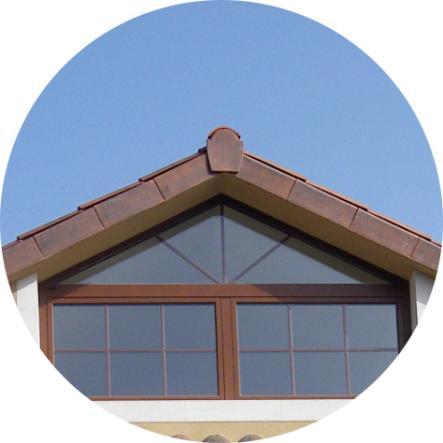
5 2. Rake/Gable Detail 2.1. Option 1: Barrel rake tile Secure each rake tile with two corrosion-resistant nails or screws of sufficient length to penetrate the framing a minimun of ¾. NAIL or SCREW 2x3 NAILER RAKE (left) 2x2 NAILER BIRDSTOP RAKE (right) NOTE: Rake tile application at finishing end sealant may be needed Option 2: Straight rake tile Secure each straight rake tile with two corrosion-resistant nails or screws of sufficient length to penetrate the framing a minimun of ¾. 2x3 NAILER BIRDSTOP RAKE (left) RAKE (right) 4
6 3. Eave Detail Install clay birdstops or metal eave closure to elevate the first course of field tile at the eave edge. If Mortar Eave Closure is in place, apply mortar along the eave edge to elevate eave tile to be in plane with field tiles. Apply a minimun 3/8 weep hole at underlayment, one per tile. OVERHANG: ¾ to 2 FIELD TILE BIRDSTOP DRIP EDGE 4. Side Wall Detail FASCIA BOARD FLASHING TILE PAN FLASHING FLASHING TILE PAN FLASHING 2x3 NAILER 2x3 NAILER 5
7 5. Head Wall Detail REGLET FLASHING FLASHING CEMENT FIELD TILE 6. Hip and Ridge Detail Pre-bagged or job mixed mortar may be used for weather blocking areas only. For slopes greater than 7:12 attach hip tile with a nail or screw. ADHESIVE MORTAR AS A WEATHER BLOCK PLASTIC CEMENT 6
8 Verea Spanish S Roof Tile Installation Manual 7. Installation over battens Vertical batten Distance between horizontal battens First horizontal batten Distance between horizontal battens: 16 ¾, which will provide a nominal 3 headlap. First horizontal batten: 1 higher than the rest of the horizontal battens to elevate the eave end of the tiles to be on profile with the remaining roof tiles. 7