1.2 Think Thin. Thin. Light. Large.
|
|
|
- Isaac Houston
- 5 years ago
- Views:
Transcription

1 1.2 THINK THIN

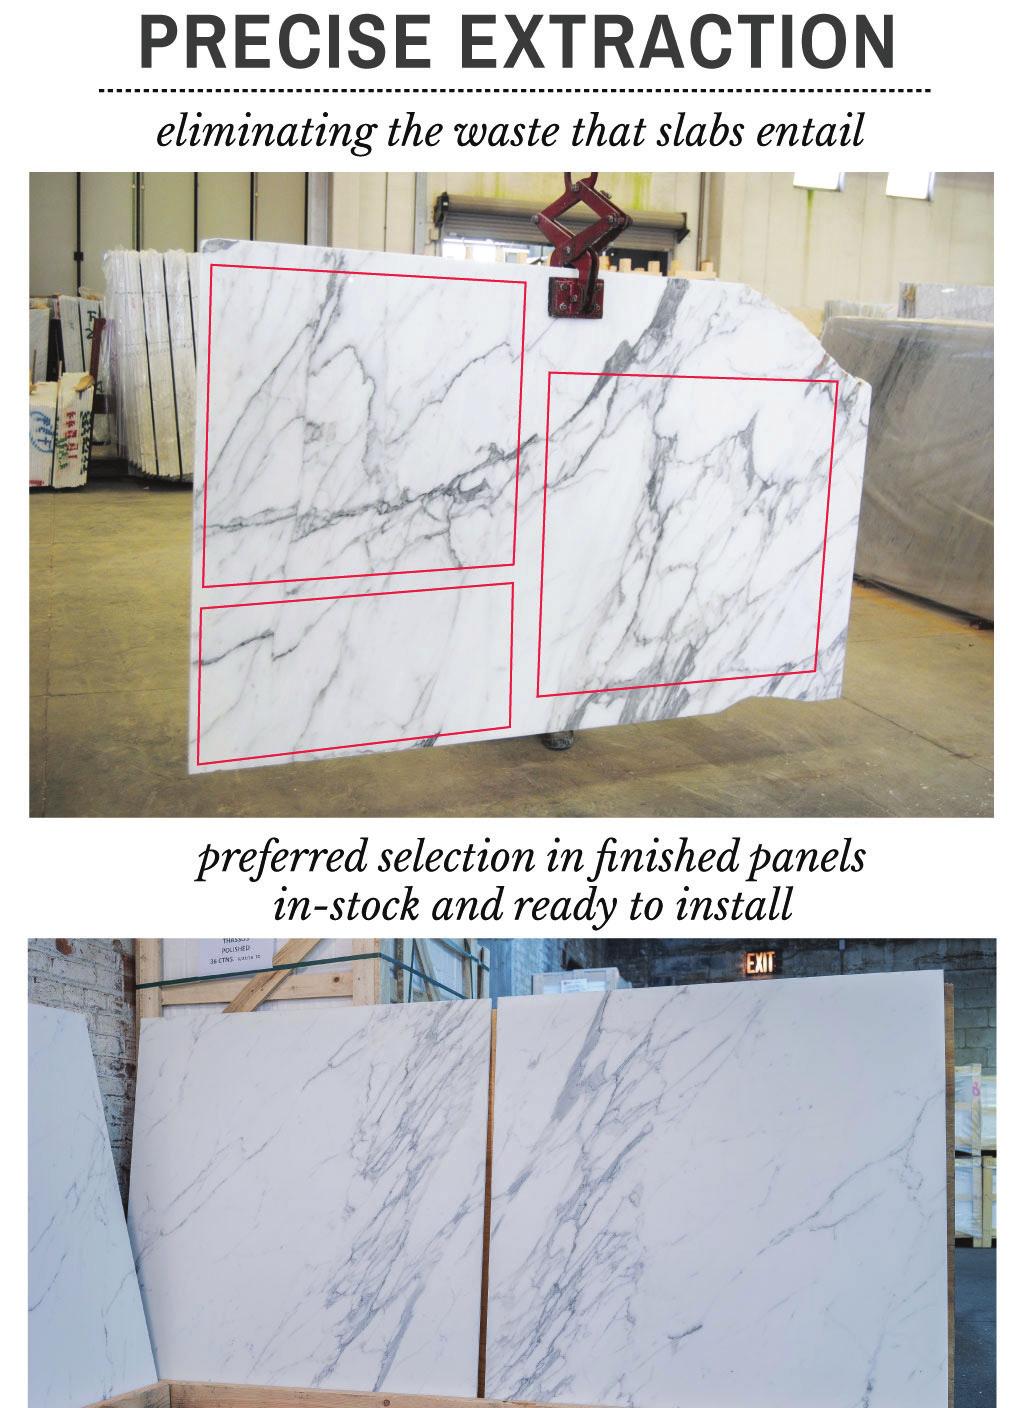
2 1.2 Think Thin Thin. Light. Large. Nemo Tile s 1.2 Think Thin Line opens a new chapter in the evolution of natural stone tile. Building on the foundation of 3/8 thickness marble tile introduced fifty years ago, Think Thin 1/2 thick tiles allow piece sizes almost the size of a traditional slab. This breakthrough is a synthesis of advanced technology harnessed to cut, handle, and pack from quarry to installer. 1.2 Think Thin makes the following possible: - Lower shipping costs by up to 50% - Apply to any surface with proper substrate and setting material - Seamless slab-like look with easy tile install Lighter tiles make for easier handling and installation. These large format stone tiles make the impact of natural stone attainable for everyone.


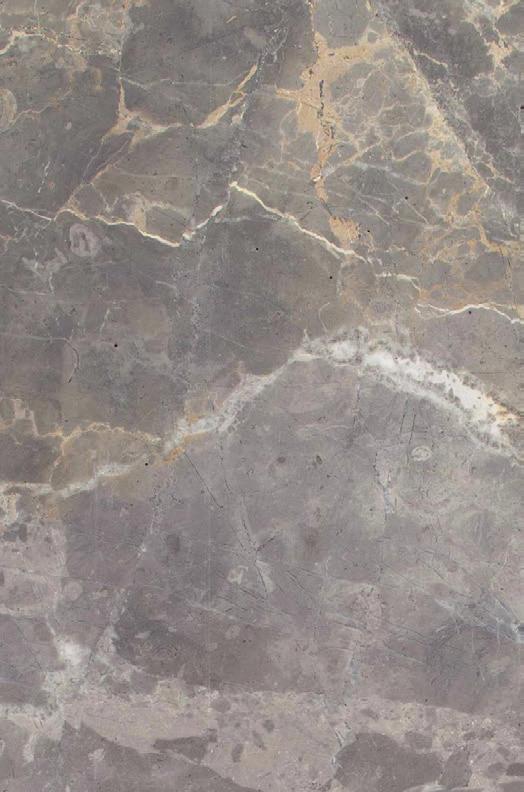


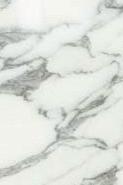
3 Bianco Carrara C Bianco Carrara CD Statuario Calacatta Bardiglio Bianco Namibia Graffite Fior di Bosco Nero Marquina Vratza Zecevo Arabescato 1.2 Think Thin
4 Size 1.2 cm thick 24 x24 x1/2 61x61x1,2cm 36 x36 x1/2 91,4x91,4x1,2cm 24 x36 x1/2 48 x48 x1/2 24 x48 x1/2 61x91,4x1,2cm 122x122x1,2cm 61x122x1,2cm Bevel on request Size 1 cm thick, bevelled and calibrated 12 x12 x3/8 16 x16 x3/8 18 x18 x3/8 12 x24 x3/8 16 x32 x3/8 12 x36 x3/8 18 x36 x3/8 30,5x30,5x1cm 40x40x1cm 45,7x45,7x1cm 30,5x61,4x1cm 40x80,4x1cm 30,5x92,3x1cm 45,7x92,3x1cm Also available in 1.2 cm (1/2 thickness) Stone Finishes Polished Honed Brushed 1.2 Think Thin
5

6
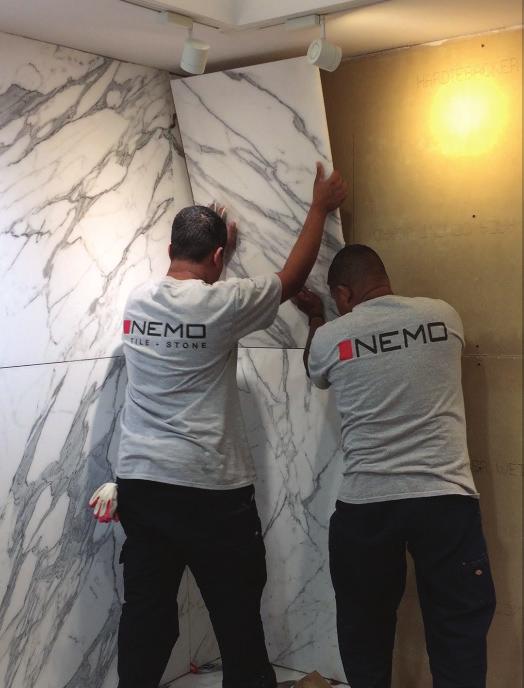
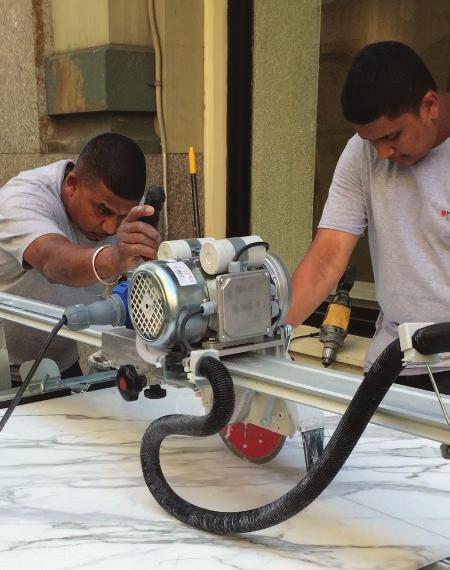
7 1.2 THINK THIN INSTALLATION, CARE & MAINTENANCE Considering this new collection s characteristics, we recommend the support of highly professional and experienced installers, able to guarantee a workmanlike laying. The designer will be in charge of matching formats, sizing grouts and grid of joints to the type of support and its changeability. 1. Preliminary examinations Ensure the integrity of the delivered goods, the absence of damage or tampering of the packaging and, in case of storage, its placement in a dry area. 2. Laying arrangements and intended uses It is recommended for designer to identify the proper laying arrangement for the intended use of the surface, screed and design layout. Verify that the support is dry, compact, perfectly levelled and clean (without dust or other deposits). 3. Materials handling It is recommended to handle all elements with extreme care and adequate equipment. Whereas necessary, two operators may be required. Natural stone (especially in large size) is a flexible material. In order to maintain its flatness, after having removed it from the packaging, it is recommended to place it on a flat, continuous and dry surface. If you notice light curvatures while handling, place the material on a flat horizontal surface, even on multiple layers. Thanks to this operation and to a correct installation, the material will return to its regular flatness. 4. Cutting Perform the operation on a stable support; cut the net if present with a cutter then proceed trimming with a hose making sure to apply steady pressure and speed during the whole cutting process and, where necessary, finish the edges using abrasive sponges. 5. Adhesive application Before the actual laying, verify the compatibility of adhesive, support and 1.2 Think Thin besides the surrounding conditions. Recommended adhesives: type R white adhesive (reactive). Follow the manufacturer s instructions, in order to apply an even and homogenous layer of adhesive. PERFECTLY FLAT AREA 6. Laying of the material In order to guarantee best durability, correct substrates installation is absolutely crucial. Hence, ensure maximum contact between adhesive, support and product. If necessary, use suction cups verifying the alignment between the different elements. 7. Final Polishing Once the laying is completed, promptly remove all residues using alkaline products (non-acidic). 8. Special Precautions and Tips Protect the finished surface with hard panels until the coating delivery. Ensure the continuity and homogeneity of the installation layer even under 1.2 Think Thin s corners; regularly clean the surface with a damp and clean sponge during the laying operations. 9. Caution All data is indicative and may be subject to changes following possible technical improvements or production requirements. We will not accept complaints related to installed materials.

8 1.2 THINK THIN Thin. Light. Large.