Floorcoverings, accessories and adhesives. Matching the right products to ensure compatibility, safety and durability. A discussion paper
|
|
|
- Elinor Harmon
- 5 years ago
- Views:
Transcription

1 Author: Keith Oakes, Technical Director for Gradus Contributor: Stephen Boulton, Technical Service Manager, F. Ball and Co. Ltd. A discussion paper Floorcoverings, accessories and adhesives Matching the right products to ensure compatibility, safety and durability

2 Synopsis When specifying and installing floorcoverings and accessories there is a wide range of products on the market to suit a variety of applications. From carpet, wood and metal, to vinyl, rubber and upvc, with so many different materials available there is no one size fits all rule when it comes to choosing an adhesive. One adhesive may seem much the same as another, but this is simply not the case. If the adhesive chosen is not compatible with the product being installed then an installation failure is highly likely to occur. This may not be obvious at first, as the immediate adhesion may seem sound, and incompatibilities between adhesives and the products they are fixing may not show themselves for several months. The key to selecting adhesives is to ensure they have been tested by the adhesive manufacturer and are backed for use in conjunction with the products in question by the adhesives manufacturer. If the products are then installed in line with both the product and adhesive manufacturers guidance then there should be no problem with the installation. If there are subsequent issues the flooring contractor should get support from both the product and adhesive manufacturer to help resolve these. However, combining a product with adhesives that are not backed by the adhesive manufacturer for use with a particular product, puts the responsibility on flooring specifiers and contractors, leaving them liable for any subsequent failures and at risk of facing a costly bill for replacement flooring products or accessories. In this discussion paper, we explain some of the pitfalls to be aware of when installing floorcoverings and accessories and look at how to make sure the adhesives you use have been tested for use with the products you are installing. About the author Keith Oakes has had significant involvement in all aspects of floorcoverings and flooring accessories, with over 33 years experience understanding the needs and requirements of individual market sectors. He has worked for Gradus since 1980 and sits on various BSI committees, the UK Slip Resistance Group and the CFA Manufacturers Committee. About the contributor Stephen Boulton is the Technical Service Manager for F. Ball and Co. Ltd., the UK s leading manufacturer of floor preparation products and flooring adhesives. He and his team provide expert technical advice to flooring contractors and specifiers regarding subfloor preparation and selection of the most appropriate flooring adhesives to ensure correct installation of new floorcoverings. About Gradus Gradus was founded in 1966 and has evolved from a flooring accessories business, which still remains at the heart of its activities, into a fully-fledged contract interior solutions provider. With over 280 employees serving both the UK and international markets, Gradus offers solutions for floorcoverings, barrier matting, wall protection and lighting design, in addition to a comprehensive range of stair edging and floor trim profiles.

3 Before you start: preparing the substrate 1 Surface preparation is critical when it comes to ensuring the success of any flooring project, helping to ensure the floorcovering or accessories will remain bonded to the surface for the lifetime of the product to give a safe and aesthetically pleasing finish. There are a number of basic requirements for any substrate, whether in a new build or refurbishment scenario. These are defined in various British Standards such as BS5325: Code of Practice for Installation of Textile Floor Coverings and BS8203: Code of Practice for Installation of Resilient Floorings. BS5325 covers all products composed of textile material with a pile or non-pile use surface and includes the laying of carpet tiles, while BS8203 covers flooring materials such as cork, linoleum, plastics or rubber. First of all, the sub floor should be inspected to ensure it is in a good condition to receive the floorcovering, with installation only carried out once the contractor is satisfied that it meets all the necessary requirements. Essentially, the sub floor should be clean, dry and free from contamination such as dust, with any loose material cleaned by scraping, brushing or vacuuming the surface. Contaminants such as paint, residual adhesives, oil, mould or mildew should also be removed using appropriate cleaning products and methods, as they can all prevent adhesives from bonding properly. In addition, the sub floor should be stable, level, smooth and free from any indentations or ridges as these could have a detrimental effect on the bond between the flooring and sub floor, with a subsequent impact on the appearance and wear of the floorcovering. In the event of any irregularities in the sub floor, methods such as shot-blasting, sanding or screeding can be used to help combat these and create a smooth finish. When installing floorcoverings onto concrete or cementitious sub floors it is also extremely important to ensure that the sub floor is not only dry, but also that the relative humidity is below 75 percent. This can be checked by using a hygrometer or other specialist products, such as one of the Protimeter range of instruments, which are designed to detect damp in various materials. Subfloor moisture is a common problem in both old and new buildings, and it is vital that this is resolved before final floorcoverings are laid. Moisture is inherent to concrete and is subsequently difficult to fully eliminate. Even if a subfloor surface appears to be dry, excess moisture may still be present within it. Over time, this moisture will naturally disperse through the substrate, and the amount reaching the surface may increase to a level capable of causing flooring failure, which is why failure to carry out moisture testing prior to installation can invalidate any guarantees offered by adhesives manufacturers.

4 Which adhesive with which floorcovering? 2 As the construction industry has evolved over the years we have seen a growing demand for products that meet more stringent safety and environmental requirements, as well as offering faster installation to meet tighter building schedules. This has led to an increase in the number of different types of floorcoverings, accessories and adhesives on the market. Choosing the right combination to ensure compatibility is therefore essential, as this will bond the two different surfaces together under expected service conditions for the lifetime of the products. It is not simply a case of using any adhesive with any floorcovering or flooring accessory, as many adhesives are specially formulated for use with specific materials to give a strong and long-lasting bond. In addition, there are a number of other factors to consider, including what the subfloor is made from, whether the installation will be internal or external and temperature requirements, such as the presence of underfloor heating. It is also important to ensure the required risk assessments have been carried out to ensure safety during the application of the adhesive. Things to consider include ventilation, personal protective equipment (PPE) including masks, air quality and volatile organic compound (VOC) levels. In many cases, adhesives manufacturers work closely with floorcovering manufacturers and will carry out research in climate-controlled laboratories and test facilities. This helps them to determine their products compatibility with different types of floorcovering materials, as well as the bond strength offered by specific combinations. Flooring products are grouped by backing type. Some products can have several different types of backing so it is important to check the backing material, as this may affect the choice of adhesive used. Sometimes, more than one adhesive can be used with a particular backing material. In such cases, other factors including site conditions, type of subfloor, flammability and water resistance requirements - should be taken into consideration in order to ensure the best match. Using resources such as the F. Ball Recommended Adhesives Guide takes the guesswork out of choosing the correct adhesive to help flooring professionals and specifiers choose the right product first time. It contains tried and tested adhesive recommendations for over 5,500 floorcoverings, which have been endorsed by 200 leading international floorcovering manufacturers.


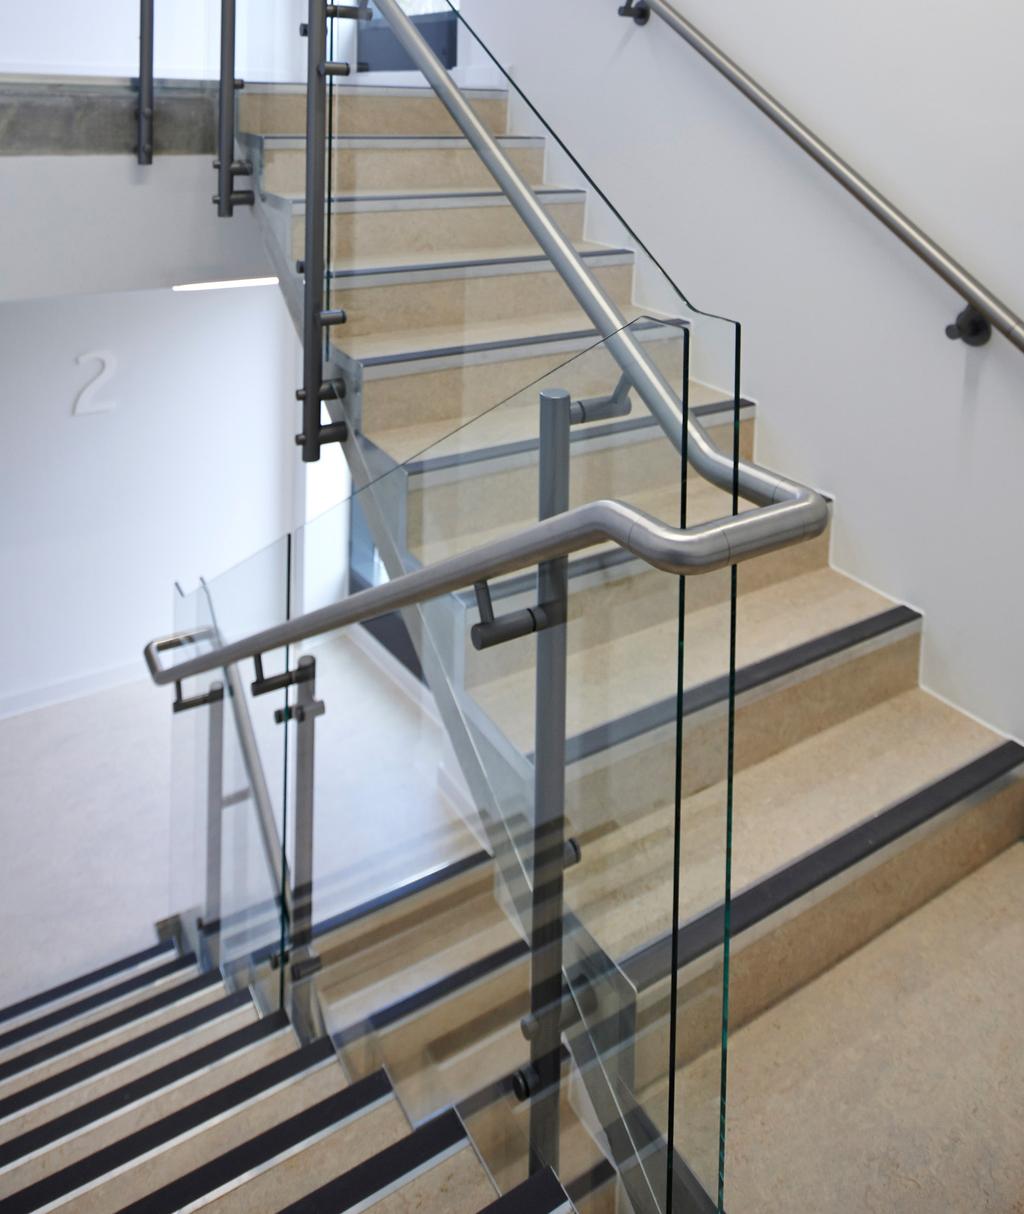
5 Application methods 3 Most flooring adhesives are applied using a steel trowel with 60 degree V-shaped notches along each edge. The depth and spacing of these notches are specified to control the quantity of adhesive applied and to suit the type of product being laid. With some adhesives, it is possible to follow on using a roller, pre-wetted with the adhesive, to flatten out the ridges and minimise grin through of the adhesive. Adhesive manufacturers take great care to ensure that the correct trowel notch size is specified for each adhesive and situation. As the depth and spacing of notches on the trowel is designed to control the amount of adhesive applied, it is essential that their recommendations are followed. Alternative methods of application, such as spray, roller and adhesive-only solutions (see below), are also available but these methods require specially formulated adhesives. Using spray methods can result in faster application rates on flooring accessories, such as coving and capping strips, but issues of over-spray and compatibility must be considered. Most PVC coving and capping strips contain plasticisers, which make them flexible and easier to handle. Some spray adhesives can contain ingredients that react badly with plasticisers and result in plasticiser migration. If this occurs then the bond with the substrate will fail and become unstuck. In these instances the immediate adhesion may seem sound, and incompatibilities between adhesives and the products they are fixing may not show themselves for several months. If plasticiser migration occurs then it can be very costly to contractors. The product cannot simply be replaced but all traces of the adhesive, plasticiser, and any other contaminants must be permanently removed from the substrate and adjacent floor covering, and expert advice may need to be sought. Replacement PVC covings and capping strips will then need to be installed, and the floor covering may also need to be replaced if this has been damaged, which can result in a costly replacement. When spray adhesives are used for the application of PVC coving or capping strips it is therefore very important to ensure they have been tested by the adhesive manufacturer and are backed for use in conjunction with these products. It is important to remember that all adhesives must be applied at the correct temperature and that good drying conditions are maintained throughout the installation. All adhesives must be used in accordance with the instructions provided by the manufacturer and the British Standard Codes of Practice, with safety instructions followed at all times. When it comes to bonding stair edgings, Gradus now offers an alternative to traditional mechanical, Gradus Grip. With no more drilling, screwing or screw head cover plugs, fitting stair edging is much faster and the aesthetic is greatly improved, plus they re easier to clean and maintain. Gradus Grip is the company s first adhesive-only stair edging installation solution. Available in a cartridge, it offers a quick and easy installation - delivering an ultra-strong bond, with curing time from as little as an hour. For complete peace of mind, it s also supplied with a 10 year warranty.
6 What happens when things go wrong? 4 There are a number of different causes of flooring adhesive failure. Correctly identifying these can help when it comes to addressing any issues that arise and ensuring that any new floorcovering or flooring accessories installed do not suffer the same problem. Common issues include: Contamination The most frequent types of contamination are a result of oil and grease, as well as adhesive residue that has not been properly eradicated following the removal of existing floorcoverings in refurbishment scenarios. Contamination forms a barrier to prevent the new adhesive from sticking properly to the floor. It is normally found on the floor surface, but can very occasionally occur on the back of floorcoverings as a result of residue from the manufacturing process. Insufficient or excess adhesive applied Applying too much or not enough adhesive can both cause issues, so it is important to ensure the recommended amount for the area of floorcovering or accessory is applied and distributed evenly across the surface area. If applying the adhesive using a trowel, be sure to use one with the correct depth and spacing of notches throughout the application to ensure that the correct quantity of adhesive is evenly applied. Use too little adhesive and there won t be enough to form a strong bond with the floor covering. Conversely, if too much is applied it can seep up through carpets or joints. Over-application of adhesive can also result in an uneven appearance for smooth vinyl floorcoverings. Incorrect type of adhesive used There should be no excuse for this. It is essential that flooring contractors and specifiers follow manufacturers recommendations or consult resources such as the free F. Ball Recommended Adhesives Guide before they start, as this can help to mitigate the risk of costly errors. Insufficient or lack of rolling Rolling helps to encourage bonding of the floorcovering to the subfloor, and insufficient rolling can cause joints to lift or bubbles to form under the surface of the floorcovering, compromising the strength of the bond. Early trafficking Time is of the essence in many of today s construction projects, and flooring contractors are often under pressure to install products as quickly as possible. However, if the floorcovering is subjected to footfall before the adhesive has fully bonded and set this can cause the floorcoverings to move, damaging the integrity of the bond and potentially impacting on the safety and aesthetic appearance of the flooring. For guidance regarding recommended setting times for individual adhesives, flooring professionals should refer to product datasheets.
7 What happens when things go wrong? 4 Adhesive applied with incorrect trowel blade Using the correct trowel blade will help to ensure the best coverage from the adhesive. It is also important to look out for worn or damaged trowels, as these will give less adhesive on the subfloor, leading to potential failure of the bond. Contamination forms a barrier to prevent the new adhesive from sticking properly to the floor. It is normally found on the floor surface, but can very occasionally occur on the back of floorcoverings as a result of residue from the manufacturing process. Incorrect adhesive used for prevailing site conditions There are many examples of this, but instances include not using a structural adhesive in wet service conditions or outside and using a solvent-based product when fitting in sensitive areas such as schools and hospitals. Late placement Most adhesives have an optimum window time to lay flooring products in to the applied adhesive. Recommended timeframes for specific adhesives can be clarified by checking on individual product datasheets. In order to ensure efficient and accurate installation, it is important not to trowel out more adhesive than you have time to work with. If you cover too large an area with adhesive and are unable to lay the entire floorcovering within the recommended timeframe it can mean that the adhesive starts to cure before it has had time to wet out the floorcovering, again resulting in a weakened bond. Moisture Always do a damp test with a digital hygrometer before you quote for or proceed with a job, because if the relative humidity is above 75 percent you may have to cost in a surface damp proof membrane. The majority of flooring failures occur because of rising moisture within the substrate. If left untreated, damp can cause adhesives to de-bond, carpet underlays to rot, wooden floors to warp and resilient floorcoverings to blister. It could also promote the growth and spread of bacteria and mould, which may risk further damage to the floorcovering. As a result, it is imperative that damp tests on projects are carried out at an early stage.

8 Summary 5 There is increasing pressure on contractors to deliver projects more quickly and cost effectively, which means there can sometimes be a temptation to cut corners. Not preparing the substrate properly, failing to check that the adhesive is compatible with the flooring or accessories and floorcovering type, applying too much or too little and allowing the surface to be walked over before it is set can all compromise the integrity of the bond and lead to failure in the longer term. One adhesive may seem much the same as another, but it is important to remember that each company uses a distinct formulation and products which may look very similar at first glance can have completely different reactions, so you must always check that they are compatible. If there are found to be subsequent issues with the floorcovering or accessories due to incorrect use of adhesives or failure to follow best practice guidelines, contractors will be liable and could risk a hefty replacement bill. As a result, it is well worth investing the time and the effort make sure you are using the recommended products and application techniques, as this will help to stop you coming unstuck when it comes to adhesives. For more information on the range of flooring and accessories available from Gradus please visit For more information regarding recommended adhesives and floor preparation products please visit
9 @Gradus_World